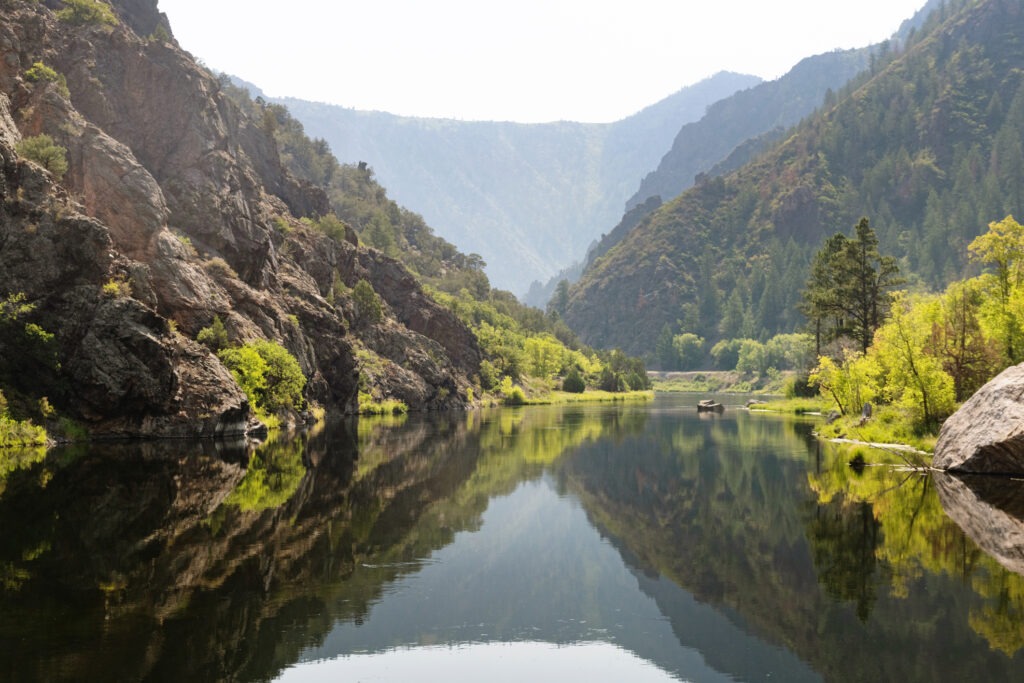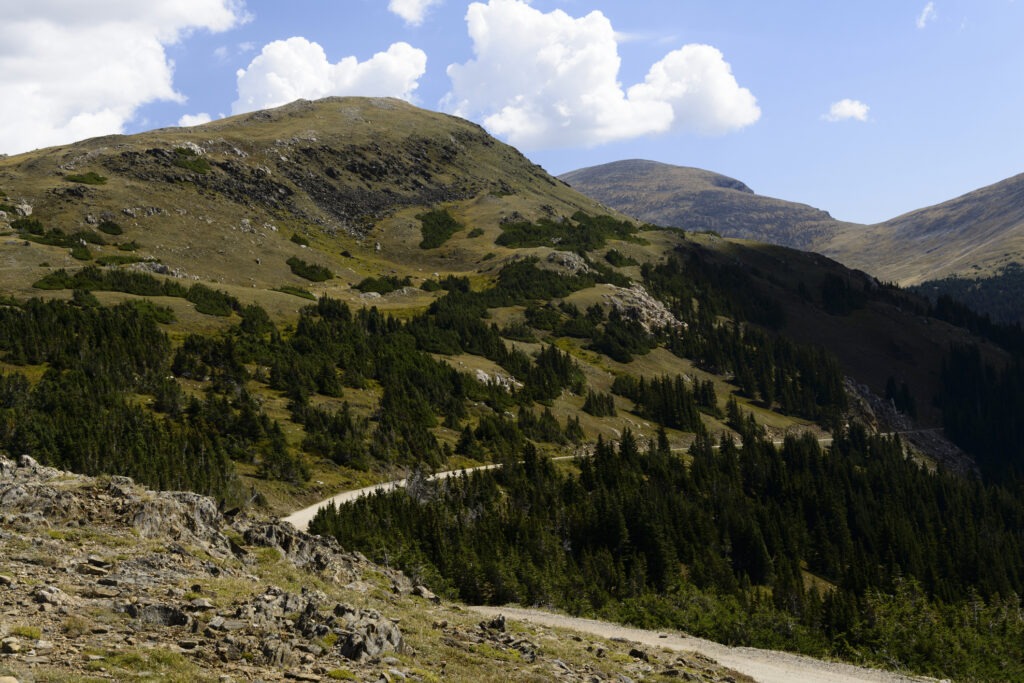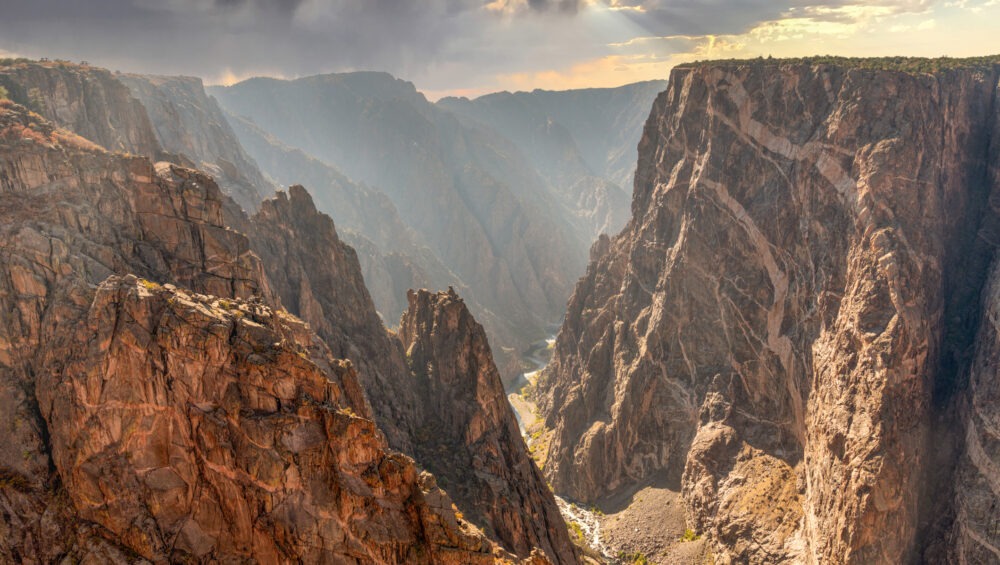
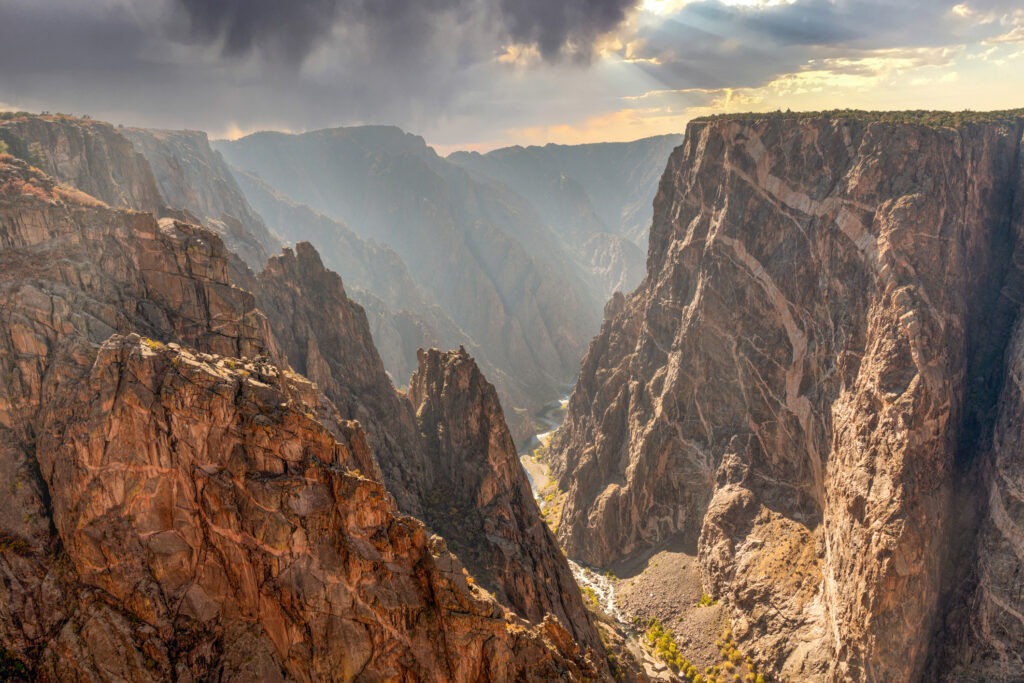
Tucked away in western Colorado, Black Canyon of the Gunnison National Park is one of the most awe-inspiring yet underrated national parks in the country. With sheer cliffs plunging over 2,700 feet, some of the steepest rock walls in North America, and breathtaking viewpoints, this park offers a dramatic and unforgettable landscape.
While it may not be as famous as Rocky Mountain or Yellowstone, Black Canyon of the Gunnison delivers an experience that’s equally spectacular—without the crowds. Whether you’re a hiker, photographer, rock climber, or just a nature lover, this park is a must-visit destination in Colorado.
Getting to Black Canyon of the Gunnison
Location & Entrances
Black Canyon of the Gunnison National Park is located in western Colorado, about:
- 1 hour from Grand Junction
- 2.5 hours from Aspen
- 4.5 hours from Denver
- 5 hours from Colorado Springs
The park has two main entrances:
- South Rim Entrance (near Montrose, CO) – The most popular and easily accessible side, with visitor centers, campgrounds, and numerous overlooks.
- North Rim Entrance (near Crawford, CO) – A more remote and rugged experience, with fewer visitors and stunning viewpoints.
Entry Fees
- $30 per vehicle (valid for 7 days)
- $15 per individual (hiker or cyclist)
- $55 annual Black Canyon pass
- America the Beautiful Pass ($80 for access to all U.S. National Parks)
Check current conditions before you go: https://www.nps.gov/blca/planyourvisit/conditions.htm
Best Viewpoints in Black Canyon of the Gunnison
The canyon’s steep cliffs and narrow gorges make for some of the most breathtaking overlooks in Colorado.
Top Viewpoints on the South Rim
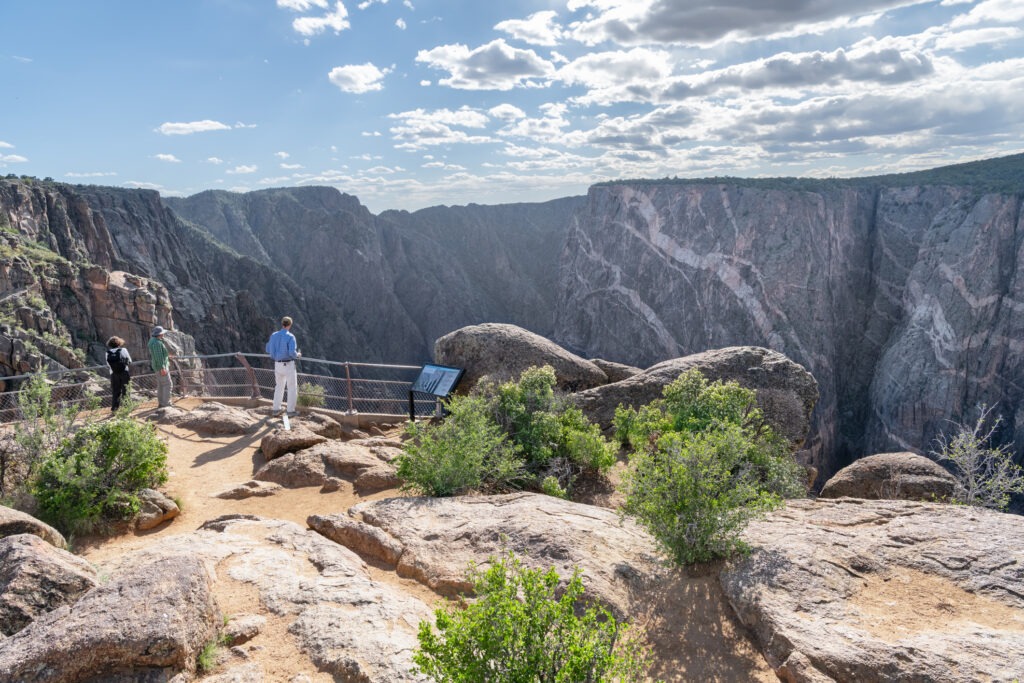
- Gunnison Point – Right next to the South Rim Visitor Center, this is one of the best introductory views of the canyon.
- Pulpit Rock Overlook – A panoramic view of the canyon’s deepest, narrowest section.
- Painted Wall View – The tallest sheer cliff in Colorado at 2,250 feet, with dramatic rock streaks that resemble a painting.
- Chasm View – Offers a look straight down into the narrowest part of the canyon, where the walls are only 40 feet apart.
Best Viewpoints on the North Rim
- The Narrows View – One of the most dramatic and vertigo-inducing views in the park.
- Exclamation Point – A hidden gem of the North Rim, offering some of the most breathtaking and isolated views of the canyon.
- Balanced Rock Overlook – A unique view of a massive boulder perched on the edge of the canyon.
Full list of overlooks: https://www.nps.gov/blca/planyourvisit/scenic-drives.htm
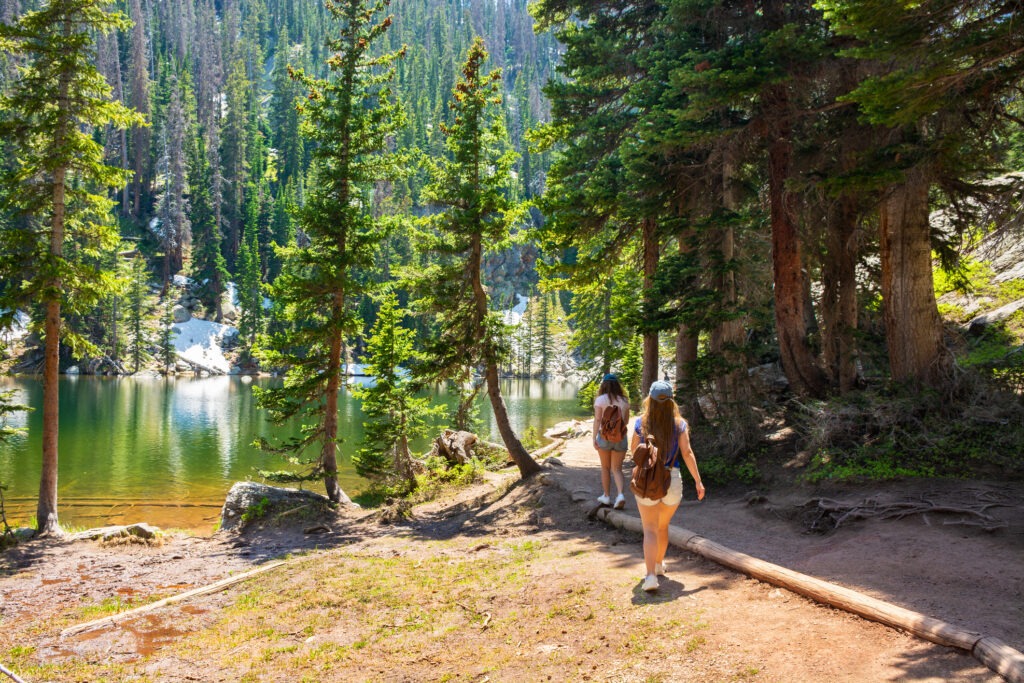
Best Hiking Trails in Black Canyon of the Gunnison
While there aren’t as many trails as in other national parks, the ones here provide epic views and a true sense of adventure.
1. Rim Rock Nature Trail (Easy – 1 mile round trip)
A great introductory hike with stunning views of the Gunnison River and informational signs about the canyon’s geology.
2. Warner Point Nature Trail (Moderate – 1.5 miles round trip)
This short but steep trail takes you to one of the best panoramic viewpoints in the park.
3. North Vista Trail to Exclamation Point (Moderate – 3 miles round trip)
One of the most rewarding hikes, with a must-see viewpoint at Exclamation Point.
4. Gunnison Route (Strenuous – 1.8 miles round trip, 1,800 feet elevation loss)
For serious adventurers, this hike descends into the canyon itself.
A wilderness permit is required, and it’s a steep, rugged climb back up.
More hiking info: https://www.nps.gov/blca/planyourvisit/hiking.htm

Rock Climbing & Adventure Activities
If you’re an experienced climber or backcountry adventurer, Black Canyon of the Gunnison offers some of the most extreme routes in the country.
- Rock Climbing: The canyon’s sheer walls are famous among advanced climbers, featuring classic routes like “The Scenic Cruise” (5.10) and “Journey Home” (5.11).
- Fishing: The Gunnison River is one of the best Gold Medal trout fishing spots in Colorado.
- Kayaking: Only for expert-level kayakers, the Gunnison River offers Class V whitewater rapids inside the canyon.
Climbing regulations and river permits: https://www.nps.gov/blca/planyourvisit/climbing.htm
Camping & Lodging Near Black Canyon
Camping in the Park
- South Rim Campground – Best for easy access to overlooks and trails.
- North Rim Campground – A quieter, more remote option.
- East Portal Campground – Located by the Gunnison River, but closed in winter.
Nearby Lodging
- Montrose, CO – The closest town with hotels, restaurants, and amenities.
- Crested Butte, CO – A scenic mountain town with cozy lodges and great hiking nearby.
Campground reservations: https://www.recreation.gov/
Tips for Visiting Black Canyon of the Gunnison
- Arrive Early – The park is less crowded than other national parks, but parking at popular viewpoints fills up quickly.
- Dress in Layers – The canyon can be hot during the day and chilly at night.
- Bring Plenty of Water – There are few water sources inside the park.
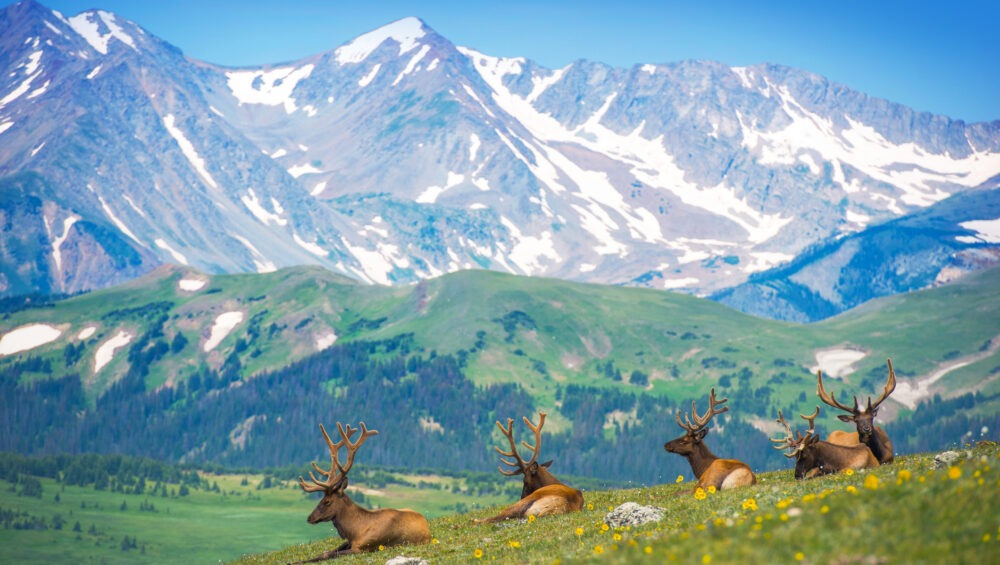
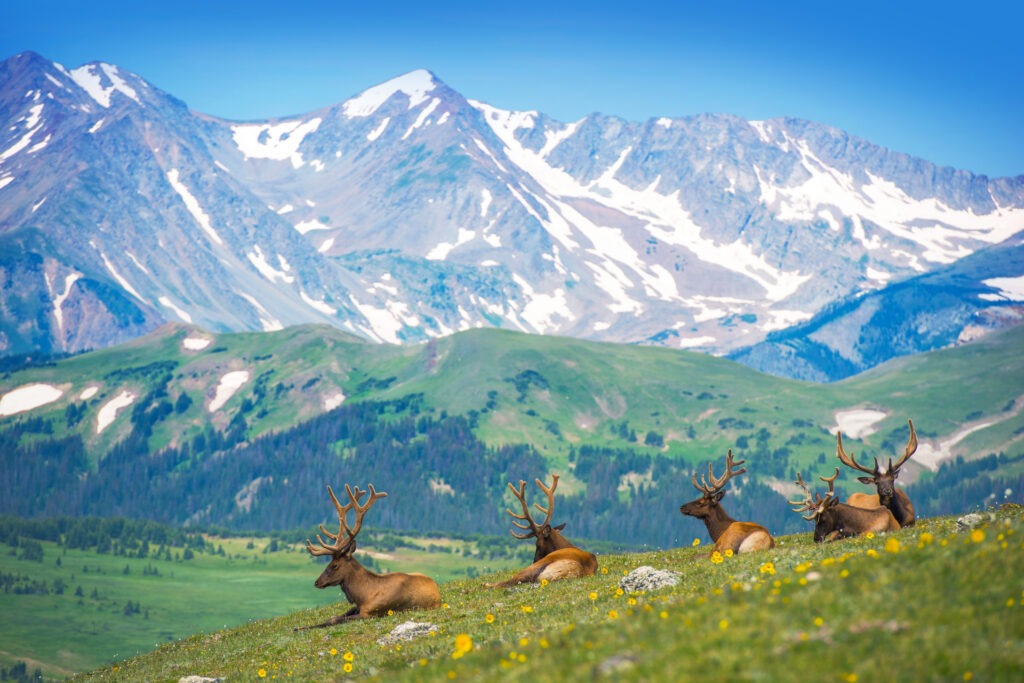
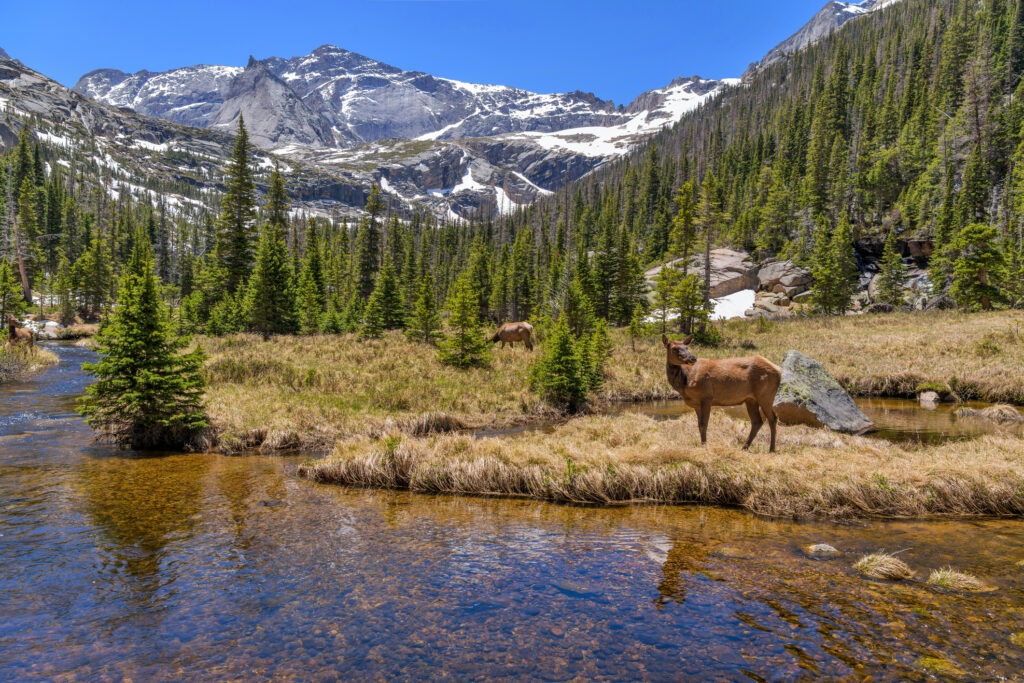
- Watch for Wildlife – Keep an eye out for mule deer, golden eagles, and even black bears.
- Stay on Trails – The canyon’s cliffs drop off suddenly, so stay on designated trails.
Why You Should Visit Black Canyon of the Gunnison
If you’re looking for jaw-dropping views, adventure, and solitude, Black Canyon of the Gunnison is a must-visit. It’s one of Colorado’s most underrated national parks, offering incredible hiking, breathtaking viewpoints, and a sense of wild, untouched beauty.
Whether you’re standing at the edge of Painted Wall, hiking to Exclamation Point, or venturing into the canyon itself, this park will leave you speechless.
Ready to explore Colorado’s most dramatic landscape? Plan your trip today!