How to Clean Your Sleeping Bag

A sleeping bag is a vital piece of equipment for anyone who ventures into the outdoors, especially since it’s part of the essential gear you need for camping. But it can also be a spendy investment. Maintaining, storing, and washing your sleeping bag is essential to get the most use out of it. We’ve compiled all the information you need below to help you clean your sleeping bag. 
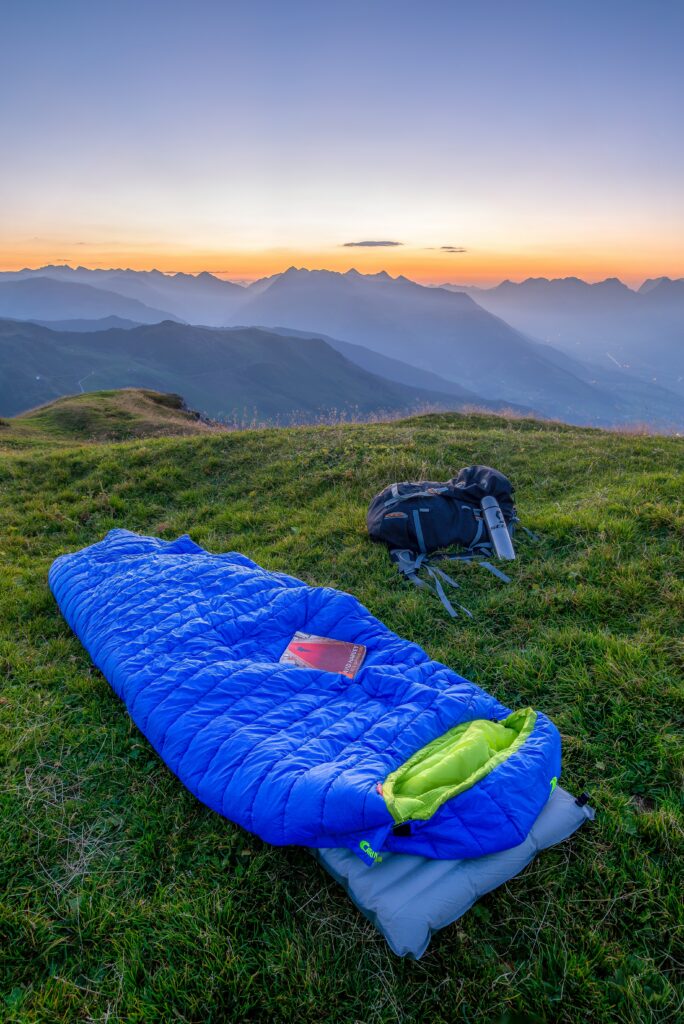
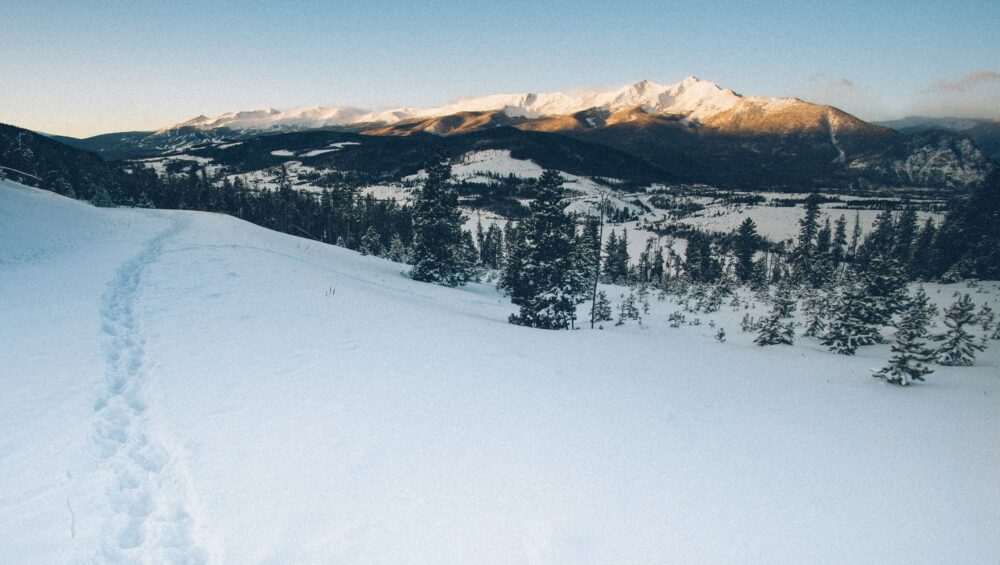
Photo by Felix M. Dorn on Unsplash

General Care

Sleeping bags should not need washing for many years when properly tended to. The best way to prolong the time between washes is to take good care of your sleeping bag in the first place. Some tips to help maintain cleanliness include:

  • You get what you put in: Keep a clean pair of clothes to sleep in. Try to keep yourself clean as well. That means removing oil, dirt, sunscreen, and bug spray that can permeate into the bag. The cleaner the items are in the bag (you), the greater likelihood your sleeping bag will stay clean too.
  • Liner: A sleeping bag liner is a single-layer enclosed sheet you sleep in inside your bag. The liner serves as a barrier between your body and the bag. It should be easy to remove and should be washed regularly. Liners are slipped inside a bag, not attached.
  • Off the floor: Keeping your bag off of the ground will help keep dirt, pine needles, and other debris out and off of your bag. This does not include your sleeping pad which serves as a barrier between your bag and the ground.
  • Dry it out: Lay your sleeping bag to dry the day after every use. Our bodies produce moisture that gets trapped in our bags from our breathing, sweat, or the environment’s humidity. When camping, try to find a dry spot on a tarp or maybe over a clean log and give the material a chance to dry and breathe. Laying out your sleeping bag prevents mold from forming in your bag.

Be Gentle

Treat your bag with care. Take your time with zippers, gently put the sleeping bag away, and mind where you place them. Most bags are best stored loosely in a well-vented bag or hanging environment. Compression stuff sacs are helpful for compact travel but are not recommended for long-term storage as they compress the material and wear down the fill. Over time, this compression ultimately impacts your bag’s warmth and comfort. Additionally, tight storage can trap smells and moisture, leaving you with a pleasant experience the next time you use it!

Washing

The first factor to consider when cleaning your sleeping bag is how much of your sleeping bag needs cleaning. The second factor to consider is whether you have a down or synthetic bag. The third is whether you have access to a machine wash or if you will need to hand wash. Consider a total wash if you notice a general browning color, overall grime, or an overall smell. For smaller messes or stains, simple spot treatment of the impacted area is fast and effective. 

Spot Cleaning

Often, only a few areas of a sleeping bag need cleaning. To spot clean, use a gentle soap mixed with water and lightly brush or rub the dirty area with the cleaning solution. Do your best to keep the cleaning solution on the exterior material only and not saturate the bag’s fill. Once you have spent some time cleaning, wipe the spot with a wet cloth and leave it to dry.
Photo by Ivana Cajina on Unsplash

Full Wash

Most new sleeping bags come with wash instructions which you can find on the tag. This is the best method to follow when cleaning your bag. If there are no instructions, consider the following techniques and remember that no matter the form, cleaning your sleeping bag takes time and patience:

Machine Wash

  • Device: The best way to machine wash a sleeping bag is to use a front-loading washing machine. Do not use a top loader, as the bag may become damaged and tangled around the center bar. If you do not have access to such as machine, consider going to a laundromat.
  • Soap: If you are machine washing a down sleeping bag, use special soap that is friendly on down material. If your fill is synthetic, you can use a regular detergent, but a technical gear-specific detergent will be best. Nikwax makes different detergents for both down and synthetic fill.
  • Means: Some suggest fully unzipping your bag before loading it into the washing machine, so the upper doesn’t pull apart or catch in the wash. Another option is to turn your bag inside out with the zipper fully closed. Wash your sleeping bag in warm water on a gentle cycle. The sleeping bag may need two or more rinse cycles. It is ready to dry if the bag is wet but not holding large amounts of water. Then be sure to gently squeeze any excess moisture out of the bag as you remove it from the wash.
  • Drying: Use a large dryer if possible; the more room in the dryer, the better the fill can expand when drying. Synthetics will often dry faster. Bags with down fill may take several drying cycles. Set the dryer to tumble on a low heat setting. Consider using tennis balls or other dryer aids to break up condensed pockets of fill towards the end of the cycle or when it is mostly dry.

Hand Wash

  • Device: Fill your bathtub or a similarly large tub with warm or cool water.
  • Soap: Use the same material-specific soap listed above and read the instructions for the recommended amount. When hand washing, it can be more difficult to rinse the soap out, so starting with a smaller amount than recommended may be beneficial, and slowly adding more as you go.
  • Means: Lay the bag in the water and gently rub and massage the bag. Next, soak the bag for around thirty minutes or until it is fully saturated. Rinse your bag with clean water (you may do this multiple times) until the soap is out. Before hanging to dry, gently squeeze excess water out of the bag. It can be helpful to work from one end to the other squeezing section by section.
  • Drying: Follow the directions above. If a dryer is unavailable, lay the sleeping bag on a clean surface or hang it up to dry. Use a location out of direct sunlight and with low humidity. Once it has started to dry, you may need to manually unclump or fluff the fill in your bag to ensure it dries thoroughly.

Final Thoughts

Have a new sleeping bag that you are excited to test out? Autumn is the ideal time to hike and then cozy up in your sleeping bag under the stars! For some spectacular colors and views, check out the best fall hikes near Colorado Springs. While it is safe to hike alone, if you are looking for some expertise, guided hikes through Broadmoor Outfitters are a perfect way to learn about and get familiar with a new area or trail.

How to Check Trail Conditions for Hiking in Colorado

Because our state can have such extreme and diverse weather, it is essential to do some research before you go hiking in Colorado. You should always be aware of weather, trail conditions, and wildlife before you leave for a hike, in part so you can pack accordingly.


There are so many stunning hiking options around the state. If you don’t know where to go, be sure to check out our Colorado Springs trail guide. Once you have a hike in mind, this article provides all the best resources for where to check Colorado trail conditions in order to be properly prepared for your hike.

Photo by Backroad Packers on Unsplash

Trail Condition Resources

All Trails

This amazing community-driven resource has everything you need to ensure a great day on the trail. It is personally one of my favorites on this list because it makes it easy to find variations of trails. This is particularly helpful if you are looking for a shorter mileage or less strenuous option. You can search for accessible trails (for wheelchairs, strollers, etc), parks that allow dogs, mountain biking trails and more. Listed information about trails includes mileage, elevation, reviews, difficulty level, parking information, and pictures.

This is a great resource for figuring out the proper trail for what you want out of the hike as well as staying informed along the way. As you hike, the app shows waypoints and elevation changes and tracks your metrics. You can review the hike, save your favorites, and share helpful tips with others. The app is particularly helpful for popular trails that other users are commenting on regularly. You can read recent reviews for relevant updates on the Colorado trail conditions and also check the weather and UV index for the day.

National Park Service

If you are looking to hike a trail within a national park, you can check the National Park Service’s website for everything you need. They list trail closures, conditions, and other important safety notices regarding wildlife and weather. Trail availability can change rapidly, whether from a storm, maintenance work, or high risk of fire. It is helpful to check the park’s website for updates day-of. This way, you can plan your hike and route around any closures or potentially dangerous areas.

One other especially important factor when visiting national parks is parking and permits. Depending on the time of year, parking can fill up fast. Once you know what hiking trail you want to explore, you can find trailheads and the closest parking lots. Grab the necessary permits or parking lot reservations in order to save time on the drive-in and help your day go smoothly.

Colorado Trail Explorer

Similar to All Trails, Colorado Trail Explorer is a comprehensive resource for exploring the outdoors in Colorado. You can find routes for hiking, horseback riding, skiing, ATV riding and more. Their filtering function also includes so much more than just dog-friendly and wheelchair-accessible options. You can search for special interests like geology or mining or things you’d like to see like wildflowers or waterfalls. 

Once you’ve identified a trail, the website pulls in Google Maps for directions and Weather.gov for forecasts. My favorite feature, though, is the custom ability to see the different sections of the hike. Rather than simply listing the mileage and elevation change, you can look at it step-by-step and see how each leg of the hike will test you. They even have a measure tool that allows you to check out a custom length of the trail. This is very useful if the different sections they list are not specific enough for you. From grade to elevation to mileage, you will get a good sense of the trail’s difficulty before you even get out of the car. 

The crowdsourced trip reports allow you to get updates on trail conditions, crowding, bathroom availability, and insect presence. Once you get the app and download the trail for offline access, you can keep notes on your experiences and track your progress in real-time. There are also fun challenges like identifying wildflowers and noting scenic lookouts to keep you engaged with all the beauty of Colorado’s trails. If you are an outdoor enthusiast, this resource is a fun and informative way to stay updated on Colorado trail conditions and track all your progress hiking around the state.

Colorado Trail Foundation

The 567-mile Colorado Trail between Denver and Durango is an accomplishment of massive proportions. Efforts to build the trail started in 1974 and took over ten years. It is a unique adventure that travels through six wilderness areas, eight mountain ranges, five major river systems, and some of the best views the Rockies have to offer. All up, the trail climbs nearly 90,000 vertical feet, but you don’t have to do it all at once. The trail is divided into 28 segments plus an additional 5-segment, 80-mile trail variation called Collegiate West.

If you are looking to hike any part of the Colorado Trail, the guidebook is strongly recommended. It includes mile-by-mile trail descriptions, driving directions and access points, mileage and elevation stats, and even information on towns to resupply if you do the whole trail at once. The website is also a great resource for information on packing, finding natural water sources along the trail, and preparing for the high elevation. There is a lot of research and preparation necessary before hitting the Colorado Trail. However, with the help of the Foundation, it has been completed in full by nearly 5,000 people.

Photo by Taylor Brandon on Unsplash

How to Interpret Trail Conditions

It is not enough to just check on trail conditions and make sure the trail is still open. There can be some crucial information in these updates that will help you pack well and be properly prepared for your day. If there is a trail closure, you can check out All Trails or Colorado Trail Explorer to find variations or nearby trails with similar stats.

Common information about trail conditions can include obstacles and downed trees, muddy or snowy sections, and standing water. In the case of wet trails, you will want to wear waterproof hiking boots (or boot liners). Additionally, pack extra socks, and read up on some tips for hiking in mud. If you know you will encounter obstacles on your hike, hiking poles can be helpful for extra stability, and gloves will protect your hands from rough tree bark or scrapes from branches.

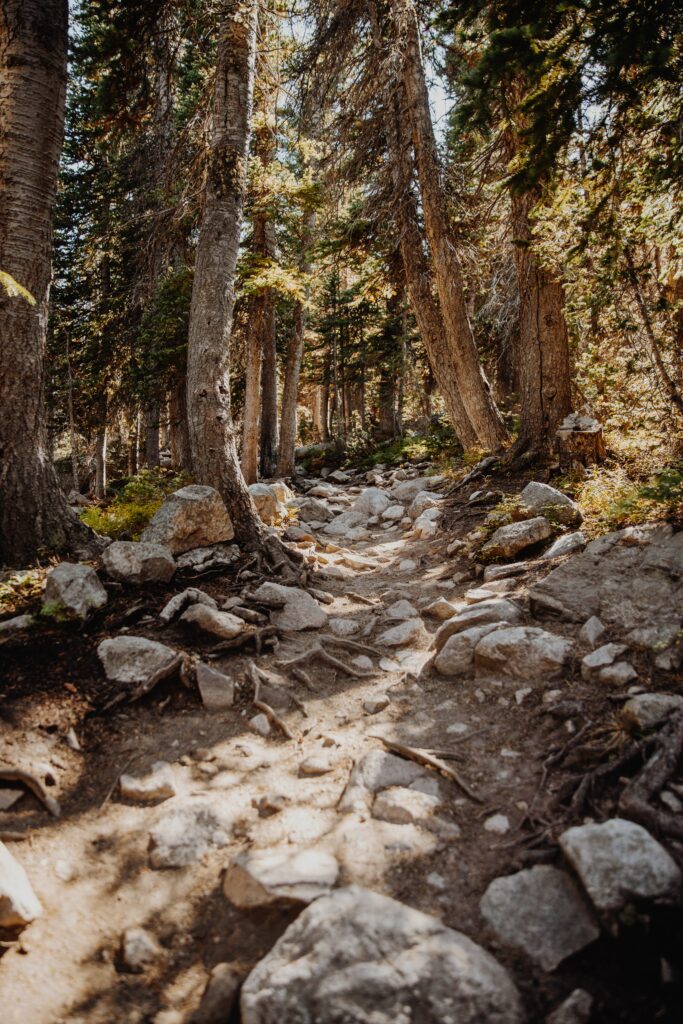
Other conditions may include loose soil, exposed tree roots, or damage from a mudslide or flash flood. These conditions tell you to be cautious and watch where you step. Wearing your best hiking boots with good grip will help you overcome a damaged trail.

Other Resources to Check

In addition to looking for updates on trail conditions, there are a few other things to research in order to be fully prepared for a hike. First, checking the weather reports for the day will help you pack and dress properly. You should also know about weather changes when hiking to a higher elevation or hiking between different climatic zones.

Next, be sure to check the park or county’s website for guidance on permits and parking. Some parks may require permits for backcountry hiking, in order to limit hikers and protect the landscape. Many places especially around Colorado Springs have limited parking lots and use reserved tickets to control overcrowding. Be sure to look into these aspects of your day hike as well so you do not show up unprepared and miss out on your adventure.

No matter where you go, it is always important to be aware of Leave No Trace guidelines in order to be a good steward of the land. There are plenty of resources available to learn about how best to pack out trash and get rid of waste so you can protect the trails for future generations.

Finally, I like to prepare for hikes by checking information on local wildlife and the flora of the area. I find this information heightens the experience because I am able to identify and appreciate the nature around me more. It can also be important to be aware of wildlife near hiking areas. For example, if bears have been spotted from the trail, make sure you are aware of bear safety tips and don’t go on the hike during their peak hours. You can prepare by learning what wildlife you might encounter and reading up on how to watch wildlife safely

Final Thoughts

Colorado has some of the best hiking in the country. It includes over 5,600 miles of hiking trails according to Colorado Trail Explorer. No matter what type of view or how strenuous a hike you are looking for, you can surely find an exciting and awe-inspiring hiking trail near you. If you are just getting started on your hiking journey, consider going on a Guided Hiking tour in order to become familiar with best practices and helpful techniques while on the trail. Hiking with experienced friends or a professional is the best way to start hiking and get comfortable with packing and preparing for a hike in Colorado.

Celebrating with Broadmoor – Party Ideas in Colorado Springs

Are you looking for an exciting and unique way to celebrate a birthday, promotion, or anniversary? With all the amazing outdoor venues around Colorado Springs, there are many different ways to plan a fun outdoor celebration. Looking for celebratory event ideas? Broadmoor is one of the best places to have a birthday party in Colorado Springs.

Broadmoor Outfitters has a variety of innovative and engaging guided activities that will make any celebration unique and memorable. Whether you’re planning a party for a little one or celebrating a milestone as an adult, there’s an option for you. From invigorating zipline courses to the decked-out paintball arena, the Broadmoor’s property is a well-equipped party venue in Colorado Springs.

Image by sebastian del val from Pixabay 

Party Ideas for Kids

Small Group Party Idea: Wood Course Zip Line

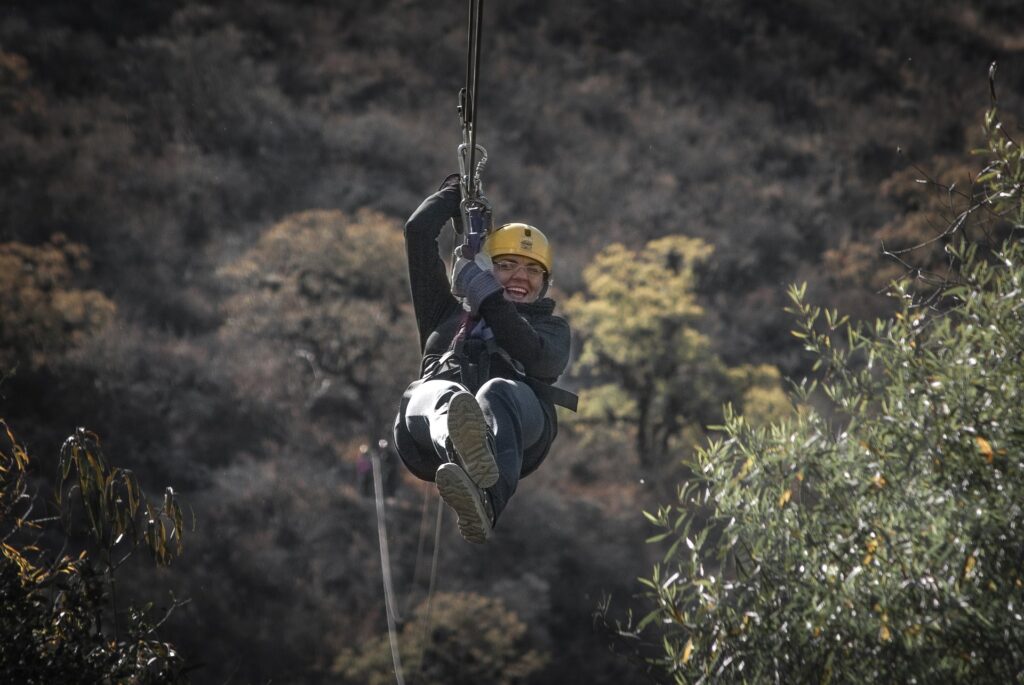
This three-hour beginner zip line course is a thrilling activity perfect for adrenaline junkies of all ages. The course has five zip lines that range from 250 to 1500 feet. Riders can also reach speeds of up to 45 mph, and attain heights up to 150 feet in the air! The guided zipline activity is a great experience for a small group of friends looking to try a new experience. The zipline course can accommodate a maximum of eight participants.

On the Woods Zip Line Course, you will soar over a waterfall and enjoy stunning views of Colorado Springs. Add in the thrill of zip lining, and it’ll surely be a memorable birthday. The exciting experience covers technical guidance from professionals and beginner zip lines for participants to acclimate to the experience. This is the more beginner-friendly of Broadmoor’s two zip lines courses. So it is perfect for a low-stress, enjoyable birthday party. 

Large Group Party Idea: Outdoor Movie Screening

Give your kid a unique gift and a memorable birthday party. The 26-foot inflatable movie projector screen is perfect for an outdoor evening celebration. You can rent the outdoor movie theater and bring it anywhere as it is very portable and easy to set up. This is a great option for large groups and celebrations taking place in spacious outdoor venues near Colorado Springs. 

With the ability to project anything onto this massive screen, you can take a celebration to the next level. Share old photos at a large family reunion, enhance the visuals at a musical concert or theatrical production, or play funny videos in the background of a mixer. There are endless ways to use an inflatable movie projector! This a top-notch addition to any celebration near Colorado Springs. 

Party Ideas for Adults: Happy Hour Celebrations 

Moving on to the adults, If you are looking to celebrate a birthday or anniversary with a few drinks, there are tons of fun ways to spice up a simple cocktail hour with friends. But let’s avoid cramming a large group into a crowded bar. Instead, you can have a private birthday party in a unique outdoor venue. 

The Broadmoor has plenty of unique and thrilling opportunities for adults. You can really make your birthday celebration memorable with the addition of an archery course or the tomahawk toss challenge. If you are looking for a low-key celebration that still has elements of excitement, consider a professional demonstration with birds of prey at a falconry cocktail hour. You can do these activities at the Broadmoor property or rent the equipment to bring to your own space. 

Whether you need to plan a meet-and-greet or a birthday party with different groups of friends, these activity-based happy hour parties will give your friends something to talk about and keep the energy flowing. Broadmoor Outfitters’ happy hour party ideas are fun, stress-free, and surefire ways to please your guests.

Photo by Kelsey Chance on Unsplash

Outdoor Party Ideas Near Colorado Springs

If your idea of a good time involves an outdoor adventure, anywhere can be a party venue! This is especially true in Colorado Springs with its high concentration of outdoor opportunities. With so many parks, mountains, and bodies of water, you don’t have to travel far to find a great party venue in Colorado Springs. 

From drinks in the park to a group hike, there are nearly unlimited ways and places to celebrate. What’s more, Broadmoor Outfitters has guided activities around Colorado Springs for people of all ages and interests. You could bike down Pikes Peak, rock climb in Garden of the Gods, mountain bike through North Cheyenne Cañon, or stand up paddle board at Catamount Reservoir. All of these outdoor activities make for interesting and memorable celebrations, sure to bring you and your friends closer together.

One of the party venues in Colorado Springs is actually the Broadmoor Outfitters property. Located in southwest Colorado Springs, it is a spacious area with a lot of fun activities to do right on site. You can compete against your friends in a scavenger hunt, geocaching search, capture the flag, or other fun challenges. If you haven’t been, these all make for great excuses to explore the Broadmoor property. 

Party Ideas for Coworkers

Finally, Broadmoor Outfitters has a ton of fun happy hour options and team-building exercises designed for corporate retreats. Whether you are planning a celebration to reward your team for a job well done or hoping to bring your team closer with a corporate team-building challenge, The Broadmoor is a great place to unite coworkers outside the office. For a deeper dive into all of Broadmoor Outfitters’ opportunities for colleagues, be sure to check out our tips for planning a corporate event.

Final Thoughts

In conclusion, Colorado Springs is an amazing place with almost unlimited ways to enjoy the outdoors and try new activities. Before you stress over a house party or plan a boring night at a restaurant, check out all the amazing outdoor adventures near Colorado Springs that you could include in your birthday celebration. There is no better time than your birthday to invite your friends to learn a new skill with you, and there is no better place either. The Broadmoor is one of the best places to have a birthday party or celebration in Colorado Springs. Plus, thanks to their guided activities, you can let Broadmoor Outfitters handle all the equipment needs and just enjoy your day!

How to Transition to Outdoor Climbing

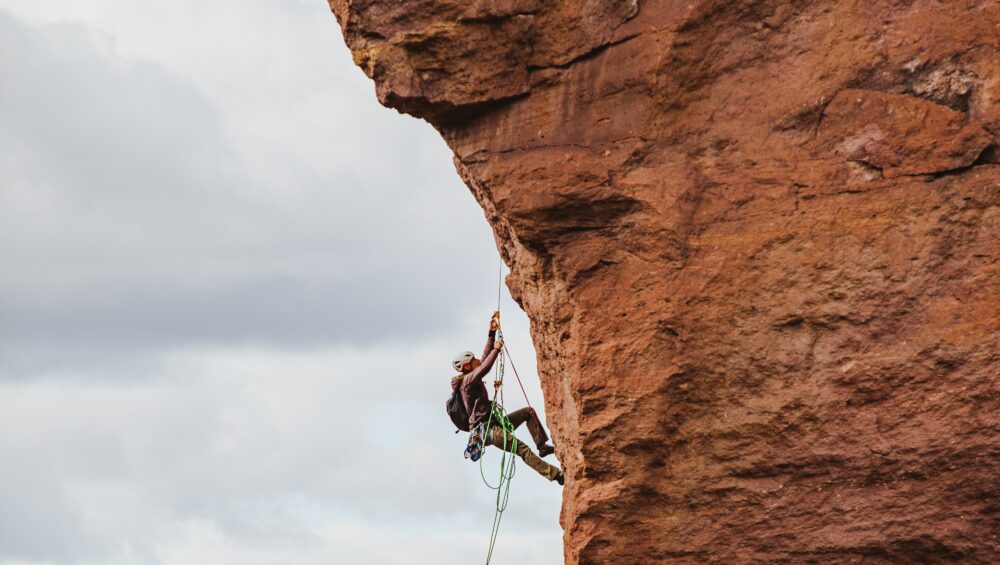
With rock climbing gyms popping up around the country, indoor climbing has become more popular than ever. Still, there is nothing like the thrill and challenge of climbing real rock faces in nature. If you are used to climbing indoors, you may be wondering how to get started climbing outdoors. 

There are a few important differences between indoor and outdoor climbing to keep in mind before you make the switch. There are more technical skills and gear requirements, but transitioning to outdoor rock climbing is a worthwhile endeavor. If you are excited to test your indoor climbing abilities on an actual rock face, let’s get started discussing how to climb outdoors.

Photo by Patrick Hendry on Unsplash

Differences between Indoor and Outdoor Rock Climbing

Prepare for No Defined Holds

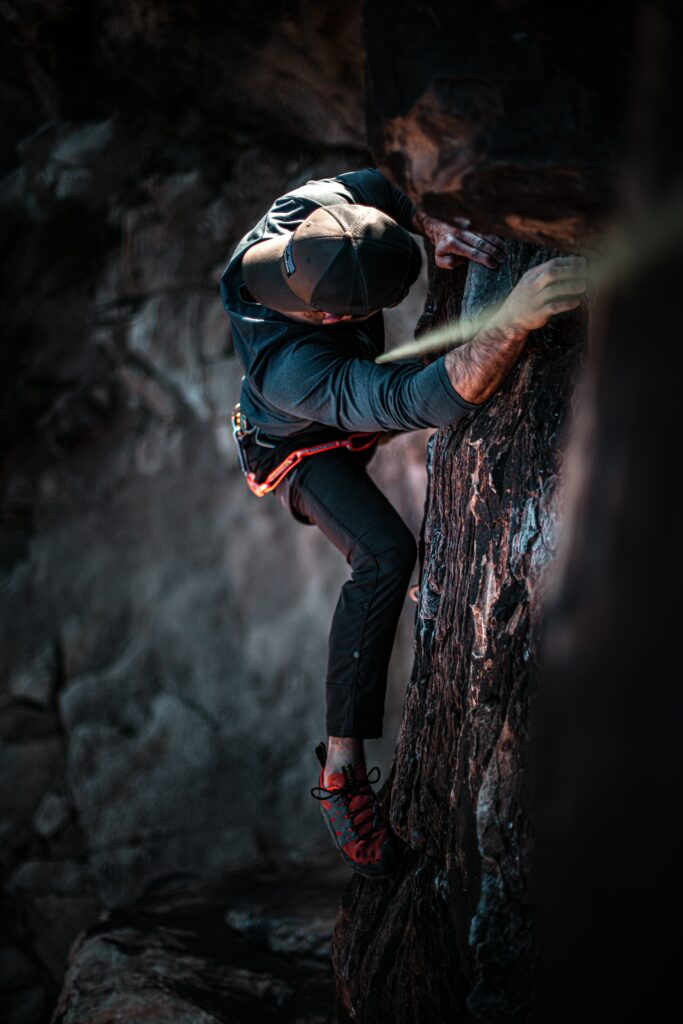
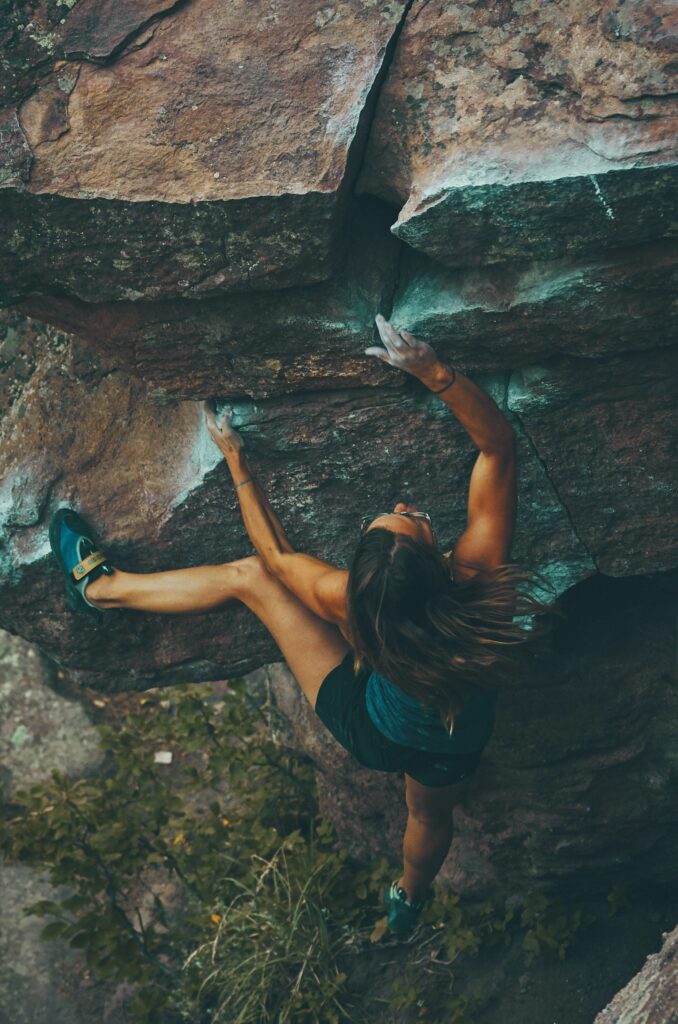
When transitioning from indoor to outdoor rock climbing, there are a few key differences you will note right away. First, because you will be climbing on actual rock faces, there will be no specific holds for you to grab. Instead of gym walls with color-coded holds, you will have to decide for yourself where to put your hands and feet. While some climbs will have obvious solutions, others will have fewer potential hand holds. 

Before starting an outdoor climb, you should prepare your route, mentally envisioning each move, noting potential hard spots, and planning your approach. You can also refer to climbing guide books which might provide additional information on the climb’s crux, or hardest parts, and beta, which are technique suggestions.

Move Carefully on Rough Rocks

Regarding the holds themselves, depending on the type of rock, outdoor climbing tends to be less comfortable than gym climbing. Rocks can cut up your fingers and wear away at calluses, so be prepared with a first aid kit and move a little more cautiously. Especially if the weather is colder, you will likely want fingerless gloves to protect yourself from the elements.

Anticipate Harder Climb Ratings

While all the climbs use the same rating system (aside from bouldering problems), outdoor climbs will feel a lot harder. Many climbing gyms rate a bit generously, and the lack of structure outdoors is at first challenging.

Start off with beginner routes to figure out your outdoor climbing abilities. If you climb an 11a in your gym, maybe start with an 8 or 9 outdoors, and don’t be hard on yourself if you can’t meet your expectations right away.

How to Pack for an Outdoor Rock Climbing Trip

Now that you know what to expect when switching to outdoor climbing, let’s talk about how to prepare. Aside from where to go, which we will cover soon, you will need extra gear (on top of your harness and climbing shoes) and food for an outdoor rock climbing trip.

As safety is key, the first things on your list are a helmet and a first aid kit. These are two items you wouldn’t need in a climbing gym but are essential when climbing outdoors. In addition to your other essential rock climbing gear, you should add a comfortable and reliable half-dome helmet to your basic climbing kit.

Another difference will be clothes and footwear. If you have a long walk to your climbing area, you’ll want to bring hiking boots with you on the trip. When you learn how to set your own climbs, you will especially need good footwear for the scrambles to the tops of climbs. 

You should also check the weather for the day and bring rain gear and cold-weather gear. It takes a while to set up outdoor climbs. Therefore, you may find an indoor hour-long climbing session is more like a half-day outdoors. On this same note, prepare for your outdoor climbing trip with enough water and snacks for the day. There won’t be water fountains on the trail! If you are looking for other helpful tips, check out how to pack for a day hike

How to Set Up Top-Rope Climbing Routes Outdoors

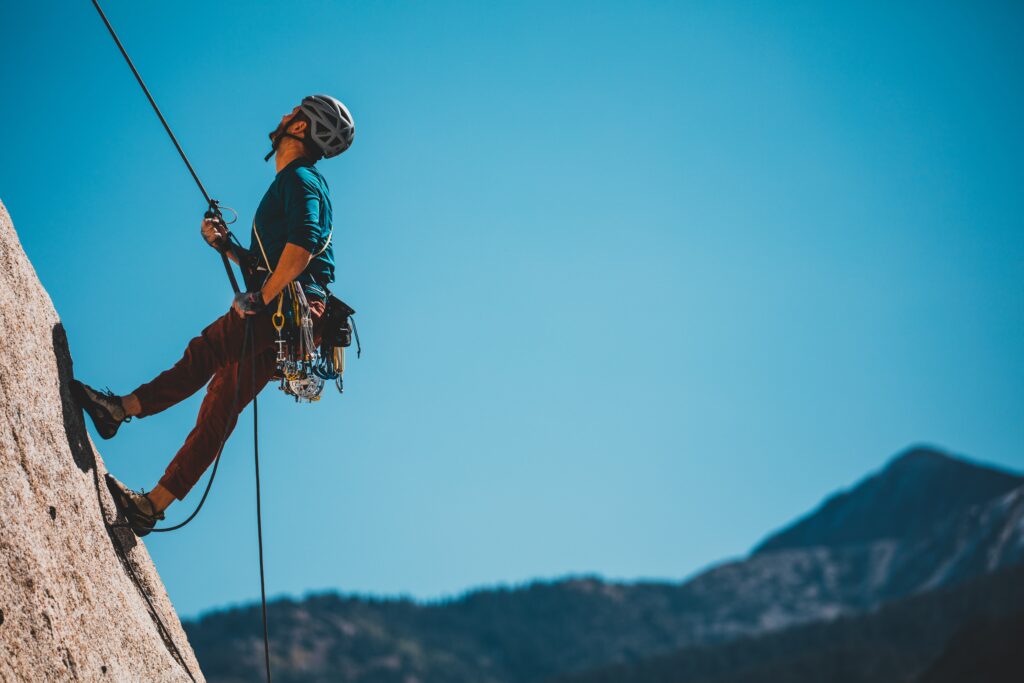
The last key difference between indoor and outdoor rock climbing is that outdoor climbs are not usually ready for you to just start climbing. Unlike rock climbing gyms, which have fixed anchors and ropes already dropped for you, outdoor rock climbers have to prepare the protection themselves. While it can seem overwhelming at first, the skills needed to set your own top rope climbs are very attainable.

For beginners, top rope is the best introduction to the outdoor climbing world. You would need to set anchors, using nearby trees or rocks, to create a reliable place to attach your top rope. For lead climbers, you would need to learn how to use trad gear, like cams and nuts, in order to create the points along the climb where you can clip in. Both of these options require a lot of additional gear, including static and dynamic ropes and loads of carabiners. 

You should try outdoor climbing a few times with experienced friends before worrying about these pieces. But if you are still interested in learning how to set your own climbs, you’ll need to find a friend or professional guide to help you learn the knots and safety rules.

Photo by Patrick Hendry on Unsplash

Where to Get Started Rock Climbing Outdoors

There are multiple ways to find good outdoor rock climbing spots. Guidebooks are an excellent resource for identifying available climbs at different skill levels, and there are so many great rock climbing spots near Colorado Springs. Garden of the Gods and Cheyenne Cañon Park are two locations that offer a variety of challenges. Both of these locations also include beginner-friendly climbing routes. Once you have identified somewhere to check out, be sure to get the proper rock climbing permits for Colorado Springs parks

Outdoor rock climbing is an invigorating experience that brings you closer to nature and rewards you with stunning views once you finish the climb. Transitioning from indoor to outdoor climbing requires planning, learning to create anchors, and buying additional climbing gear. Before committing, you can experience outdoor rock climbing with a skilled professional guide. Get started and enjoy some of Colorado Springs’ best climbing spots on a guided rock climbing day trip.