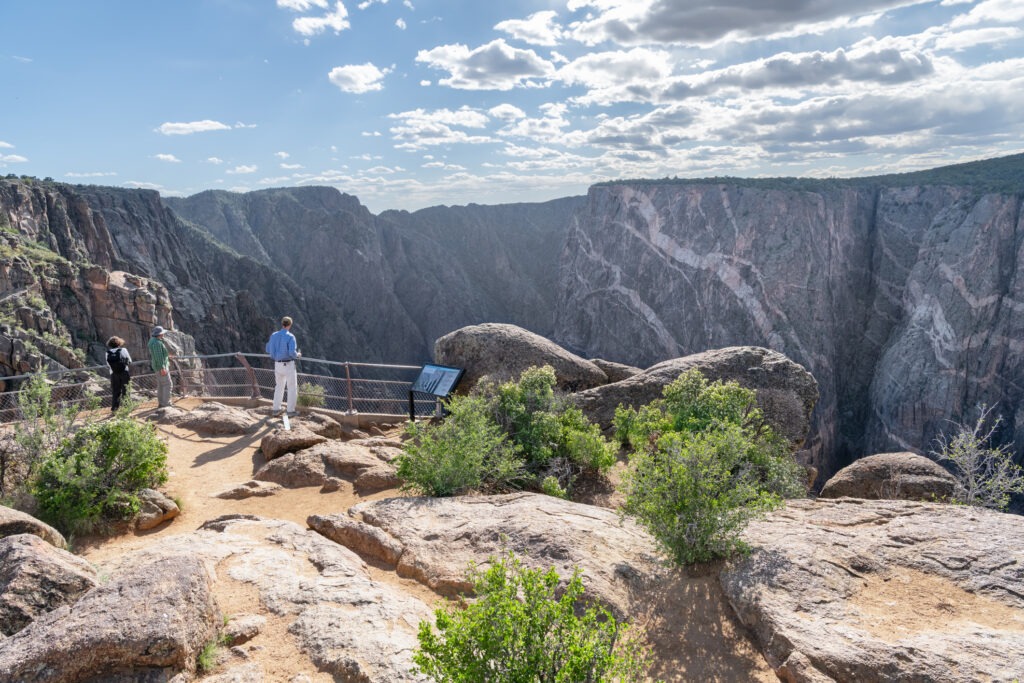
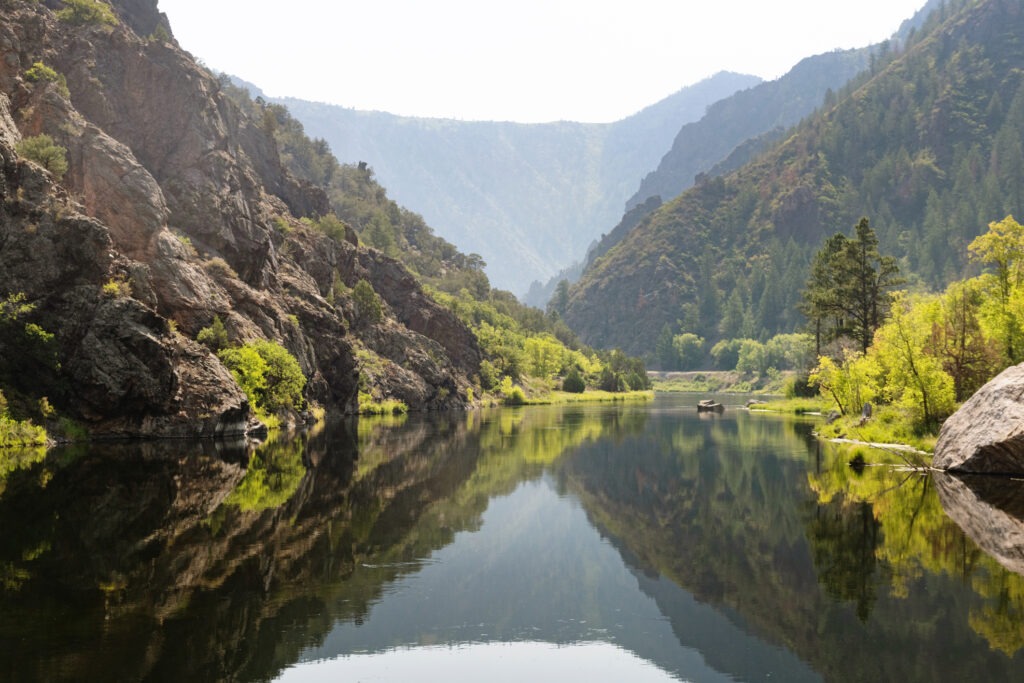
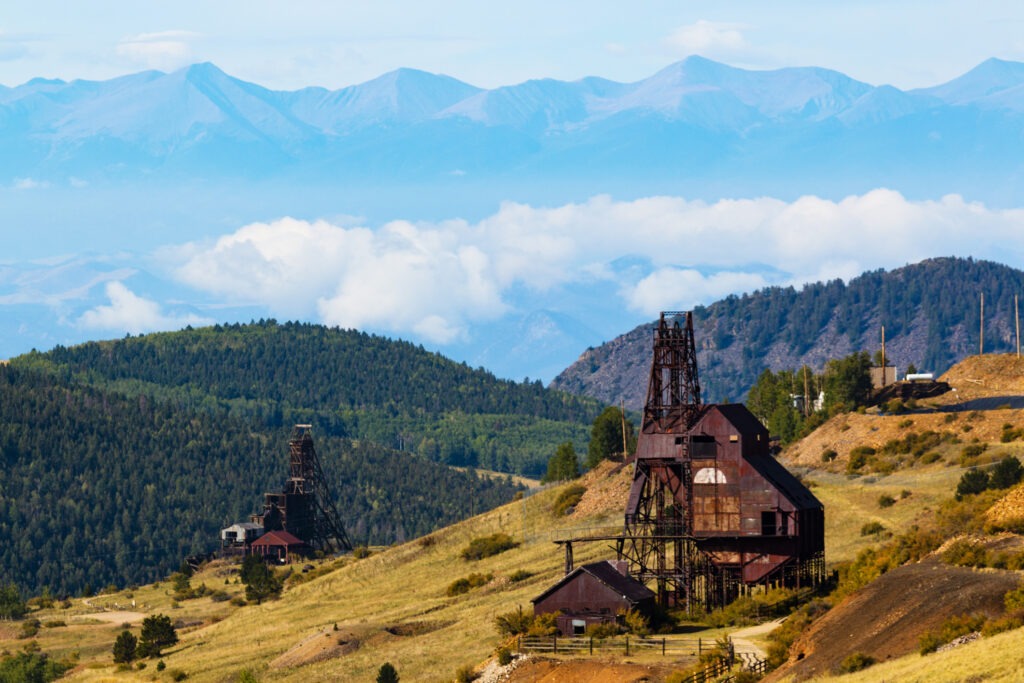
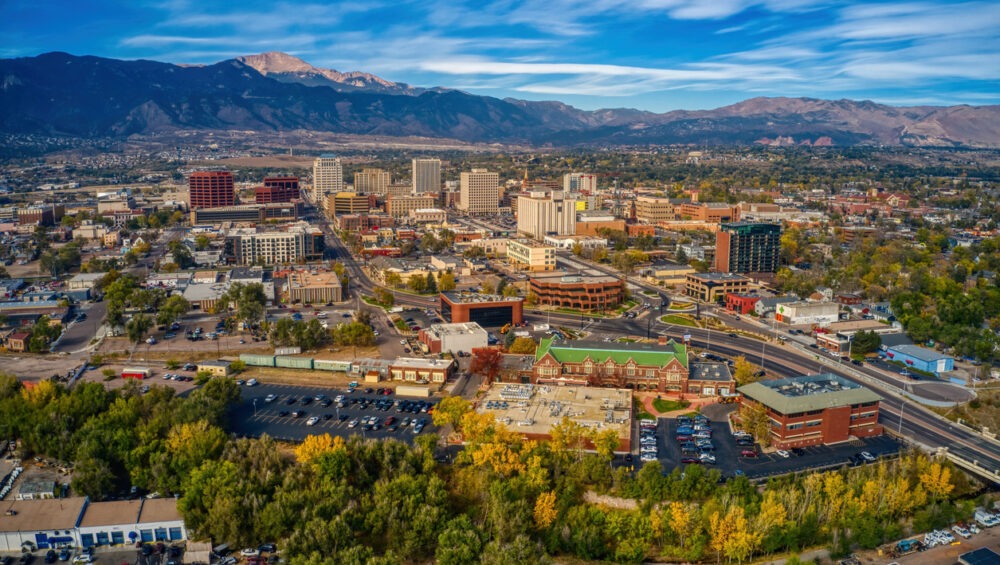
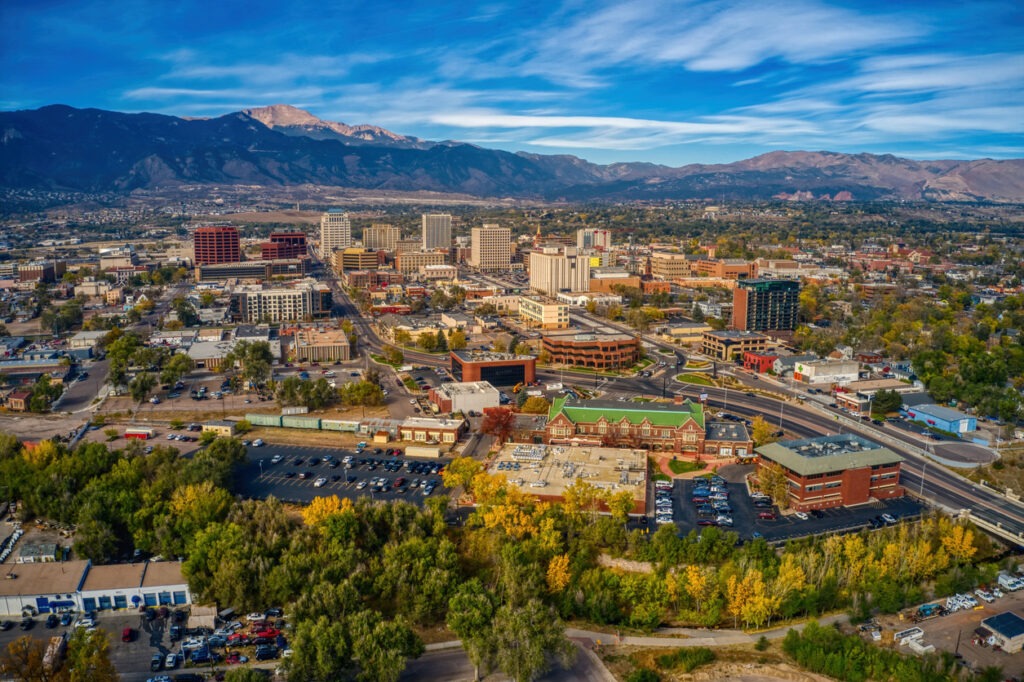
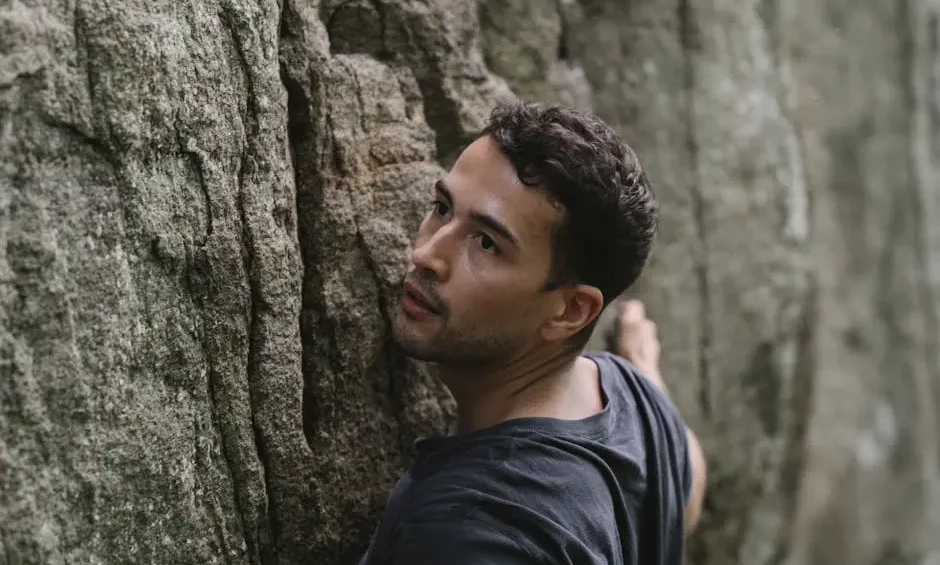
Colorado Springs dazzles with its geological grandeur, offering a climber’s paradise of varied rock formations and awe-inspiring vistas. Whether you’re an amateur eager to find your footing or an experienced climber seeking a new challenge, these exceptional spots provide the perfect route for every adventurer.
1. Red Rock Canyon Open Space
A beloved location for both locals and tourists, Red Rock Canyon Open Space presents an array of climbing routes set against stunning red sandstone formations. Ideal for beginner to intermediate climbers, this area provides a wide range of accessible climbs. The dramatic, rugged beauty of the canyon ensures that every ascent offers a breathtaking perspective, making it one of the most favored destinations for rock climbing enthusiasts. Whether you’re tackling the well-maintained sport routes or enjoying a leisurely scramble, the experience is both exhilarating and satisfying. The park’s management ensures safety is paramount, with clear markings and maintained paths, making it an ideal spot for families and group outings. The canyon’s weaving trails further enhance the climbing experience, providing a serene atmosphere coupled with the thrill of the climb.
The park’s accessibility is a major draw, with ample parking and convenient trails leading to the climbing areas. Climbers often find themselves returning to explore new routes or perfect their skills on favored ones. The diversity of climbs caters to varied preferences, from vertical ascents to slab climbing, ensuring both skill development and pure enjoyment. Local climbers cherish this spot not only for its natural allure but also for its community-centric events, fostering a sense of camaraderie among adventurers. Visitors often pair their climbing day with a picnic or a scenic hike, fully immersing in the natural beauty that this treasured locale offers. Undoubtedly, Red Rock Canyon Open Space remains a must-visit for those eager to experience the thrill of rock climbing amidst awe-inspiring natural scenery.
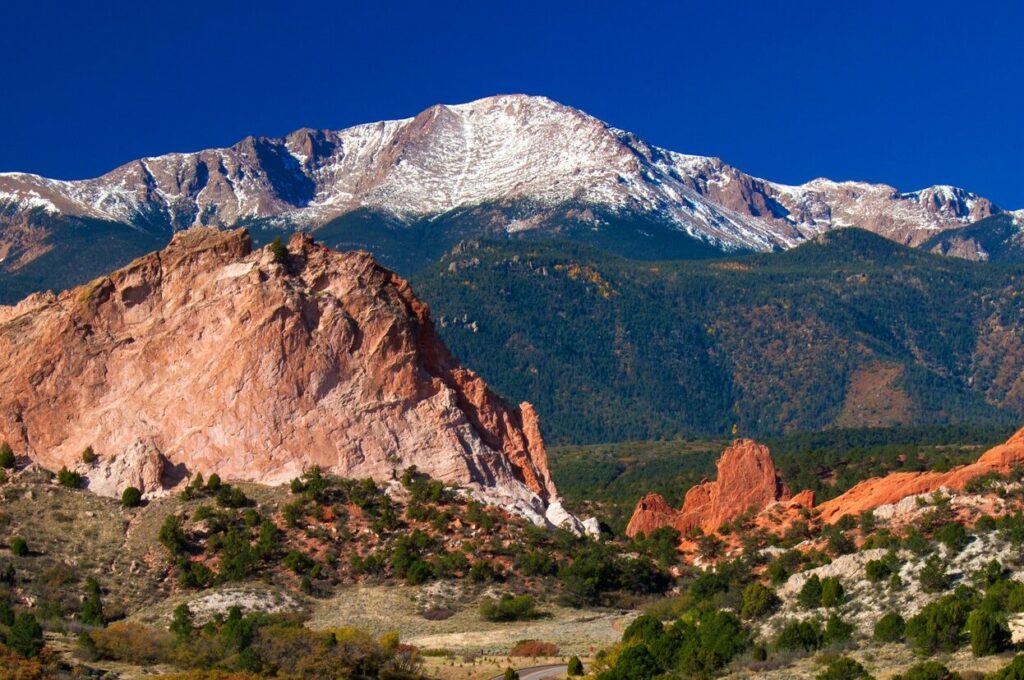
2. Garden of the Gods
Famous for its towering red rock structures, Garden of the Gods is a climber’s dreamscape. With routes suitable for varying levels of expertise, you can traverse its iconic formations while savoring the breathtaking Colorado landscapes. An undeniable masterpiece of nature, this park stands out with its unique formations like the massive Balanced Rock and the towering Kissing Camels, providing a picturesque backdrop for any climbing adventure. Here, climbers can choose from a variety of routes that challenge both the mind and body, offering opportunities to enhance climbing techniques while soaking in the serene atmosphere. Climbing is indeed made more memorable amidst the rich tapestry of colors painted by the sunrise or sunset, a daily spectacle that enhances the climbing experience.
Garden of the Gods provides a haven for traditional climbers with its unique sandstone formations, inviting them to test their skills and relish the unspoiled natural beauty. The park’s commitment to conservation deserves equal applause, maintaining the pristine condition of the formations while allowing safe excursions. Regular climbers are well-acquainted with the friendly faces they encounter along the routes, creating a welcoming environment for both seasoned and novice climbers. After a rewarding climb, many opt to explore the park’s comprehensive visitor center to learn more about its geological and cultural significance, completing a well-rounded journey into the captivating world of Garden of the Gods.
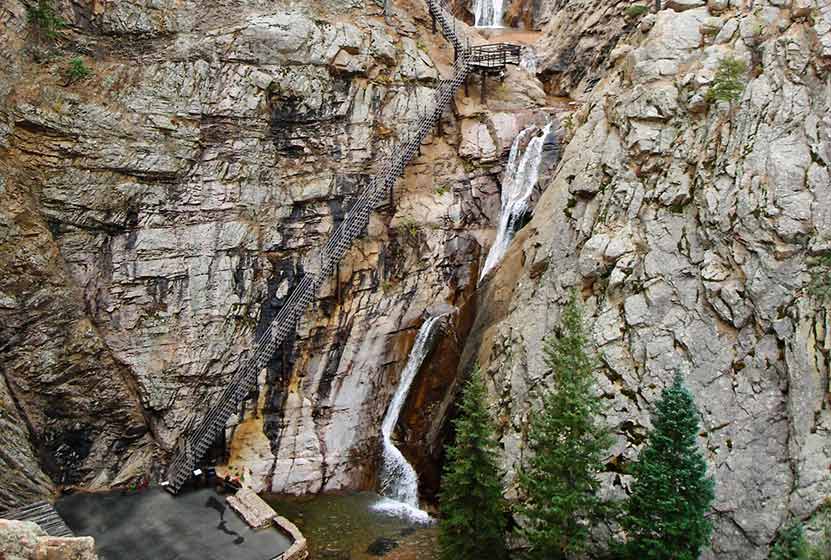
3. Cheyenne Canyon
Known for its rugged beauty, Cheyenne Canyon offers challenging climbs that demand focus and courage. Alongside its climbing thrills, the surrounding serene woodland creates an ideal escape into nature. The canyon’s natural bridges and roaring waterfalls offer a dramatic contrast to the rugged climbing routes, giving adventurers a sense of wild seclusion even when only minutes from the city. Hikers and climbers alike revel in the sense of exploration ingrained in its diverse trails that lead to stunning viewpoints of the Colorado wilderness. Cheyenne Canyon’s allure doesn’t end with its climbing opportunities—it also brims with birdwatching and wildlife spotting potential for a true nature-lover’s paradise.
Cheyenne Canyon has a reputation for its exhilarating climbs, appealing to those who seek to embolden their climbing repertoire. The area also showcases well-paved paths for those looking to integrate hiking into their climbing itinerary, providing a harmonious blend of different outdoor pursuits. The synergy of climbing and nature exploration is amplified here; climbers enjoy both the rich, tactile experiences of scaling cliff faces and the tranquility of its lush surroundings that reverberate with the sounds of nature. The perfect destination for a well-rounded day of adventure, Cheyenne Canyon beckons to those seeking a climbing spot that offers more than just a vertical challenge—it offers an escape into unspoiled beauty.
4. Pulpit Rock
A hidden gem for the adventurous climber, Pulpit Rock presents various unmarked routes. Its secluded location is perfect for those seeking solitude and tranquility while tackling bouldering challenges. This site offers a remarkable opportunity to engage with nature intimately, away from the general hustle, offering a unique challenge to even the most seasoned explorers. The delight of Pulpit Rock lies in its raw and rugged routes that urge climbers to rely on instincts and experience. Return visitors often seek to conquer new challenges presented by its ever-changing terrain, contributing to the allure of this unmarked marvel.
Despite being off the beaten path, Pulpit Rock entices those who crave a climbing experience steeped in solitude and serenity. The landscape here is an artist’s palette, where the interplay of light and shadow across its formations creates breathtaking vistas that demand admiration. As you ascend, sprawling views of the city emerge, revealing a tapestry of natural beauty interwoven with urban life. Climbers treasure its uncharted ambiance, finding solace and inspiration in its wild beauty. An exploration here reveals not just the physical elevation gained but also a comprehensive connection to the tranquil wilderness that Pulpit Rock so generously offers.
5. Eldorado Canyon
Renowned for its steep sandstone cliffs, Eldorado Canyon is a destination for the daring climber. The striking views and the technical nature of its routes make it a worthy challenge for advanced practitioners. Known affectionately as ‘Eldo,’ this area captivates with its vertical complexities and rare flora, offering a unique and exhilarating climbing experience. Its steep faces and technical routes test both the mental and physical fortitude of climbers. The true beauty of Eldorado Canyon shines through its natural splendor that serves as both a climber’s sanctuary and a naturalist’s marvel. Adventurers here often find themselves returning to challenge further and conquer different heights.
With its storied past and tradition-riddled climbs, Eldorado Canyon stands as a hallmark of climbing excellence and a testament to the adventurer’s spirit. Climbers frequently gather to pit their skills against its formidable rock faces, sharing tales of triumph and tribulation over campfires. Experienced climbers relish the opportunity to traverse its renowned routes, while also savoring quiet moments where nature’s grandeur speaks volumes. The canyon invites not only challenges but also reflective pauses to appreciate the awe-inspiring landscapes it showcases, promising an unforgettable journey into the heart of Colorado’s climbing legacy.
6. Rampart Range
Offers extensive climbing opportunities in a serene mountain setting. With diverse terrain ranging from slabs to vertical climbs, this location caters to all skill levels. Here, climbers can explore an enclave of routes designed for every preference, making it a sought-after destination for those looking to experience climbing in its most pristine form. The backdrop of lush forests and towering peaks sets the stage for a day of exploration and discovery. Rampart Range remains a hidden treasure for climbers, receptive to new adventurers each year who are drawn to its beautiful and multifaceted landscapes.
Beyond its exquisite climbs, Rampart Range captivates adventurers with its peaceful ambiance and unmatched views. From the gentle whispers of wind through the pines to the melodious symphony of local wildlife, it’s a haven for those who seek tranquility with a hint of adrenaline. Veteran climbers cherish the diverse terrains that allow for varied climbing experiences, enhancing their skills while savoring the tranquil environment. As you ascend its verticals, you are rewarded not only with personal achievement but also the breathtaking panoramic views that stretch as far as the eye can see, making every climb a pinnacle journey unto itself.
7. Mount Herman
With its expansive range of bouldering problems and traditional climbs, Mount Herman is perfect for both developing skill sets and challenging seasoned climbers. Its panoramic views offer a rewarding backdrop to any ascent. The combination of rugged climbs and stunning vistas ensures a fulfilling experience for rock enthusiasts. Seasoned climbers target its complex routes that require precision and patience, while newcomers can enjoy the thrill of their first ascent in such an enthralling location.
The dynamic range of routes available makes Mount Herman a versatile climbing destination, equally suitable for single-day excursions or more extended climbing programs. Climbers often appreciate the diverse experiences Mount Herman provides—the challenge of its more intricate routes stands in harmony with the meditative quiet found in lesser-explored areas. As you explore its breadth of climbs, you’ll discover that Mount Herman rewards not only the physical journey but also offers moments for reflection and appreciation of nature’s grandeur. It’s a destination where technical ability meets scenic inspiration, crafting a truly immersive climbing adventure.
8. The Trading Post
Nestled near the iconic Garden of the Gods, The Trading Post offers bouldering challenges with a historic hue. As you navigate its dynamic problems, enjoy the proximity to Colorado’s iconic red rock scenery. The richness of the area’s history echoes in each climb, providing a narrative that adds depth to the experience. Climbers cherish the opportunity to work through boulder problems that integrate the challenge of physical endurance with historical intrigue.
The Trading Post serves as an arena for boulders to hone their craft, blending history with the natural friction of the rocks. Many heads here for the striking combination of beautiful vistas and intricate bouldering routes. A climb here is not just a matter of skill but also an engagement with the stories embedded in the rock. The Trading Post’s inviting crevices and sunlit clearings offer climbers ample opportunity to test their mettle while basking in the shadow of the magnificent Garden of the Gods. It’s a place where every ascent prompts exploration both of rock and reverie.
9. Ute Valley Park
A local favorite for outdoor enthusiasts, Ute Valley Park combines hiking and climbing with rewarding routes and beautiful vistas. It’s perfect for an all-inclusive day of adventure. From scrambling up boulders to traversing mellow trails, climbers and hikers can indulge in a myriad of activities set against stunning views of the valley. The intrinsic beauty of the surroundings enhances the thrill of each climb and hike, as every corner reveals a new story shaped by the contours of the land.
Ute Valley Park promises a full spectrum climbing experience, offering routes favorable for a quick adrenaline fix or a more engaged exploration of its intricate trails. The park is celebrated for its welcoming atmosphere, where local enthusiasts and visitors mingle, sharing their climbing stories and bonding over shared passions. Each rock face and trail paves the way for a deep connection with this beautiful slice of Colorado, crafting memories that resonate long after the adventure ends. Adventurers here not only conquer rock and elevation but also depart with newfound friendships and indelible imprints of a place where climbing is both an art form and a communal celebration.