How to Train to Hike a Colorado Fourteener

Are you hoping to summit one of Colorado’s famed 14ers but don’t know if you’ve got what it takes? It is actually a lot easier than you think to get in shape for a hike, and you can train to go from couch to 14er in a matter of months. Following a consistent and well-rounded exercise plan will prepare you to hike your first 14er and make sure you have a great time doing it. 

There are a few important elements to remember when training for a big hike. They are cardio, strength, and flexibility. In this article, we will go over how to train for all three and what a typical week should look like as you prepare for a hike in Colorado.

Cardio Training for Elevation Hikes

Cardio is important not just for long-distance hiking, but in this case, also for hiking at elevation. As you climb up a mountain, the amount of oxygen in the air decreases. At sea level, the air is about 21% oxygen. At 8,000 feet, it is 15%, and by 14,000 feet, it is 12.3%. This means that you will fatigue faster and get muscle cramps more easily. If you are not prepared physically for the elevation, you will be more susceptible to symptoms of altitude sickness.

Doing cardio training helps combat these symptoms by conditioning your body to use oxygen more efficiently and adapt better to vigorous exercise. When training to hike a 14er, it is best to do cardio every other day. You can strength train in between and of course, have an active rest day (or weekend). Your cardio exercise should last at least an hour and focus on consistent exercise, often called steady-state cardio. This means working hard with minimal rests, to the point where you are breaking a sweat but not risking injury. 

Good cardio exercises for preparing to hike a 14er can be anything from rowing to running or biking to swimming. It is helpful to focus on low-impact exercises so you do not injure or over-stress joints when training.

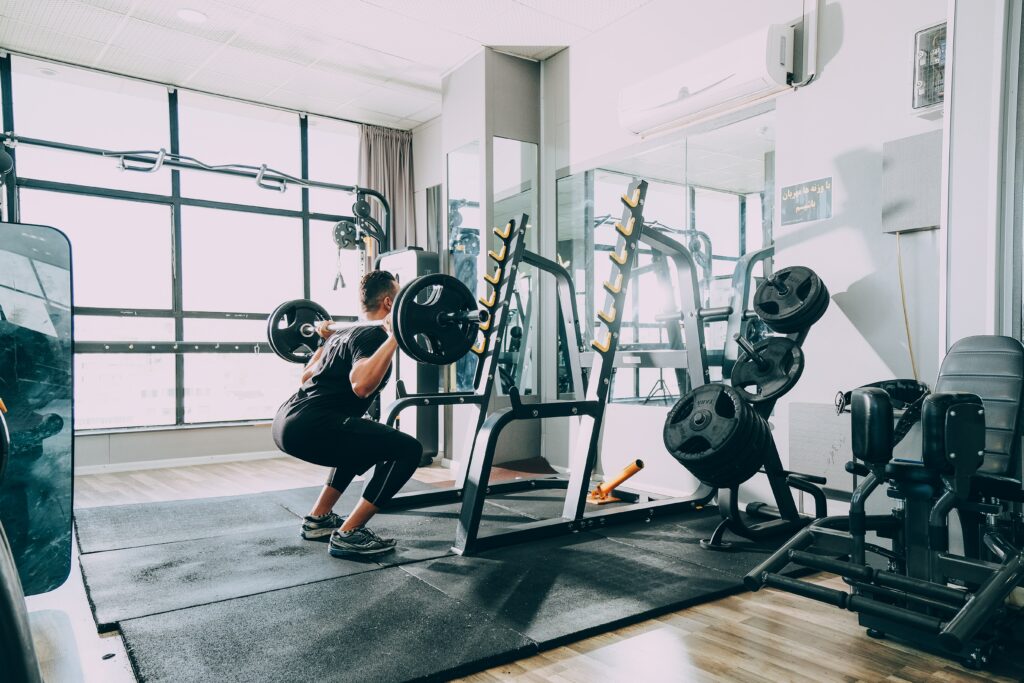
Strength Workouts for Hiking Training 

Strength training may not be top of mind when you consider hiking a 14er, but it is just as important as training for cardio. Mountain climbing requires endurance from many muscles in your legs, back, and core. Between hiking at an incline (or decline on the way down) and some large steps in a scramble, you will certainly find your legs tested on a Colorado 14er.

Your strength workouts should take at least half an hour. I like to complete three sets of eight to ten exercises on strength training days. A good strength training routine will include full-body and core exercises. You want to focus on building stability and endurance in the ankles, knees, and hips. There is a multitude of different movements you can choose from to work on these areas. For legs, you’ve got squats, lunges, step-ups, step-downs, and heel raises. Hip flexor and lower core strengthening exercises include deadlifts, hip thrusts, and various sit-up workouts. If you have had problems with your feet in the past, be sure to include towel curls (or towel scrunches) to help strengthen your arch and prevent injury.

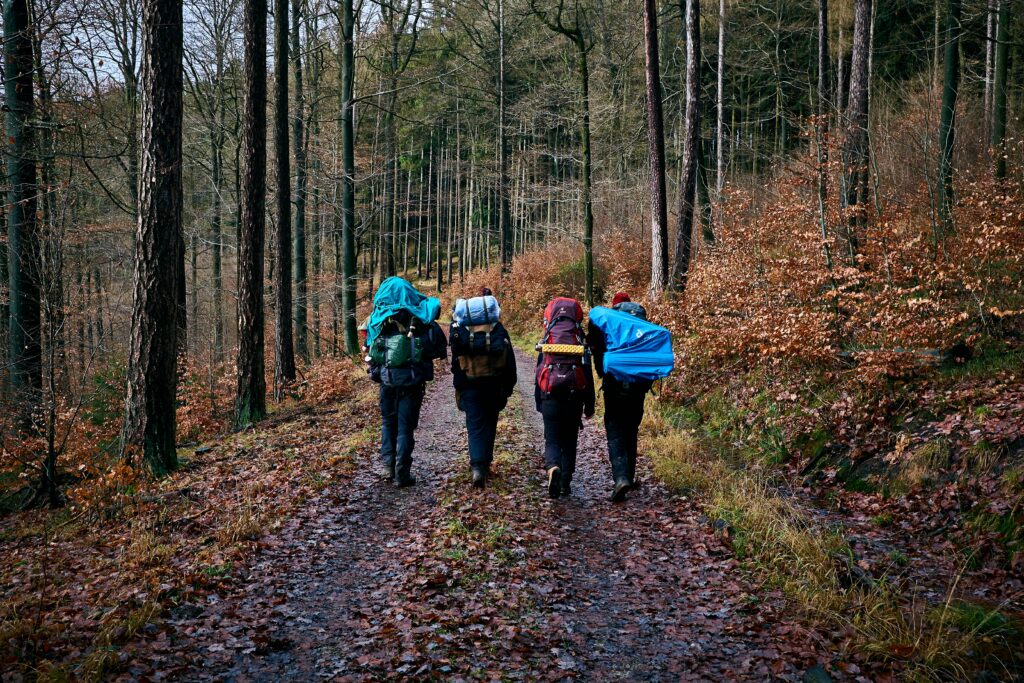
Pack and Elevation Training

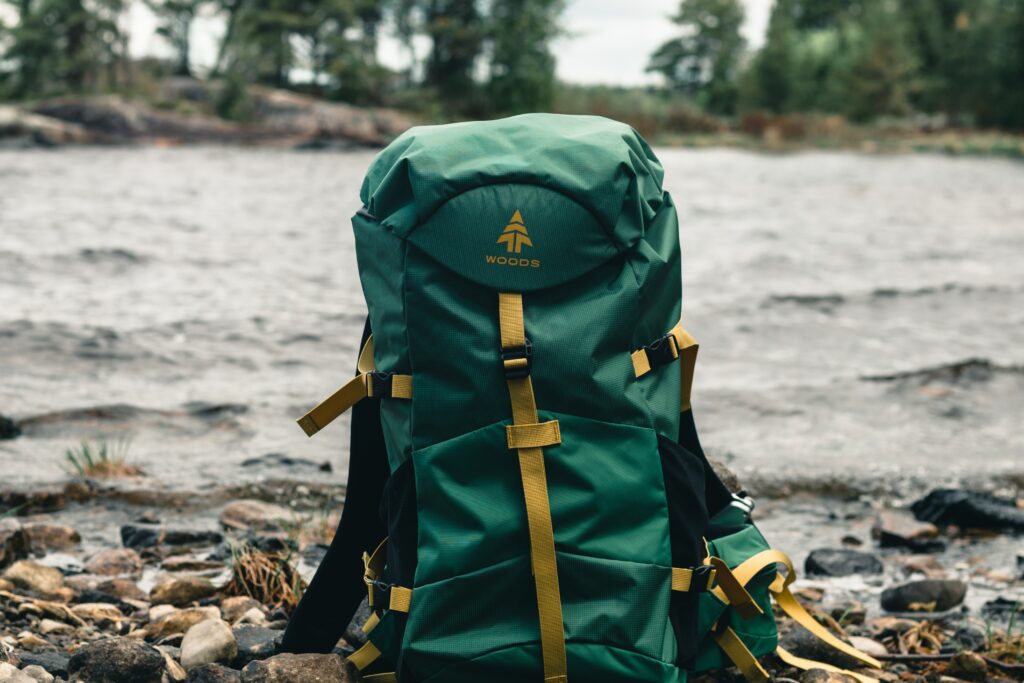
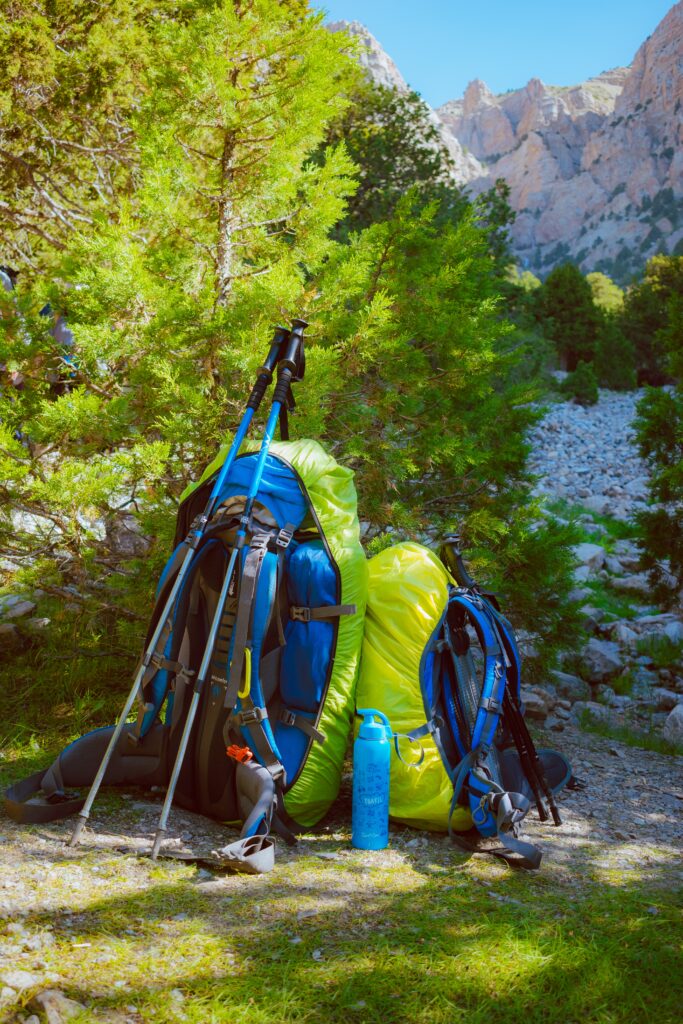
One more important part of strength and cardio training is hiking with weight. When you are hiking a 14er, you will need to bring a day pack with water, food, extra layers, and first aid gear. No matter how light you keep it, your body and your back will notice this extra weight. That is why it is essential to build pack training days into your cardio routines.

My preferred schedule is to work out every day of the week, with cardio Tuesdays and Thursdays. Then, plan Saturdays for practice hikes with pack and elevation training and Sundays as your rest day. When you organize your schedule like this, you will find it takes only a few months to go from couch to 14er.

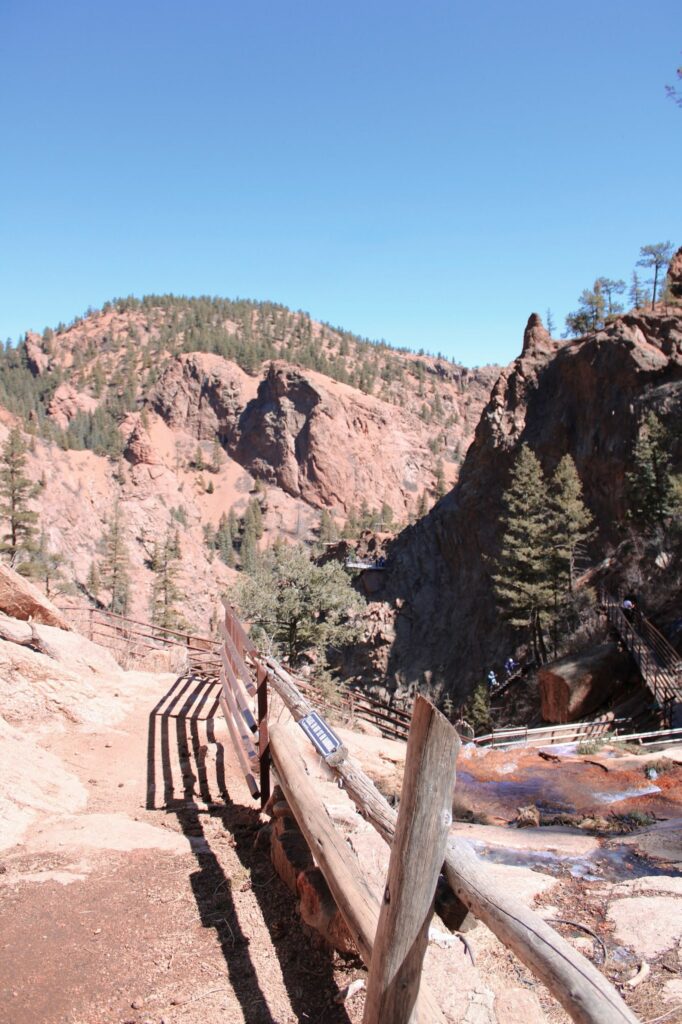
You should start your training hikes with two or three-hour hikes that have a minimal elevation gain of a couple of thousand feet. There are plenty of great moderate hikes near Colorado Springs to choose from, including the Columbine Trail. Once you build up to six to eight-hour hikes with at least 4,000 feet of elevation gain, you will surely be ready for your first 14er. 

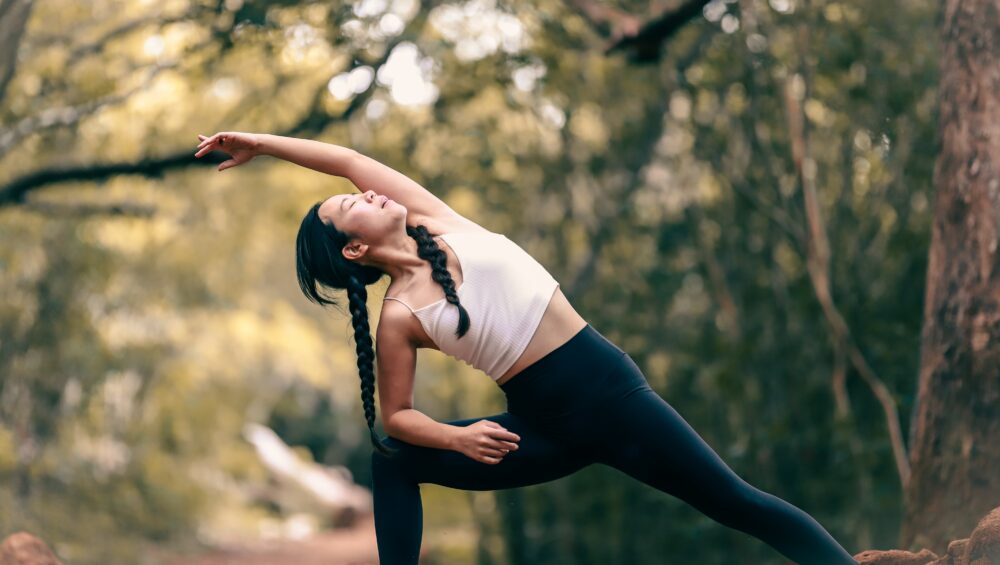
Flexibility Training for Hiking 14ers

The final part of hiking training, one certainly not to be overlooked, is stretching. When training to hike a 14er, you should stretch every single day, even on your rest days. If you do not stretch daily, you will find your muscles tighter, more injury-prone, and sorer. 

It is best to stretch during and after workouts. It is a myth that you should stretch before you start exercising. Stretching when your body is cold can cause microtears in your muscles. Instead, take five minutes to warm up or start light exercises before you get into a deep stretch. 

You should, at the very minimum, stretch your calves, hamstrings, quads, IT bands, hip flexors, and back (by touching your toes). I also like to stretch my feet by extending my toes and my ankles by kneeling and sitting (gently) on my heels. You should hold each stretch for twenty seconds and repeat any that feel tight. While these stretches do take time, your body will thank you, and you will feel more relaxed and able to endure longer workouts. 

Hiking Your First 14er

Don’t feel defeated at the prospect of training for a 14er. You do not actually need to hike 14,000 feet in elevation gain to summit one of Colorado’s peaks. There are many hikes to peaks that are only a few thousand feet of elevation gain, depending on the parking lot and trail you choose. With a few months of hard work and training, you can begin using 14ers to train for other, more strenuous 14ers.

So where should you start? Many people consider Pikes Peak to be the easiest 14er near Colorado Springs. If you are hoping for a little professional guidance before you tackle your first 14er, be sure to check out a guided hiking tour. With 58 peaks over 14,000 feet, Colorado has no shortage of inspiring hikes to add to your bucket list. Be safe, and happy hiking!

History of Famous Colorado Springs Sites

Built around the base of Pikes Peak, Colorado Springs has a long and diverse history in the development of railroad routes, the excitement of the gold rush, and the installation of military facilities. The history of this area takes you to some of the best sites in and around Colorado Springs. These stories will surely inspire you to visit these attractions and enjoy them in a deeper way. 

Garden of the Gods

What is Colorado Springs most famous for? The most popular Colorado Springs site has to be the Garden of the Gods. This 480-acre park surrounds stunning the geological feature which is a National Natural Landmark. The park was conveyed to the city in 1909 after owner Charles Perkins passed away in 1907. He had purchased the land to build a property on it, but he never did. He decided instead to leave the gorgeous natural environment alone so that the public and future generations could enjoy it. Although he never made arrangements for it to become a park, his children knew his wishes and it remains pristine today. 

There are so many fun activities to do in the Garden of the Gods park, which is part of the reason it is such a popular Colorado Springs attraction. It has some of the best trad climbing in Colorado Springs, horseback riding, hiking, and guided e-bike tours. Seeing the Garden of the Gods via bicycle is one of the best ways to explore these rock formations from different angles. The tour is a ride of about five miles and three hours.

Manitou and Pikes Peak Cog Railway

Image of stream and tunnel in forest in manitou springs colorado springs site
Photo by Mikey Frost on Unsplash

This storied railway is the highest in North America, climbing almost 9 miles to the summit of Pikes Peak at 14,110 feet above sea level. It was built as a tourist attraction by the founder of the Simmons Beautyrest Mattress Company after he spent two grueling days on a mule to get to the peak. Zalmon Simmons funded the railway in 1889, and the project finished just two years later and opened in 1891. After the project proved unsuccessful financially, Simmons sold the railroad to the Broadmoor Hotel in 1925. The hotel still owns and manages it today, nearly 100 years later. 

One of the best ways to experience Pikes Peak and the Railway is with the Cog Up, Bike Down Guided Tour, which lets you enjoy views from the summit before biking down the 19.5-mile winding road. The trip is five and a half hours and provides amazing views of the Front Range of the Rockies. This is a popular tourist destination, and it’s no wonder why: these panoramic views make this one of the best sites in Colorado Springs. If you are not able to complete this exhilarating intermediate biking adventure, you can enjoy the newly created Summit Complex, including world-famous donuts and a well-stocked gift shop, before taking the cog railway back down. 

Rocky Mountain National Park

One of Colorado’s greatest outdoor wonders is a short drive from Colorado Springs just past the town of Estes Park. Rocky Mountain National Park is a 415-square-mile park boasting stunning views, exhilarating hikes, and great opportunities to see wildlife like elk and bighorn sheep. Early recordings of park exploration date back to the mid-1800s. Around this time, the area became popular due to the Pikes Peak gold rush. Federal law established Rocky Mountain as a National Park in 1915. Private homes scattered the landscape, but the government removed and replaced them with campsites and facilities.

Today, Rocky Mountain National Park is a gorgeous expanse of wilderness, with five visitors centers and over 100 backcountry campsites. There are opportunities for fishing, rock climbing (one of the most popular spots in Colorado for bouldering), and trail hiking. Serious hikers should check out the 45-mile loop of the Continental Divide National Scenic Trail. You should visit in the summer, as the park closes in the winter due to weather hazards. Most trails in the park also allow horseback riding, so there is no shortage of exciting ways to experience this park.

Rocky Mountain National Park was also one of the first World Biosphere Reserves, designated by UNESCO in 1976. This awards dedication to sustainable development and efforts to encourage human exploration in tandem with conserving the area’s biological diversity. With such a rich history and so much to explore and learn, the park truly is an essential Colorado experience.

Mining and Gold Camp Road

As you now know, Colorado Springs grew out of the Pikes Peak gold rush and subsequent mining. This famous Colorado Springs site was officially founded in 1871 and just celebrated its 150th year. The tunnels throughout Gold Camp Road were constructed in the late 1800s. A railroad called the “Short Line” opened in 1901 to help facilitate mining. The 200-car freight train transported miners, supplies, and minerals from mines near Cripple Creek back to Colorado Springs. 

The best way to explore Gold Camp Road is to hike or bike it. The hike is moderate difficulty, 14 miles and 2,200 feet of elevation gain. Mountain biking is a popular way to explore the trail, too, and it appears on cycling event routes often. It is possible to drive through the first two tunnels, but eventually the road becomes too rocky.

Final Thoughts

Colorado Springs’ unique history is just one more exciting thing to explore. With stunning views, diverse wildlife, and beautiful wildflowers, there are so many ways to enjoy an outdoor adventure and learn something new about Colorful Colorado. No matter what you like to do, there will surely be something awe-inspiring and memorable in your travels. If you are looking for your next adventure, Broadmoor’s guided tours teach new skills and explore new parts of town. 

How to Wear a Hiking Backpack

Are you looking forward to your first backpacking trip? Or maybe you’ve been on the trail and are wondering why your back hurts so much. A poorly fitting backpack can be a real hazard, causing back and hip pain, setting you off balance, and turning a beautiful hike into a miserable slog. 

In this article, we will set you up for success with three important steps: backpack fitting tips, how to properly pack a hiking backpack, and the right way to wear a heavy hiking backpack. Once you have these pieces sorted out, you will be ready to check out some of the best hikes near Colorado Springs with confidence and comfort.

Hiking Backpack Fitting Tips

The easiest way to get a backpack that fits well is to go to an outdoor equipment store where you can try some on with expert guidance. If you are buying a pack online or getting one from a friend, you might not have access to a professional opinion. But don’t worry: you can easily confirm on your own if a pack is a good fit for you.

The first thing you will do is measure your torso and hipbelt (not the same as your pants size!) and choose a pack that fits these dimensions. Whatever site you buy from will offer tips for taking these measurements, and be sure to look at the pack’s sizing guide, as different brands will vary. 

The Many Straps of a Pack, or How to Properly Wear a Hiking Backpack

Once you have your backpack in hand, you will see that there are plenty of adjustments to make. The torso size is key because too short a pack will strain your muscles and too big a pack will destabilize you. When you have that proper torso size, you can move to the hipbelt, which is the most important part of the backpack to adjust. 

Photo by lucas Favre on Unsplash

The Hipbelt

The pads of the hipbelt should sit high on your hips, around where your ‘love handles’ would be. Shrug your shoulders and tighten the hipbelt here. Your hips do a lot of the work in carrying the weight of a backpack, so if you find your shoulders hurting during a hike, you probably need to readjust the hipbelt. 

You do not want this to be too tight that it hurts or too loose that it slips down. It should be snug in order to stay affixed in place while you hike. If you find yourself with bruises (called hip rot) or a rash on the hip, it is probably because there is too much movement of the hipbelt.

The Shoulder Straps

Once the hipbelt is in place, you can use the shoulder straps to make adjustments to get the pack to sit snugly against your body. It is a good idea to do this initial adjustment with a bit of weight, say ten pounds, in the pack. If it is totally empty, you may not get a good feel for how the weight will feel on your shoulders and hip.

Load Lifters and Sternum Strap

There are still a few more straps on the pack, namely the load lifters and the sternum strap. The load lifters are small straps that go from the top of the pack frame to the shoulder straps. When properly tightened to about a 45-degree angle from the pack, these straps bring the load closer to your body, which makes it easier to carry with the pack’s center of gravity closer to your own. The sternum strap should sit about an inch below your collarbones and be just tight enough to keep the shoulder straps off your armpits.

Make sure you do not overtighten any of these straps. If you do, you will feel tension, in your neck as the load lifters pull your head back or in your chest as the sternum strap pulls your body inward. You want the shoulder straps to be snug, but they should not pinch your armpits or restrict your arm movements at all.

Photo by Ali Kazal on Unsplash

How to Properly Pack a Hiking Backpack

You might not realize it matters, but there are actually ergonomic reasons that you should pack in a specific way. This mostly concerns where the backpack’s center of gravity is and how you can bring it closest to your sturdiest parts.

The best place to put heavy gear is in the middle of a hiking backpack. The bottom of the pack is great for bulky items like sleeping bags and pads and maybe your pajamas. Heavy items down here, though, will make the pack sag, and for back safety, you should avoid letting it hang lower than four inches below your waist. Throw these bulky light items in first, especially ones you won’t need to access until camp, and then pack the heavier items like cooking gear and food next. Weighting the core middle area of the pack will help you feel stable on the trail.

Finally, the top of the pack is for trail essentials like your rain jacket, first aid kit, and supplies for water filtration and toilet usage. You don’t want to put anything too heavy up here, as it will throw off your balance and cause unnecessary tension. Hiking backpacks also have plenty of strap pockets and loops for storing headlamps, bug spray, navigation tools, high-calorie snacks, and other small essentials that you might want to access on the move.

How to Adjust a Hiking Backpack on the Trail

Lean Forward

Because the backpack’s weight is mostly behind you, leaning forward slightly will help you feel more balanced. Especially while going up or downhill, be aware of how the backpack’s position can change how heavy it feels. Try making slight adjustments to the straps and backpack’s positioning as you walk so you can learn to identify these stressors and improve your comfort on the trail. If you are wondering if trekking poles are worth it, they can certainly help in this situation to disperse weight better. 

Photo by A.Z on Unsplash

Avoid Load Fatigue

One helpful way to give yourself a rest as you continue hiking is to alternate between backpack positions. It is common to take a few minutes with a hip-heavy load, where you loosen the shoulder straps slightly and give your upper body a rest. Then you can switch, tightening the shoulder straps back up and loosening the hipbelt a little. You don’t want the pack to be in danger of falling off or affecting your ability to walk, but a few moments of small adjustments can help you recover mid-hike and avoid muscle fatigue.

Rest

It is so important to take breaks along your hike. Not only for water and snacks but also to give your body a rest. Even if you are only taking a short water break, you should take the pack off and shake out your shoulders. Take a moment to assess how you are feeling and if there are any sore places on your body that you need to address. If you ignore pain, it will likely only get worse, so pay attention to what your body needs and make changes.

With these backpack fitting tips, you should be ready to hit the trail and conquer Colorado’s beautiful peaks. Make sure you listen to your body, pack smart, and stay safe. If you are looking for a little extra guidance as you begin your hiking journey, check out one of these scenic guided hiking tours around Colorado Springs. Happy hiking!

Rock Climbing Holds: A Beginner’s Guide

When you are just getting started rock climbing, it can be hard to get on the wall and stay there. Some aspects of rock climbing are not intuitive, and if your only previous climbing exposure is with ladders, there are sure to be types of rock climbing holds you haven’t encountered before.

In this article, we will go over the various indoor climbing holds, how to approach and hold on to them, and what you should know about your center of gravity while rock climbing. Once you learn how to grip different rock climbing holds, you will be much more comfortable on the wall and easily move past beginner rock climbs into early intermediate routes.

Although this article will focus on indoor rock climbing holds, these skills are transferable to outdoor climbing as well. Once you know how to recognize and respond to different holds, you will be prepared for many different types of climbing, including sport climbing, bouldering, and top rock climbing, indoors and out.

The Five Main Types of Rock Climbing Holds

Jugs

The easiest rock climbing hold for beginners to use is the jug. These holds have large, ergonomic shapes that you can grip with your whole hand. They will typically look like a large pocket at the top, big enough to put all four fingers in. For extra stability, I hold these with my thumb out to the side, as pictured below, although you can also keep it flush against your forefinger.

With jugs, as well as the rest of the basic climbing holds in this first list, it is easiest to hold on when your center of gravity is below the hold. Pulling yourself up to the hold employs the bicep and tricep, and you can continue to use the hold once your center of mass changes. Pulling on the hold will keep your weight close to the wall and help you stand up, and pushing off the hold from above (in a move called a “mantle”) provides extra height for reaching the next hold.

Photo by Bastien Plu on Unsplash

Crimps (and Edges and Chips)

The next most common rock climbing hold is the crimp. Crimps are small holds that have a thin ledge only big enough for the pads of your fingers. Edges are similar holds with less-defined lips to keep your fingers in place. Chips are even tinier holds that you see used mostly as foot holds and in advanced climbing routes. These are also easily the most common holds you will find outdoors on a guided rock climbing tour.

These tiny holds are hard for beginner climbers because they require a lot of finger and hand muscles that, prior to climbing, I hadn’t developed. Sometimes you will only be able to fit a couple of fingers on these holds, and this will stress your tendons. Crimps are the reason it is important to stretch your fingers and wrists before climbing. With these holds, they are almost exclusively usable from below. When reaching for a crimp, remember to move your hips and adjust your body weight accordingly. Keep your wrist straight to avoid injury and use your shoulder and elbow to maneuver into the necessary position.

There are three different ways to grip a crimp. An open hand position, in which the tips of your fingers stay above the other knuckles is the safest to avoid injury. It is also often weaker until you develop these muscles. This is primarily useful for the sloper, another rock climbing hold we’ll get to soon. A closed crimp (shown below) tends to be the strongest position, but it is also the most stressful for the joints. Imagine making a fist, but uncurling the last knuckle. In this hand position, your fingertips are almost touching the top of your palm, and this can cause tendonitis if you are not careful. The most common hand position is the half-open hand, where your fingers wrap around an imaginary circular ladder rung.

Photo by Bastien Plu on Unsplash

Pinches

With a similar hand position as the crimp, pinches require you to keep your fingers mostly straight. Pinches can be horizontal, vertical, or somewhere in between. These are hard for beginner rock climbers, as they require hand and thumb strength that take time to develop.

Photo by Bastien Plu on Unsplash

Slopers (and Guppies)

Slopers are large rounded holds that, at first encounter, appear impossible to grab. These tricky rock climbing holds rely on friction more than strength. They also tend to make beginner climbers nervous because it is impossible to feel secure on a sloper. You grab a sloper with an open-hand grip similar to crimps, though you can spread your fingers and thumb out for better coverage. 

Slopers are one of the most important holds to consider body position and center of gravity. They are simply impossible to hold onto if you are in the wrong place. Read more about managing your center of gravity in our beginner’s rock climbing technique guide. Consider where your fingers are as a horizontal line, and keep your wrist and elbow perpendicular to that line. This will protect your tendons and joints from injury and provide the best opposite force to keep you on the climbing hold.

A guppy is similar to a sloper, except it works best when you grip it on the side. Whereas slopers have your palm facing the wall, guppies require you to turn your hand ninety degrees. It is easy to grab wrong at first, but you’ll find a sideways grip necessary to get the best friction.

Photo by Bastien Plu on Unsplash

Pockets

Pocket holds are sort of like jugs, but with the pocket facing forward. They also tend to be smaller, only big enough for a couple of fingers. Both of these factors make them a lot tougher for beginner climbers to manage.

Be sure to have a slow approach to a pocket. This is not a rock climbing hold you should grab from a dyno, as that is likely to cause jammed fingers. It is also important not to push yourself too much on a pocket. If you feel like you are injuring yourself trying to hold weight on two fingers, you probably are.

Photo by Bastien Plu on Unsplash

Top Three Secondary Climbing Movements

The Sidepull

There are three more basic climbing holds that you will likely encounter. These are distinguished by the movements required to use them. The first, the sidepull, is any hold out to the side of the route that is turned vertically. To hold a sidepull, put your arm parallel to the ground and employ core and tricep muscles to pull the arm toward you.

If you try to hold a sidepull from below, you will slip off the wall. Instead, rotate your hips and feet in order to turn toward the sidepull and create more opposite action. It is this tension that keeps you on the wall. You’ll see this is true for the last two holds as well. Because it is more about the movement, sidepulls can technically be any hold, but they are most likely either edges or pinches.

Photo by Bastien Plu on Unsplash

The Gaston

Now that you can visualize a sidepull, the gaston is this in reverse. It is again most likely to be a crimp, pinch, or sloper-type hold. You will have the same sideways-facing hold but positioned closer to the center of the route, where your body is. As a result, the gaston requires climbers to push down or outward away from the body with a fully bent elbow. Similar to the sidepull, it is essential to manage your center of gravity and align your arm perpendicular to the climbing hold.

This is one of the hardest rock climbing holds because it is one of the few that relies on pushing away rather than pulling toward. Depending on the angle, this mechanism can stress the shoulder. The gaston is the most common cause of a shoulder injury, specifically rotor cuff injury, among climbers.

Photo by Bastien Plu on Unsplash

The Undercling

The final rock climbing hold you need to know is the undercling. This will look like a jug but upside down. Underclings are most often found as starting holds and at the base of overhangs. Underclings are another not-particularly intuitive hold for beginner rock climbers. To use one, you need to balance on your foot holds and use the undercling to pull up and keep yourself close to the wall. If you find an undercling in the middle of a route, you will need to lean away from the wall (as shown below) in order to get a good grip on it and not slip off.

Photo by Bastien Plu on Unsplash

Now that you know the different types of indoor rock climbing holds, you can head to the gym and get some hands-on experience. Before you jump on the wall, stretch your arms and look at the route. Examining the holds and envisioning how you will approach them will help you spend less time on the wall getting tired. Be sure to check out our overview of the beginner rock climbing gear you will need, and you will be all set. Happy climbing!