Best Places to See the Fall Colors in Colorado Springs

The fall transforms Colorado into a gold-rich state once again. The colors of the aspens flow through like liquid gold, rushing in and out quickly, so you need to know exactly where to see fall colors in Colorado. 

It’s time to cozy up and tackle the brisk Autumn air to let your eyes soak up Colorado Springs at one of its finest moments. These trails will take you to some popular, easy-access views and some hard-to-reach, hidden gems in and around Colorado Springs. 

Best places to see the Fall colors in Colorado Springs

Photo by Devonshire on Unsplash

1. Pikes Peak

One of Colorado Springs’ local Fourteeners brings a wide variety of options for those looking to get one of the best fall colors tours Colorado has to offer. At 14,115 feet of elevation, you are looking down on thousands of acres of national forest. The bird’s eye view lets you grab a completely different perspective from walking down on the ground.

It’s a view that everyone should take the time to see in their lifetime and one that everyone can. You can take the easiest route of driving to the top for a short day or hop on the Barr Trail for a 25-mile trek that will genuinely make you work for the views. The most challenging part of Pikes Peak is determining how you want to experience the mountain. 

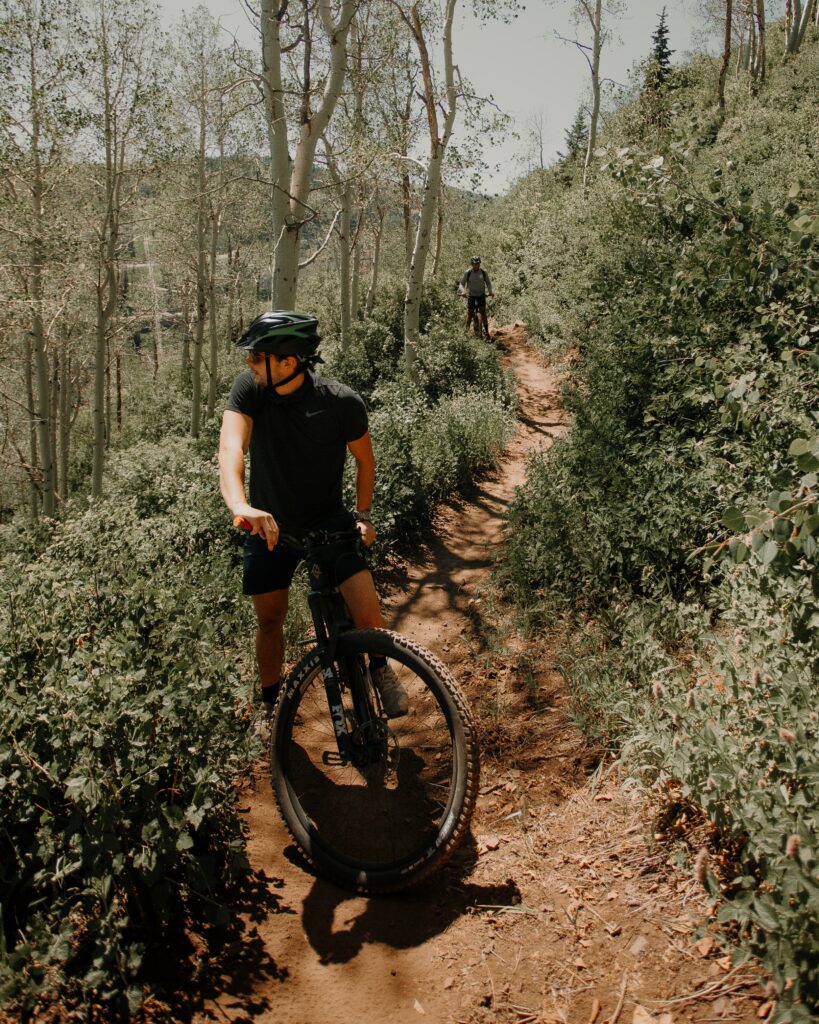
Another option for the more adventurous is to hop on a bicycle and give your legs a real workout. Don’t worry. There are plenty of places to stop and catch your breath while enjoying the view. 

Check out our newest Cog Up, Bike Down Tour that shuttles you to the top of Pike Peak and turns the bike ride into a downhill cruise. 

2. Pikes Peak Greenway

In the fall, Pikes Peak Greenway gets a little less green and a whole lot more golden. 

Urban trails offer easy access and many options with how far you want to go and for how long. Plus, you can walk down to one of your favorite restaurants while still getting the feeling of an Autumn hike. 

The Pikes Peak Greenway runs through Colorado Springs. It’s mostly paved, sometimes gravelly, and is a well-maintained trail that connects several other local trails. Most bikes and all feet can take you around town to see how the fall colors transform Colorado Springs. 

The Greenway gives you easy access to loads of the local parks in Colorado Springs. This is the perfect choice for a walk around town that can end in a picnic overlooking beautiful fall colors. Stop off at Monument Valley Park, Boddington Park, or America the Beautiful Park for a great spot to sit and spend the day with a thermos full of warm drinks and a bag of delicious goodies. 
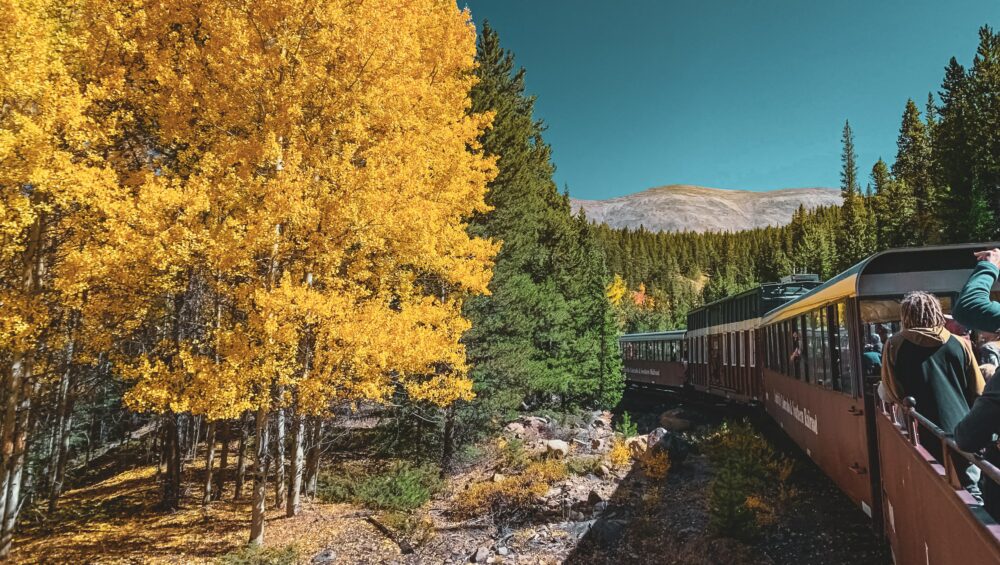
3. Cripple Creek

Just outside of Colorado Springs lies Cripple Creek, a small mining town that sits in a nest of aspen groves shining brightly in the fall. 

You can cruise towards town in several ways that allow you to experience the countryside differently. In town, you can hop onto the Cripple Creek and Narrow Gauge Railroad for a slow crawl through the forests you have been looking at from afar. 

Just make sure to get there in time; the railroad only runs until October each year. 

4. Mount Esther Trail

Just northwest of Colorado Springs sits a relatively small mountain dubbed Mount Esther. While the peak is “only” 9,505 feet above sea level, the climb to get there will test your endurance. 

The Mount Esther trail is 4.2 miles round trip. Trust us, it is worth the energy and the short, but steep climb. 

The treasure at the top of the trail is a golden meadow that reflects all of the colors of Colorado’s autumn season. If you push forward just a bit further, you will find yourself at the Crystal Creek Reservoir. Here, the colors are reflected off the glassy waters, bringing even more color to your world. 
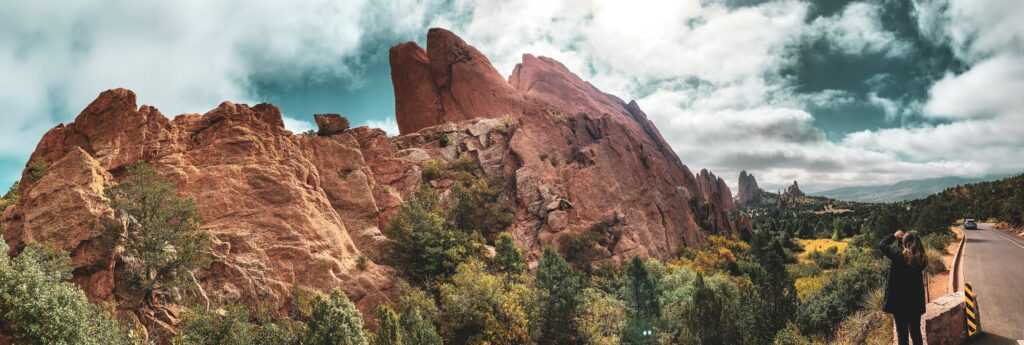
5. Gold Camp Road

While there are loads of great drives in the area, some can be a bit more adventurous than others. Not all roads are smoothly paved yet, and those that aren’t let you get to some of the less traveled, more unique spaces of the Pikes Peak Region. 

If you’re equipped with a 4×4 or an AWD vehicle, be sure to check out Gold Camp Road, as it is where to see fall colors in Colorado with a bit of bump and spicy adventure. 

The name does a pretty good job of encompassing what the drive is going to get you. The rugged drive takes you through tunnels and corridors of aspens that puts you amongst some of the brightest fall colors the area has to offer. 

6. Best Fall Colors Tour in Colorado Springs 

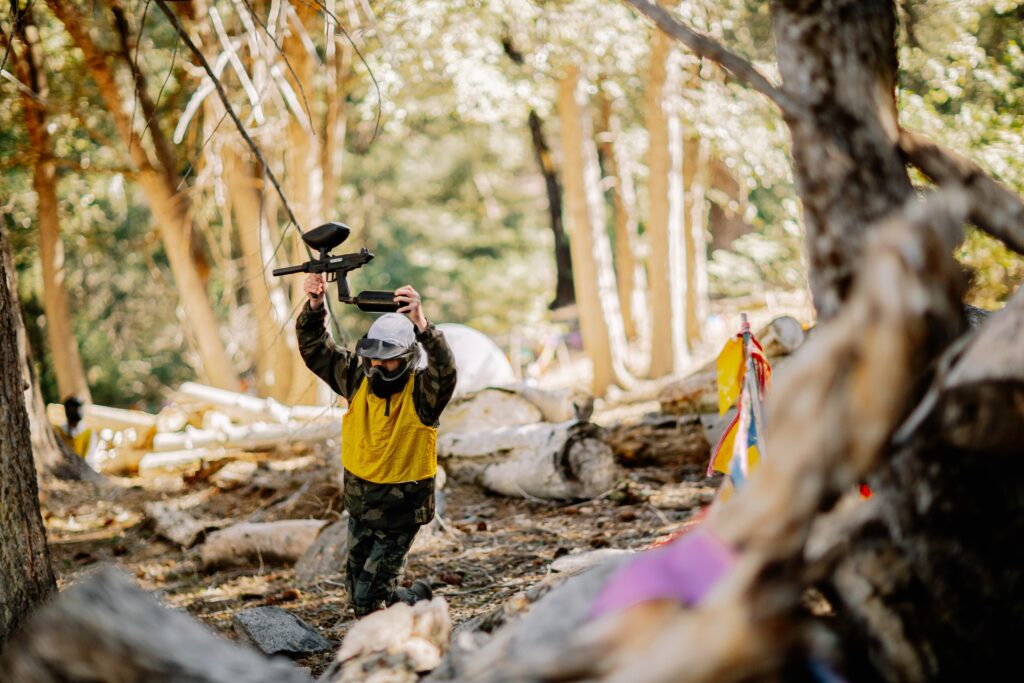
If you’re looking to add in a bit of adrenaline to help warm you up on a brisk autumn day, a zipline tour is one of the best ways to see the fall colors of Colorado Springs. This option gives you a unique view that is constantly changing as you fly through the air. 

This zipline tour will engrain the memories of fall colors into your mind in a way that is hard to find doing anything else. 

An 1800 foot zipline gives you the chance to take in sweeping views of the colors while feeling the breeze across your body. A 1500 foot line takes you over a 150-foot deep canyon, really giving you a unique view of the forests below you.

Paintballing Safety Tips

Paintball is a fun and exciting team sport. It requires strategy and cooperation, and it certainly gets players physically active. However, it can also be dangerous, and that’s why it’s important to learn and follow basic safety rules. In this guide, we’ll go over the key paintball safety tips you need to know before getting on the field. Once you’ve read through this list, you’ll be ready to enjoy the best paintball Colorado Springs has to offer.

1: Always Wear Eye Protection

Safety goggles are an absolute must when paintballing. Getting hit with a paintball on your skin can be a little painful, but it won’t cause a severe injury. Especially if you are wearing padding, you’ll just end up with a little bump or red area. A paintball to the eye, however, can cause very serious injury. This is why safety goggles are the number one paintball safety tip. A full-face shield, which includes protection for your eyes and breathing holes for your nose and mouth, is even better. But either way, the primary paintball safety rule is to keep them on at all times.

If you need to adjust your eye protection, you will have to exit the field of play or go to a designated “safe zone” if there is one. Do not take your goggles off anywhere else, even if you think you are hidden. 

If you have your own goggles, be aware that the lenses need to be replaced according to the manufacturer’s guidelines, and you should never play with cracked or old lenses. Also, be sure only to use dedicated goggles cleaner, as other products could be corrosive to the lenses and wear them down.

Image by Evan Cornman from Pixabay

2: Look Where You Shoot & Do Not Hit Anyone Without Eye Protection

It is very important to make sure that you are not “firing blind.” Beginner paintballers tend to close their eyes when shooting. This is totally natural! However, you will be allowed to practice firing at a marker before the competition starts so you can get used to the feeling. 

You always need to look where your marker is aiming before you shoot. First, make sure that you are within the field of play. Then be sure that the person you are aiming at, and everyone else around, is wearing proper protective equipment. Next, check that the person you are aiming at does not have their hands up. (As you will read below, this means that they are already out and exiting the playing field.) Finally, make sure you are aiming at the person’s torso, not their face.

If anyone does not have goggles on, your marker should be pointed down at the ground! Do not shoot even if the person without eye protection is on the side and not where you are aiming. Paintball markers are not the most precise shots, and someone could easily run in front of your target at the last second. This is why if you see someone without goggles on, you need to lower your paintball marker until they exit the field of play.

3. Give a Player the Opportunity to Surrender & Be a Good Sport

One common paintball safety practice is the idea of surrendering. If a player is close to you, within twenty feet when outdoors, you should give them the chance to surrender before shooting them. Getting hit by a paintball at such close range can be quite painful, so it is sportsmanlike to announce yourself and not actually shoot the person. You can yell “Surrender” or “You’re out” to tell the person that you got them, even though you aren’t firing your marker.

On this same note, if someone has snuck up on you and lets you surrender, do it. It would be poor sportsmanship to run away and say you are still in the game because you didn’t get hit. Trust us when we say that you do not want to get hit at such close range. When someone lets you surrender, put your hands up and exit the field.

4. Do Not Shoot Anything but Your Target

If you need to practice shooting, you will have access to a practice range and targets. Otherwise, you should only shoot at other players or targets in the field of play. Do not shoot at any wildlife, passing cars, or structures outside of the playing area. 

For one thing, it may be illegal, but it is also dangerous. You could hurt someone, and the paint in paintballs can leave behind a stain. Shooting when you are not supposed to is an easy way to end your day early by getting kicked out. Be respectful of your surroundings and only shoot at designated targets.

Photo by Pengyi zhang on Unsplash

5. Always Use a Barrel Sock and the Safety

There are two features of a marker that both make for essential paintball safety tips. First, a barrel sock is exactly what it sounds like: a sock that goes over the head of your marker’s barrel. This blocks paintballs from exiting the barrel if the marker accidentally discharges. Leave the barrel sock on until play is about to begin, and put it back on the barrel immediately once you exit the field.

The second is the safety, which you toggle on or off to be able to shoot. Anytime you are not on an active playing field, your safety should be in the ‘on’ position. This will make it impossible to pull the trigger, thus preventing you from accidentally discharging the marker.

6. Exit with Your Hands Up

When you are ready to exit the playing field (because you were hit, surrendered, or just need a break), you must announce yourself. To make it clear to other players that you are leaving, you should yell “out” and raise your hands and your paintball marker above your head. 

Be sure to walk off the field of play quickly and directly. If you are looking around at other players or zigzagging through obstacles, other players might mistakenly shoot you. Keep your hands up the whole time and keep your goggles on. 

Once you are out of the playing zone, you should first turn the marker’s safety on and put the barrel sock back on. Once your marker is protected, then you can take your goggles off, relax, and watch the rest of the game.

Photo by Vince Fleming on Unsplash

7. Take Cover to Rest and Reload

The best way to avoid getting hit is to ensure you don’t spend too much time in the open. Here are a couple key paintball tips for finding good positions on the field. First, if you can see in all directions, it means you are visible in all directions. And second, just because you can’t see someone doesn’t mean they can’t see you. It just means they are better hidden than you are. 

You want to keep yourself hidden, but not overly so. After all, if you stay in one spot all day, you’ll never hit anyone. Moving among protected areas is actually safer, too, as your opponents are doing the same to find you. You should run between trees or shelters, also called bunkers, and rest only when you are in a protected spot.

When you need to reload, find a safe spot, get low, and keep your back to a wall. You may be tempted to fire a shot to make sure your marker works, but be warned that the sound will give away your position!

8. Do Not Attempt to Fix a Paintball Marker Yourself

If your marker is jammed or having an issue, do not try to make any modifications on your own. You should bring it to staff or experts to fix it for you. Attempting any maintenance can be very dangerous for you and other players.

For one thing, markers may still have a charge after the CO2 canister has been removed. The proper way to take off a CO2 canister is to fire the marker (with no paintballs in it) as you remove the tank in order to release built-up air as you go. However, if you are renting a marker for the day, this is not even something you will have to worry about. You should leave the canister alone completely and tell staff if something is wrong.

Similarly, a paintball marker that you rent will come ready with proper settings. For outdoor challenges, markers should be set to around 300 feet per second (fps). Some ranges might require a slightly lower velocity, like 285 fps. Whatever it is, do not make any modifications to the marker.

Image by Christoph Schütz from Pixabay

9. Stretch & Drink Lots of Water

Paintballing requires a lot of physical activity. With all that running around, it’s important to stretch beforehand like you would for any other sport. Make sure you stay hydrated and listen to your body if you get too hot or tired. A paintball competition could last for a couple of hours, depending on the type of play and the number of players. Take a break when you need it so you can head back on the field strong and ready.

10: Have Fun!

Paintballing is an awesome outdoor activity to enjoy with a group of friends. With just a little preparation and practice, you can start an invigorating new sport that lasts for hours at a time. These tips will help ensure your paintball challenge is fun, safe, and injury-free. Now get out there and enjoy the game!

How to Start Mountain Biking

Are you looking to add some excitement to your cycling? Mountain biking is an awesome exercise, adventure, and challenge all in one. The trail can be intimidating to beginners, but you’ve come to the right place to learn how to start mountain biking. If you know how to ride a bike, you’ve got all the fundamentals you need.

In this beginner’s guide to mountain biking, we’ve got everything else you should know before hitting the trail.

Photo by Joanne Reed from Pexels

What is Mountain Biking?

First and foremost, you should know some fundamental differences between road cycling and mountain biking. This is because mountain biking involves biking over uneven terrain, like rocks and tree roots, creating a need for a very different type of bike than those used for road cycling.

Unlike road bikes, mountain bikes have wider tires with improved grip and suspension frames to provide a smoother ride over bumpy terrain. You can imagine how a rigid frame wouldn’t fare well on a mountain biking trail, so the suspension is key to a comfortable ride. Mountain biking frames also allow riders to sit taller to have better visibility of the trail. 

Finally, it’s best to use platform pedals on a mountain bike, which means you don’t clip in. Most important for beginners, you should be prepared to fall or jump off the bike at any time when going down a trail for the first time as you can pick up speed incredibly fast. Strapping into your pedals can actually be more dangerous on a mountain bike.

Gear Needed for Mountain Biking

The Essentials

Obviously, you’ll need a mountain bike. As noted above, you should make sure your bike has partial or full suspension for the most comfortable ride. Some mountain bikers use rigid bikes, as they use less energy for climbing the mountain. However, this beginner’s guide to mountain biking recommends at least partial suspension to absorb some of those bumps on the trail. This will keep you safer and more comfortable as you get used to the difference between road cycling and mountain biking.

The other essential items for getting started mountain biking are protective equipment. As a beginner, you should expect to fall, and protecting yourself will save you from a rough descent that ends early and in pain. A helmet is an absolute must while mountain biking, as there are plenty of hazards, you could hit your head on if you fall. Unlike road biking, mountain biking helmets are full face, with visors to protect your eyes from tree branches and debris. Elbow and knee pads are other important pieces of gear to keep you safe on the trail.

What to Wear on a Mountain Biking Trail

Dress according to the weather to stay comfortable and safe on the trail. It’s best to wear a dry-fit shirt that will wick away moisture and keep you dry. Mountain biking shorts with chamois padding (aka butt pads) are key for absorbing some bumps and reducing saddle fatigue.

Similarly, gloves are essential for keeping your hands and wrists comfortable all day long. Mountain biking with bare hands can cause blisters, and when you fall, you could cut yourself. Gloves will protect your palms and offer a little padding and warmth. 

Finally, a comfortable pair of light boots are the best alternative to mountain biking shoes if you’re learning how to start mountain biking. You want something with a stiff sole for stronger pedaling, breathable material to keep your feet dry, and a grippy textured bottom for good contact with the pedals. Another alternative is skate shoes, though these tend to be less breathable. High-rise shoes are also helpful to protect your feet and ankles in the event of a fall.

Packing Smart for a Mountain Biking Trip

There are many things you should pack on a mountain biking trip, and this is where there is a big difference between mountain bike rentals vs tours for beginners. When you rent a bike, you’ll just get a mountain bike and a helmet. On a mountain biking tour for beginners, you’ll have a guide who will pack all the essential gear and help ensure you have a great day.

The most important bit of gear is a map! If you’re heading out without a guide, please don’t forget a hard copy of your directions. It’s important to not rely on electronics on the trail: there likely won’t be cell service, your battery could die on an unexpectedly long day, or a hard fall could break your phone. Know the trail and the day’s plan before heading out, and always bring emergency gear in case you get lost. 

Next, a small first aid kit is essential for a beginner mountain biking trip since we all fall when we’re learning. As far as getting your bike back in shape after a crash, there are a few things you’ll need. You should always carry a spare tube or two and a bike pump. Unlike biking on the road, potential tire busters are all around on a mountain biking trail. Knowing how to replace a tire and having the gear you need will keep you prepared and safe on the trail.

A bike multi-tool is another must, especially for longer rides. Even with suspension frames, mountain biking is a bumpy ride, and it’s normal to need to make small adjustments or fixes over the course of the day. A bike multi-tool with the right size hex wrenches for your bike will make a huge difference in your trip’s success.

Finally, when you pack food and water for your day on the trail, go ahead and pack extra. It’s easy to get a little lost or delayed due to a mechanical issue. Expect a mountain biking trip to last longer than an equivalent road cycling trip, and pack accordingly. If you have one, a hydration pack is a great way to make sure you’ve got enough water for a long day. We promise: it’s worth the extra weight to have the energy and hydration needed to finish strong.

Photo by Chris Henry on Unsplash

Mountain Biking Tips and Techniques

Get a guide

Finding a tour that specifically offers mountain biking for beginners is a great first step. You’ll get in-person professional advice on how to start mountain biking, and you’ll start down an easier trail that is suitable for beginners.

Stretch Well and Don’t Tense Up

When going over obstacles on the trail, it’s important to stay loose and let the bike ride free. Hover your butt over the seat, so you don’t feel every bump, and keep your elbows high and your knees out so you can go with the flow.

Stay Balanced 

A big difference between road and mountain biking is the need to shift your weight around to stay on the bike. On a flat road, you can pretty much sit back and relax. On a mountain bike, you need to make constant small adjustments – side to side and front to back – to maintain your center of gravity and not tip over. It’s sort of like riding a bull, hopefully with less bucking.

Keep a Steady Pace

One thing that will help you manage rough terrain is maintaining an even speed with your brakes and gears. Big obstacles are frightening, and it makes sense that you’ll want to slam on the brakes sometimes. But that’s a good way to go over the handlebars (via the front brakes) or fishtail and skid out (on the back brake). 

Gentle use of the brakes will help you keep an even speed and give your bike the momentum it needs to get over bumps without too much work on your part. You can also move between gears in response to terrain changes that you see down the line. Paying attention and shifting early will make your life easier and help you keep your momentum. 

Chin Up, Eyes Down

Paying attention while on the trail is key. Road cycling offers consistent, smooth terrain, and you have time to look around, enjoy the scenery, and even change the song on your phone. As a beginner mountain biker, you need to stay vigilant by watching the trail in front of you. Look past obstacles and focus your eyes on where you want the bike to go. This will help you naturally bike around danger without needing to think too much about it. 

Proper biking posture will also keep you focused and safe. Mountain bike frames keep riders in a more upward stance for a reason. You want to keep your head up, looking down the trail at future terrain. This will give you time to prepare and react to potential obstacles. Just like driving, focus your attention a few seconds down the trail and use both your central and peripheral vision. This way, you can see the whole trail, including problem areas and safer alternate routes.

Have Fun!

Now that you know what to wear and pack and how to start mountain biking, you’re ready for your first trail experience. We hope you are feeling confident and excited to explore this rugged alternative to road biking. Thanks for checking out this beginner’s guide to mountain biking.

Have a safe and amazing time on a mountain biking for beginners guided tour!

Pikes Peak Railway: Cog Up, Bike Down

If you’re visiting Colorado Springs, chances are you’ve heard of Pikes Peak. It is famous for its hiking trails and downhill mountain biking, but did you know there was a railway that went to the top?

While riding to the top and back down may not seem like much of a thrill, what if we told you that Broadmoor Outfitters added a twist with their newest tour? Now, you can Cog up to the top of the famous Pikes Peak and mountain bike back down. 

Yep! You skip the grueling uphill pedal and simply can take in the views as you Cog Up Pikes Peak, but you get the adrenaline rush of biking down the mountain. 

The Broadmoor Manitou & Pikes Peak Cog Railway

In Colorado Springs, CO, the Cog Railway has recently reopened after being closed for reconstruction the last three years. The rebuild of the Cog Railway features all-new trains, a new track, a new depot, and a new visitor center. 

This particular railway was built back in June of 1891 as the highest rack railway in the world at the time. Now, the Pikes Peak Cog Railway remains the world’s highest and longest cog railroad, and it is the highest railroad in the entire Northern Hemisphere. 

There are only two cog railways in the United States, and Pikes Peak Cog Railway is one of the most unique railway experiences you can have in the world. 

Cog Up and Bike Down Pikes Peak

Not only is riding the railway up an exhilarating and unique experience but biking down the mountain will be one for your bucket list. While it may be tempting to try and book a ride up the mountain with your bike, the Manitou and Pikes Peak Cog Railway does not allow bicycles on board due to a limited amount of space. 

The only way to combine the railway experience with downhill mountain biking is to book with Broadmoor Outfitters. 

You will enjoy the 5.5-hour ride to the top of Pikes Peak. Then you will have a chance to check out the newly constructed Summit House at the top. We give you plenty of time to enjoy the view before the next stage of your adventure starts. 

Biking down the mountain takes you on a 19.5 miles journey. While that is a daunting distance at an exhilarating incline, we provide safety gear and safety information to help minimize risk on the descent. We provide full-face helmets, biking gloves, high visibility vests, and GT 29” cruisers. 

The bike down Pikes Peak is a supported ride. You will have a guide to lead you down the mountain and a van that is available to take any rider back down in case they choose to leave the ride early. 

The Pikes Peak Railway Cog Up, Bike Down tour is one of our most challenging tours and does require a fair level of fitness. Most biking abilities will be able to do the ride. However, we do require some biking experience to ensure you can navigate the terrain and control your bike. 

Please consult a physician before booking your Cog Up, Bike Down tour with Broadmoor Outfitters and ask them about your fitness for a high-altitude biking adventure.