There comes a time in every hiker’s journey when they finally decide to invest in a pair of quality hiking boots. Once they are worn in and fit comfortably, you want to be able to keep them as long as possible. We’ll go over how to clean your hiking boots after each adventure as well as longer-term maintenance that will extend the life of your favorite hikers.
How Often Should I Clean My Hiking Boots
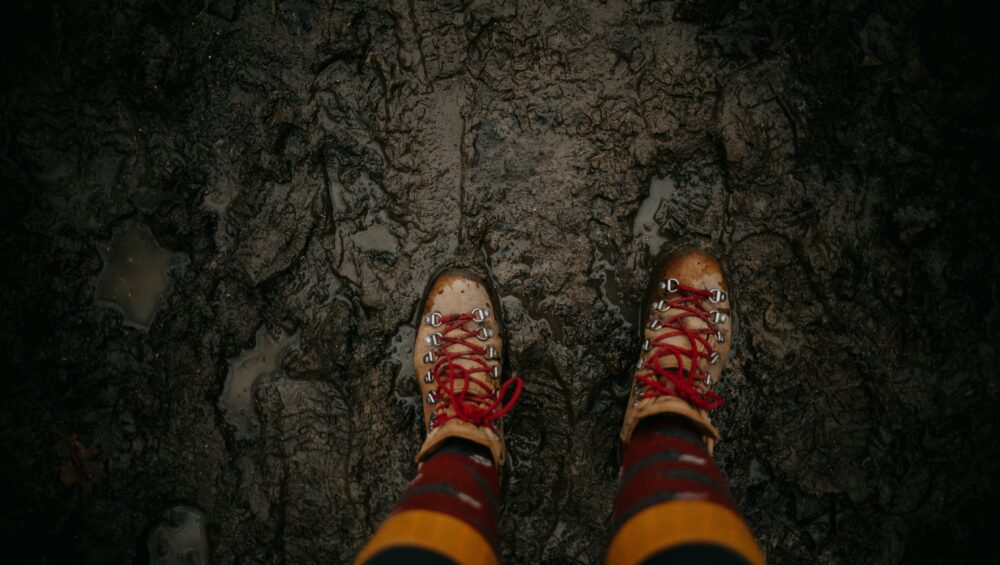
Keeping your hiking boots clean will improve their lifespan and ensure a safe and comfortable hike every time you hit the trail. There are different considerations for cleaning the soles versus the rest of the boot. It is a good idea to clean the tops of your hiking boots any time they get dirty. Dirt and debris can deteriorate the waterproofing of the material and lead the boots to degrade faster. Cleaning the bottoms of your boots after every hike is not necessary; however, you will want to get the muck out when it starts impacting your hike.
Why You Should Clean Your Hiking Boots after Every Hike
Although it may be tedious, you really should give your hiking boots a cleaning every time you get mud or dirt on them. You especially want to look out for debris near the laces. Every seam in your hikers – notably in the tongue and the eyelets for the laces – is susceptible to getting small particles of dirt stuck in there.
As you continue hiking with dirty boots, the debris rubs on the material and breaks it down. This will first affect the boots’ waterproofing, but over time, you may see the material break down or tear. To ensure your boots will last as long as possible, you need to take care to clean them frequently. Especially if you are hiking in muddy terrain, be sure to give your hiking boots a deep clean when you get home.
Why You Should Clean the Soles of Hiking Boots Between Hikes
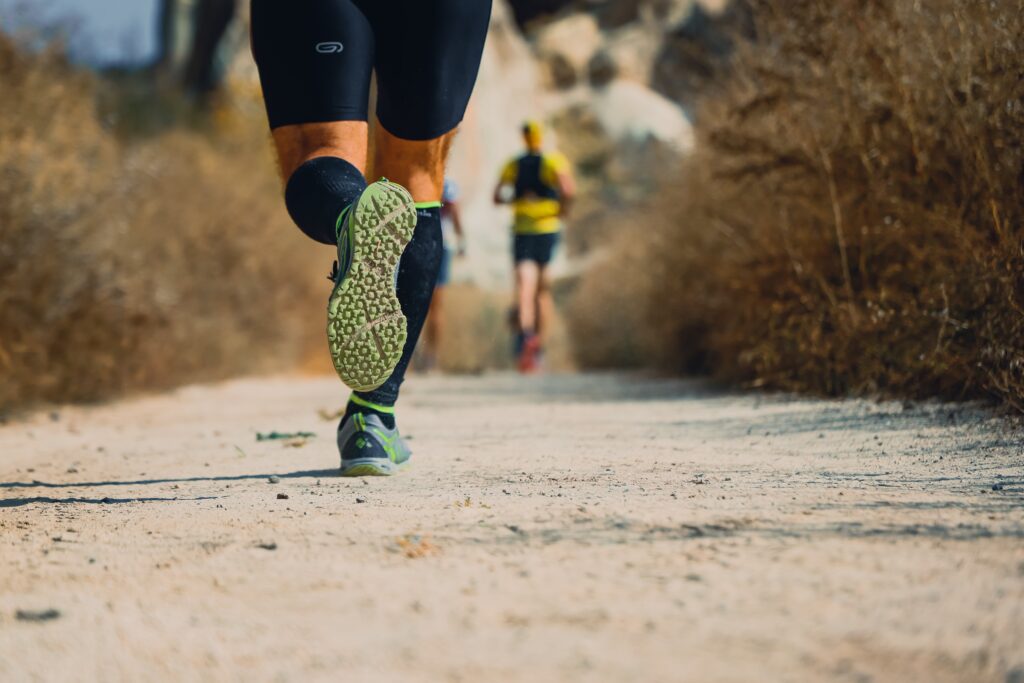
The bottoms of your hikers are very durable, and caked-on mud won’t impact the material. However, there are two instances in which you will want to get the dirt out and have clean boots. First, if there is a lot of dried mud in your hikers, they will not have proper traction. When they start getting slippery or uncomfortable to walk on, you will know it’s time to clean that dirt out.
Second, if you are hiking in different locations, it is important not to track in mud. Microscopic invasive species can live in the soil or muck on your boots, and you don’t want to spread these dangerous species around different areas. Cleaning your boots between hikes can protect the land and make sure you leave no trace on your hike.
How to Deep Clean Hiking Boots
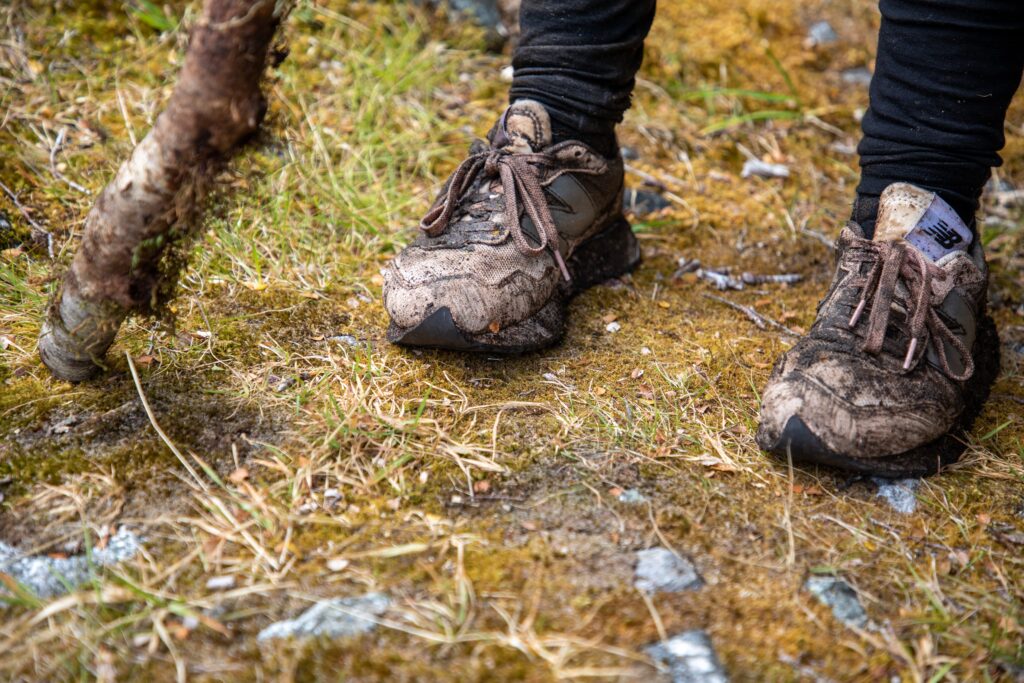
Giving your hiking boots a deep clean doesn’t need to take more than an hour. This simple process is well worth it in the long run to keep your hikers in good shape and save you money on replacements. The first step is to take the laces off and remove the insole. You can wash these separately with some dish soap and warm water.
Cleaning the material of your hiking boots will require a brush, maybe an old toothbrush, to get rid of dirt and get into the nooks and crannies of the material. Especially for nubuck leather, do not scrub too hard as you can damage the material.
If you do not have a special shoe-cleaning solution, you can use dishwashing soap. Do not use detergent or bar soap, as additives in these products can be harmful to the boots. You will need to thoroughly rinse the boots off after cleaning. Some materials can be submerged in water, while others (nubuck and some synthetics) can only get damp. In these cases, sponging the material with warm water will be best.
How to Prepare Your Hiking Boots for the Season
Once a year, it is a good idea to give your boots a deep clean and re-apply waterproofing treatment and/or conditioner to the material. Before you start, it is important to know what material your boots are made from.
What Are the Different Materials of Hiking Boots
There are three main materials used for hiking boots, and maintenance varies for each type. Mostly any quality pair of hiking boots will be from one of these three materials as they are the best for providing waterproofing and durability.
The three main materials for hiking boots are leather, full-grain or nubuck, and synthetic. Nubuck leather is sort of like suede and generally has similar care instructions to synthetic materials. The main difference in caring for nubuck leather is that it should not be submerged in water, only damp.
If you don’t know what kind of hikers you have, you can look up the brand online and find out. If you have a care guide for your hiking boots, you should refer to that. Always be sure to test a new cleaning product on a small, inconspicuous part of your boots before applying it fully.
How to Waterproof Hiking Boots
Waterproofing your boots at least once a year will keep your feet cozy and dry and ensure the boots stay in shape longer. Waterproofing hiking boots does not take as long as you might think. After a thorough cleaning, you can generally apply waterproofing treatments while the boots are still wet. Read up on how to waterproof hiking boots for more details on caring for boots of different materials.
Conditioning Leather Hiking Boots
If you have full-grain leather boots, you do not need to apply a waterproofing treatment as full-grain leather is naturally waterproof. Instead, you just need to condition the material once a year to keep it looking its best and functioning properly. This will keep the boots from drying out and cracking, which will ruin their waterproofing and generally require replacements sooner. When conditioning leather, be sure to follow the instructions exactly. Using too much conditioner can cause the leather to be too soft, which will impact the boots’ sturdiness.
How to Get Your Hiking Boots Dry
Once you’ve given your boots a deep clean, you need to let them dry thoroughly before wearing them again. First, take the insoles out to dry separately. Next, you can use a fan if you need to dry your boots a little quicker, but do not leave them too close to a heater or a campfire. Extremely high heat can break down the waterproofing agents and prematurely age leather. You also do not want to leave them exposed to high sun, as this can also discolor and age leather.
Because it does take time for hikers to dry all the way, be sure to plan ahead! Don’t save your boot maintenance until the day before your big trip. Finally, it is especially important to ensure your hikers are all the way dry before storing them for the season. Store them in a dry location (maybe not the basement) to protect them from mold forming. If your boots do smell moldy, a simple concoction of four parts water and one part vinegar will do the trick.
Final Thoughts
With these simple steps, you can ensure your boots will last longer and keep your feet protected from the elements. Getting a quality pair of hiking boots can be costly, but if you take care of your investment, you can make sure to get your money’s worth. Happy hiking!

