How to Recognize Early Signs of Altitude Sickness

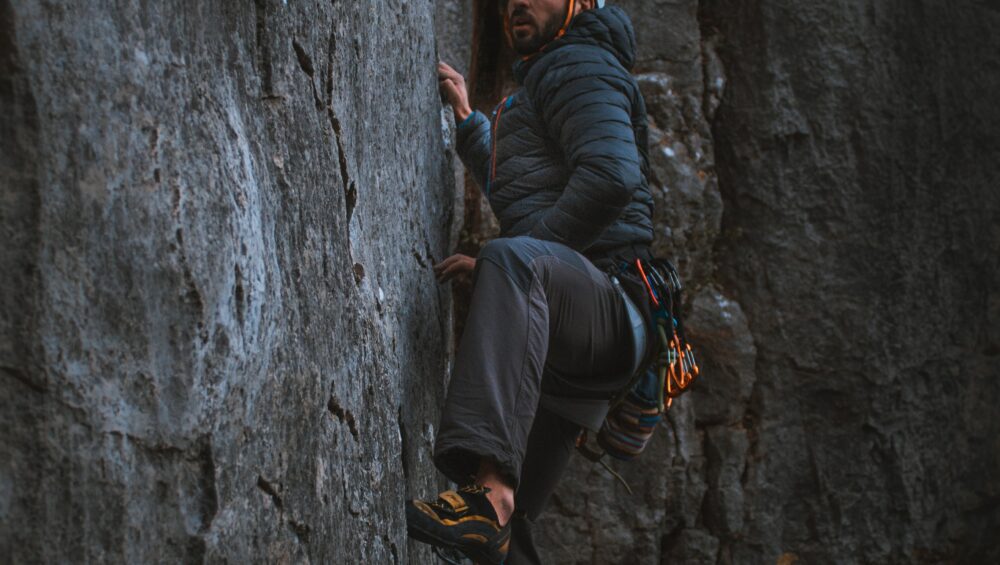
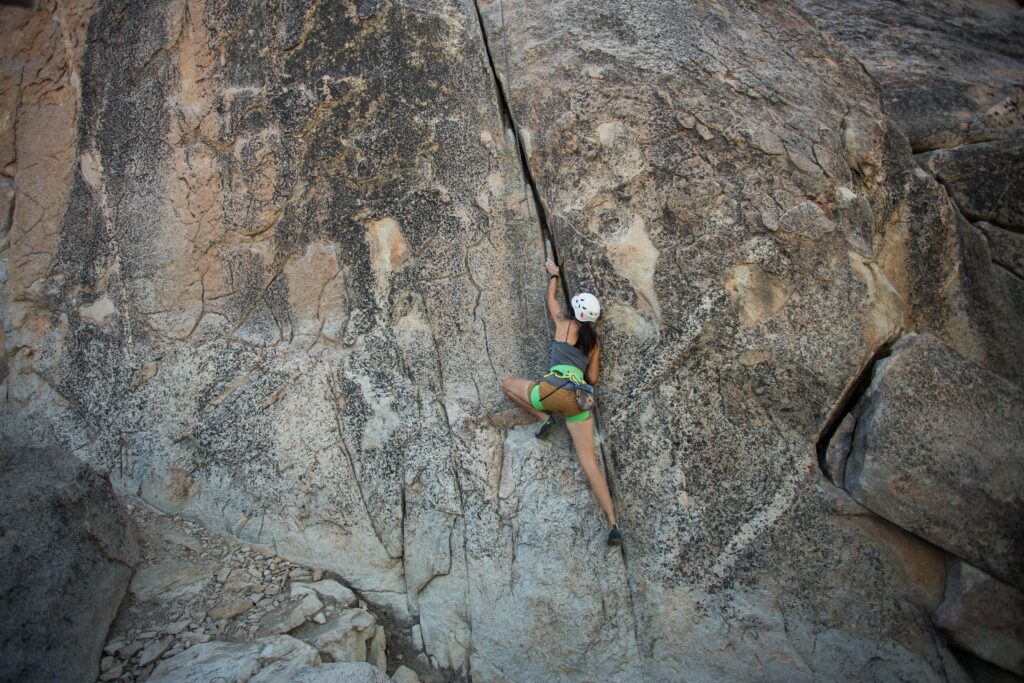
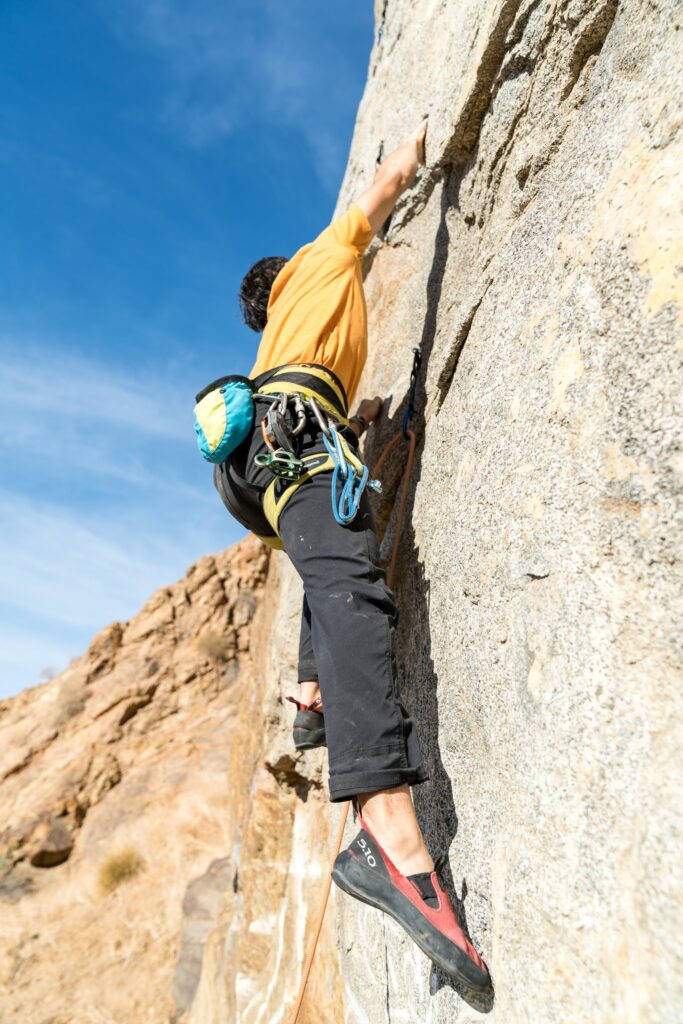
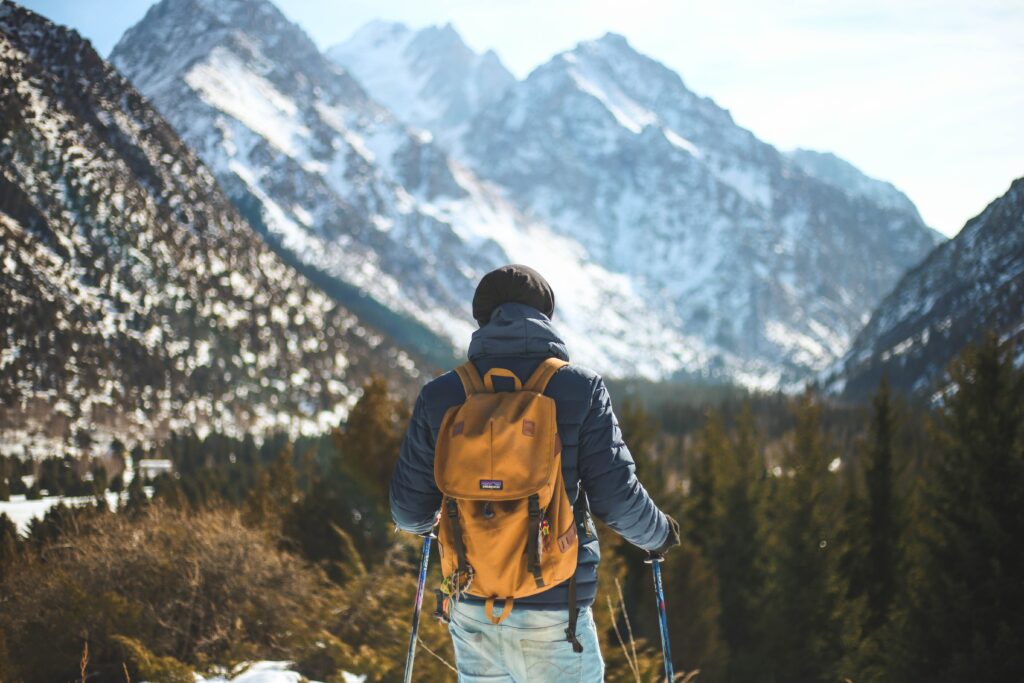
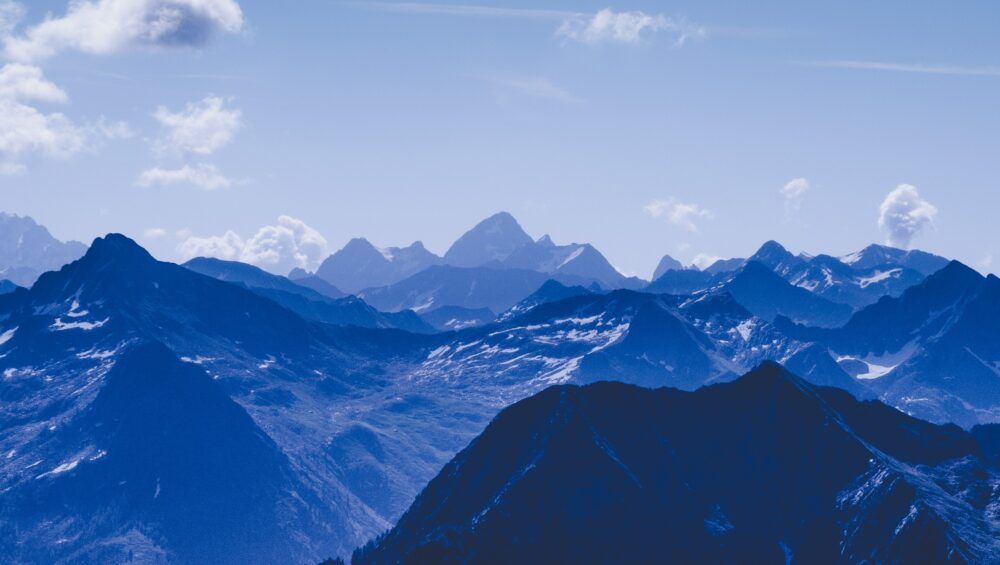
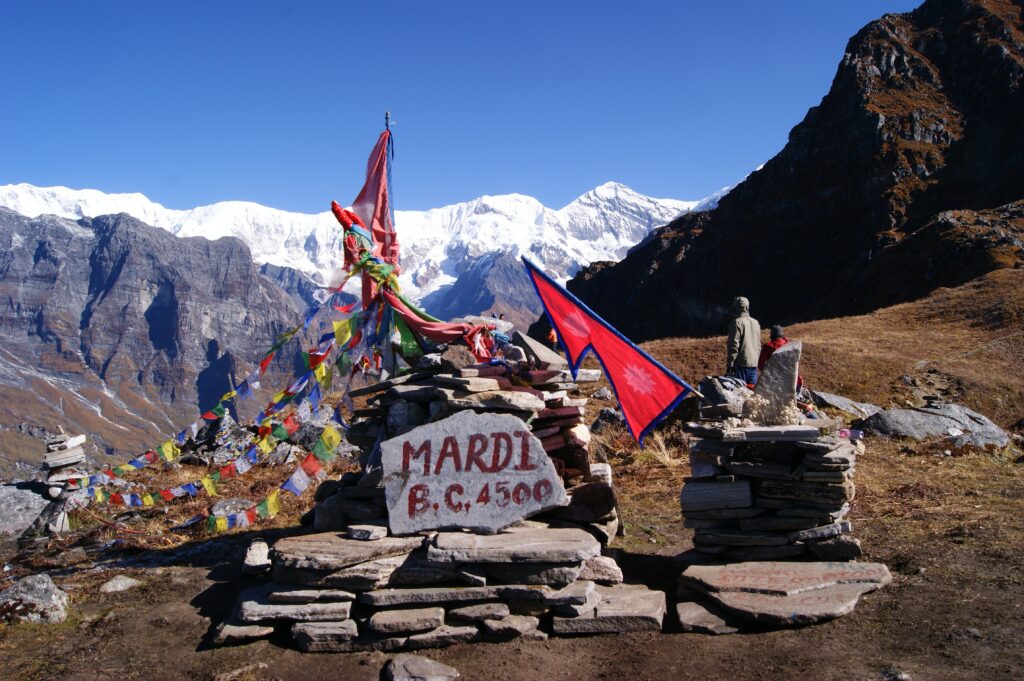
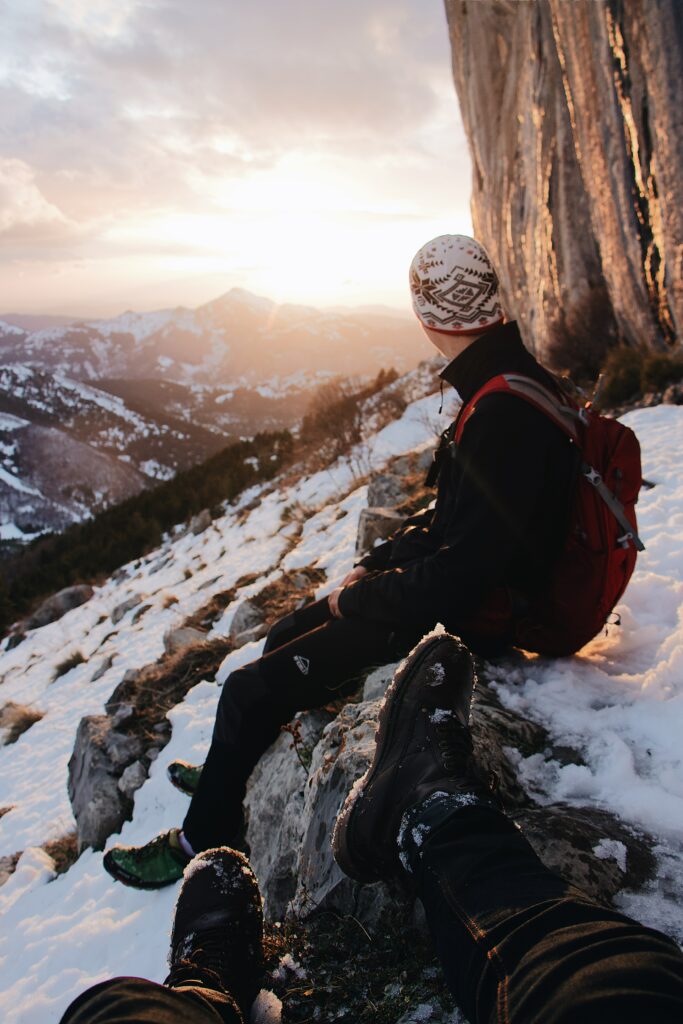
Are you hoping to hike one of Colorado’s famous fourteeners? There are quite a few beautiful and rewarding 14ers around Colorado Springs, and for beginners, we’ve got a list of the easiest 14ers in Colorado to help you start your mountaineering journey. Before you get on the trail, though, you should learn how to recognize altitude sickness in order to stay safe on the mountain.

Photo by Manish Baral on Unsplash

What Is Altitude Sickness?

What causes altitude sickness? 

At higher altitudes, the pressure in the atmosphere is lower, meaning every breath contains less oxygen. At sea level, the air is about 21% oxygen. But at 8,000 feet, it’s about 15%. As a result, you will experience less oxygenation throughout your body, which is called hypoxia. While lowered oxygenation happens to everyone (who doesn’t carry an oxygen tank), some people experience symptoms more quickly and more severely than others.

How high do you have to hike to get altitude sickness? 

There is no one number that applies to everyone, and it can also depend on environmental factors like humidity and temperature. However, it is possible to get altitude sickness as low as 8,000 feet above sea level. Colorado residents will surely have an easier time, as Colorado Springs is around 6,000 feet. However, you can still be susceptible to altitude sickness at high elevations and over longer periods of time.

How quickly can you get hypoxia?

The likelihood of developing symptoms depends on elevation, rate of ascent, and duration of exposure. It is much easier on the body to hike to elevation for only a day trip. If you sleep at altitude and stay for extended amounts of time, the potential for symptoms gets much higher. It is also dangerous to ascend too quickly. If you are flying into Colorado to hike a 14er, you should wait a couple of days to acclimate to the elevation before beginning your trip.

Photo by Mael BALLAND on Unsplash

What are the symptoms of altitude sickness?

Acute Mountain Sickness (AMS)

AMS is the most common and mildest form of altitude sickness. The most recognizable symptoms of hypoxia are dizziness, shortness of breath, nausea, headaches, extreme fatigue and weakness, mental confusion, and cyanosis (blue lips). More severe symptoms include loss of balance and coordination, vomiting, persistent cough, and rapid pulse.

Some of these early symptoms of altitude sickness, like shortness of breath and fatigue, can be hard to notice. After all, you are hiking a mountain. It is best to take frequent water breaks and see if you can catch your breath. Hopefully, this is not your first extended hike, and you will know when you are tired from exercising versus experiencing something more severe. 

Severe Altitude Sickness

The two more serious varieties of altitude sickness, High-Altitude Cerebral Edema (HACE) and High-Altitude Pulmonary Edema (HAPE), are very severe and can be fatal. Early symptoms of cerebral edema, or swelling of the brain, are fever, altered mental state, confusion, loss of consciousness, and ataxia (poor muscle control). Early signs of pulmonary edema (where the air sacs in the lungs fill with fluid) include chest tightness, cyanosis, persistent cough, and difficulty breathing even when resting.

One thing to keep in mind with altitude sickness generally is that a symptom like mental confusion can make it hard for someone to properly identify their own condition. HACE can develop within a matter of hours, and someone might say they are okay even when they are clearly not. It is important to be able to recognize these symptoms in your fellow hikers when they may not recognize them in themselves. If you are wondering if it is safe to hike a 14er alone, it is for this reason that it is not recommended.

Can you prevent altitude sickness?

Stay Hydrated and Eat Carbs

Drink a ton of water. In addition to less oxygen at elevation, the air is also drier. Some symptoms of dehydration can seem like altitude sickness, so do yourself a favor and stay well hydrated. You will also want to have a high-carb diet while you acclimate. This will give your body the energy it needs for exercise so you do not exacerbate symptoms. 

Pace yourself

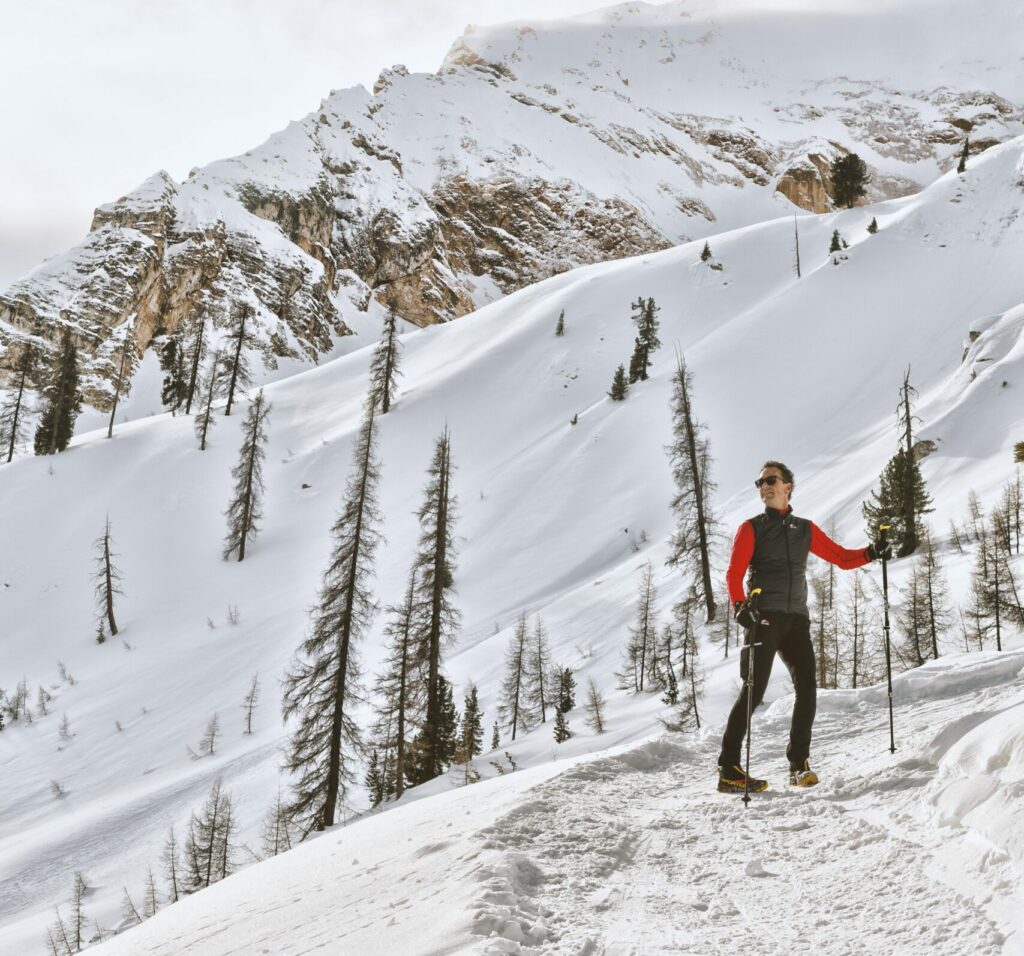
Remember to start gradually and let your body dictate the speed. Hiking a 14er is a marathon, not a sprint. If possible, you should train at altitude. Spend a few days on shorter hikes in the area before attempting the big fourteener. This training will help immensely for you to get used to the lower oxygen level.

Plan to Acclimate Properly

As noted, you should not ascend too rapidly. If you are a resident of Colorful Colorado planning a day hike of a fourteener, you should be good to go. If you are visiting from out of state, do not attempt a hike to altitude on your first or second day. Make sure you acclimate to the elevation and feel healthy before you hit the trail.

Photo by Mael BALLAND on Unsplash

How can you treat altitude sickness?

If someone is experiencing mild symptoms of acute mountain sickness, you should set camp for the day and wait at least 24 hours before increasing elevation. At this time, it is important to avoid drugs, alcohol, and tobacco. Make sure you drink enough water and limit exercise and activity. With AMS, your body will be able to recover if given enough time (12-48 hours). If you ignore symptoms, though, and keep gaining elevation, you can make symptoms much worse.

If you think someone is experiencing more serious signs of altitude sickness, especially signs of HAPE or HACE, you need to descend to a lower elevation immediately. It is recommended to go at least 500 meters (1,600 feet) lower and then reassess. If available, treat the person with bottled oxygen and bring them to a hospital as soon as possible.

Final Thoughts

Now that you know how to prevent, recognize, and treat early signs of altitude sickness, you can feel confident getting on the trail. Hiking, especially around Colorado Springs, is an amazing way to see panoramic views of the mountain, spot interesting wildlife, and connect with nature. If you are looking for a little more tutelage as you get started, consider a guided hiking tour with a professional instructor.

Free (and Cheap) Events in Colorado Springs – Winter 2022-23

Looking for some fun events this winter? There’s always plenty to do in and around Colorado Springs. From outdoor recreation to holiday celebrations to arts and crafts, we have activities for everyone. Before it gets too cold to enjoy the outdoors, be sure to check out some of these exciting free events near Colorado Springs.

Photo by Aranxa Esteve on Unsplash

Winter Races Near Colorado Springs

Timeless Turkey Trot Prediction Run

Where: Iron Horse Park, 6151 Elwell Street, Fort Carson

When: Saturday, November 5, 9:00 AM – 12:00 PM 

Reserve your free spot: Eventbrite

Just south of Colorado Springs in the spacious Iron Horse Park, this race is a fun variation of a standard 5k. The course is not revealed until the day of the race, and when you arrive to register, you have the opportunity to predict your time. The top ten racers who come closest to their predictions will win a prize.

The race starts at 9:30 am, and prize winners are announced at 11:40 am. While you are waiting for the announcement, you can enjoy local vendors selling merch, food, and beverages. Strollers and leashed dogs are allowed, so be sure to bring the whole family. 

Veterans Day 5k

Where: Goat Patch Brewing Company, 2727 North Cascade Avenue, Colorado Springs

When: Saturday, November 12, 10:00 AM 

Buy your ticket: $35, Eventbrite

Offered by the Colorado Brewing Running Series, this 5k starts and ends at Goat Patch Brewing. No matter whether you walk or run the course, you will get a free craft beer at the finish line. And you don’t need to be 21 to participate: underage runners will receive a free non-alcoholic beverage at the end of the race. 

Your ticket gets you into the event where you can enjoy live music, food trucks, and local vendors. You are also supporting a good cause as 10% of all proceeds go to local Colorado nonprofits that support the community.

Free Arts and Crafts Fairs

Black Forest Arts and Crafts Guild Fall Show and Sale

Where: 12530 Black Forest Rd, Black Forest

When: Wednesday, November 2, 4:00 – 7:00 PM; Thursday – Saturday 9:00 AM – 7:00 PM; Sunday, November 6, 10:00 AM – 2:00 PM  

No tickets needed.

Entry is free into this arts and crafts show. This Northwest Colorado Springs neighborhood event offers an amazing array of beautiful, handcrafted goods. The guild is open to all Black Forest residents and promotes fine arts, decorative arts and crafts, and culinary arts. This free Colorado Springs event is a great place to appreciate the local art scene and find holiday presents sure to amaze your loved ones.

Holiday Craft Fair

Where: Cheyenne Mountain High School, 1200 Cresta Road, Colorado Springs

When: Saturday, December 3, 9:00 AM – 4:00 PM

Reserve your free spot: Eventbrite

This holiday craft fair is an event not to be missed. It has free admission, free parking, and a free shuttle from the parking lot to the venue. There are 140 vendors all selling handmade crafts and delicious goodies as part of a “Taste of the Holidays” bake sale. This conveniently located Southwest Colorado Springs event will give you ample opportunities to get holiday presents for your loved one and enjoy the atmosphere of a community fair.

Winter Events for Families and Kids

10th Annual Noche de los Muertos

Where: Rockledge Lodge/SunMountain Center, 328 El Paso Blvd, Manitou Springs

When: Wednesday, November 2, 5:00 PM

Get tickets: $35, Eventbrite

This unique cultural event includes live music and dance performances, an authentic Mexican dinner (included in the ticket price), and a Dia de Los Muertos-inspired altar (called an ofrenda) to honor loved ones who have passed on. This event also supports a good cause, as it is held by the Smokebrush Foundation for the Arts. This is a great place to bring the kids for a night of entertainment and exposure to Mexican culture.

Junior Ranger Walk Garden of the Gods

Where: Red Rocks Room, Garden of the Gods, 1805 N. 30th St., Colorado Springs

When: Tuesday, November 8, 3:00 – 4:00 pm

Register here.

If you are searching for a family-friendly idea for the little ones, Garden of the Gods regularly offers Junior Ranger Walks at the park. Get the kids excited about wildlife and nature on this one or two-mile hike around the park. Tickets are $5 per child and free for accompanying adults. Get the kids off the couch to see one of the most beautiful sites Colorado Springs has to offer.

Skate in Acadia Park

Where: Acacia Park, 115 E Platte Ave, Colorado Springs

When: Opening Day is Friday, November 11, 4:00 pm 

Tickets ($10 includes skates) are available only at the rink.

This event is not quite free, but it’s such a great opportunity for the kids that we couldn’t skip it. The beautiful Acadia Park in downtown Colorado Springs has an ice rink available from November 11 through January 31. If your little one has a birthday in the winter, the Acadia Park ice rink makes for one of the best party ideas in Colorado Springs.

There are also tons of events through the winter including Skating with the Air Force Falcons Men’s Hockey Team (Sat, Dec 10, 4:00 – 6:00 pm) and Learning to Skate with US Figure Skating (Sat, Dec 17, 10:00 am – 12:00 pm). Another great event for teens is Glow Night (Friday, December 16, 7:00 – 9:00 pm). Check their website for more event information.

Annual Christmas Tree Lighting

Where: Outlets at Castle Rock, 5050 Factory Shops Boulevard, Suite 340, Castle Rock

When: Saturday, November 12, 4:00 PM

Get tickets: Eventbrite

Who doesn’t love a tree-lighting ceremony? Ring in the holiday with a joyous celebration and display of a sparkling Christmas tree. There will be a Santa available for photo opportunities with the little ones and a performance by the Denver Broncos cheerleaders that the whole family will enjoy. Beer, wine, and hot chocolate are for sale, as well as plenty of holiday shopping at the outlets.

Photo by Markus Spiske on Unsplash

Free Events to Explore Colorado Springs 

First Friday ArtWalk

Where: See the stops here.

When: Friday, November 4 (offered the first Friday of each month April through December)

No tickets needed.

Offered the first Friday of each month, the Colorado Springs ArtWalk is a great way to explore your neighborhood and see the incredible diversity of our local art scene. This free walk spans downtown Colorado Springs, Old Colorado City, and Manitou Springs. There are live demonstrations and a shuttle to help you get around to the stops more easily. You will see public street art, exquisite sculptures, and architecture, and get to walk through some of the city’s best art galleries. 

CONO Winter Block Party

Where: Sunshine Studios Live, 3970 Clear View Frontage Road, Colorado Springs

When: Tuesday, December 6, 5:30 – 8:00 PM 

Reserve your free spot: Eventbrite

If you are looking to make connections with friendly neighbors, you should check out all the block parties hosted by the Colorado Springs Council of Neighbors and Organizations. This Tuesday night event in Southeast Colorado Springs offers free entry, a cash bar, live music, and a cocktail social hour.

Colorado Springs has so much to offer. It’s no wonder it is a popular tourist destination and an up-and-coming city bringing new residents. While adventuring around town, be sure to check out the accessible public transportation options to make your travel easier. Once you have explored some of these fun free events in Colorado Springs, you will likely want to add some outdoor recreation to your plans. Before it gets too cold, enjoy a guided tour of some of the best hiking spots Colorado has to offer.

Rock Climbing Techniques: A Beginner’s Guide

If you are wondering how to get into rock climbing, there is no wrong way to go about it. You can take a class at your local gym, try a guided rock climbing tour, or try it out with a friend and get some hands-on experience. 

It is admirable to learn something new, and rock climbing is a rewarding activity. It builds self-esteem, provides instant gratification, and exercises your full body. Still, it is always hard to get used to new movements, so we’ve prepared some helpful rock climbing techniques for beginners just starting out with the sport.

Photo by Tommy Lisbin on Unsplash

Before You Climb

Stretch

The most important thing to do, both before and after rock climbing, is to stretch. Be sure to stretch your fingers, wrists, and shoulders. You want to stay loose to avoid over-gripping the wall and tiring out quickly. I often stretch between climbs, too, once my muscles are warmed up and again when I am starting to feel tense. Keep your muscles relaxed as much as possible, and you will have an easier climb.

Plan Your Route

When rock climbing in an indoor gym, there will be color-coded routes to guide you. You can find beginner routes around 5.5 – 5.9 for top rope or V0 – V3 for bouldering. Before you jump right on the wall, take a moment to look at the route. You can climb with your eyes, and you should continue this practice as you move up the wall. Look at each hold and the movements between holds. Is that a right hand or a left? Is there a foothold to help boost you up?

Rock climbing routes are placed with intention. There may be multiple ways to do it, but there is likely one way the route setter intended. Understanding their plan will help you complete the route more efficiently and save time and energy. Plan out the climb before you start so you can go in with confidence. As for transitioning to outdoor climbing, there will not be set holds, but it is still important to look at the route before you begin and try to plan your movements.

Photo by Stephanie Cook on Unsplash

On the Wall – Rock Climbing Technique Tips

Move Your Feet As Much As Your Hands

Beginner rock climbers tend to think climbing is a sport of upper body strength. They forget that they can (and need to) move their feet, too. A good way to use your arm muscles less is to remember that you have other options!

Imagine climbing a ladder. You can stretch your arms to their full extension to reach the highest possible rung, or you can move your feet up and reach that same rung much more easily.

My rule is that you should move your feet just as often as your hands. Alternate hand, foot, hand, foot, if the climb allows for it. This will keep you from overusing your arms and getting tired more quickly.

Hang on Your Skeleton

Another way to avoid burning your arms out too quickly is to use your skeleton more. You can hang with straight arms to give your biceps a rest on the wall. You should pay attention to how your body feels on the wall. Maybe there are spots you can balance and don’t need to use too much upper body strength at all.

Control Your Center of Gravity

When you are on a climb, play around with where your body weight is. Pull your body closer to the wall, or relax your weight lower on bent knees. You will notice that it makes a big difference. When you are farther away from the wall, you will feel that it requires more arm strength to stay on the holds. Learning to recognize where your center of gravity is and how it affects your grip and endurance on a route will help massively while rock climbing.

Rotate Your Hips

In the same vein, be sure to move your hips while climbing. You can redirect your weight in order to reach the next handhold more easily. Sometimes you will want your hips facing the wall. Other times, your will need to put one hip into the wall in order to bend your knees and reach a higher foothold.

Take a Rest

Sometimes there are nice handholds or balance-dependent footholds that make for good break spots. There is no shame in taking a rest on the wall, and when you find a place to do it, take it. You can shake your arms out, stretch, or chalk up. A small, minute-long break can give you that extra ounce of energy to get you to the end.

Photo by Tommy Lisbin on Unsplash

After Your Climb

Review What You Did

The best way to learn to be a better climber is to take a moment after each climb to go over what you did. Were there parts where you had to backtrack or switch hands? It’s possible that you did not complete the route as efficiently as possible. Was there a move that felt too hard or too much of a stretch? It’s possible that you missed a small foothold or a handhold around the corner of the route.

Practice the Same Route

You do not necessarily need to forget about a route the second you send it (“ascend,” or climb without falling). You can climb the same route again and again until you feel confident on each hold and smooth and precise in each movement. As you become accustomed to the most efficient route, you will be able to focus more on your center of gravity, breathing, proper positioning of your feet, and moving with intention between holds.

Stretch Again

For the first few weeks after you begin rock climbing, your forearms will hurt. Everyone goes through this. Continuing to stretch daily will protect you from injuries like tendonitis and make sure your muscles develop in a healthy way.

These beginner rock climbing tips apply equally to bouldering or top rope climbing and indoor or outdoor climbing. If you are looking to get into bouldering, it will also be important to learn to fall safely. In order to be safe while bouldering outdoors, be sure to use a crash pad and have a spotter. If you are planning to head outdoors, make sure you have the proper outdoor climbing safety equipment.

How to Keep Your Feet Warm While Hiking

If you are hoping to hit the trails this winter, you will need to know how to keep your feet warm while hiking. With treacherous temperatures and feet of snowfall not uncommon in the area, warm boots and warm socks are essential pieces of hiking gear here in Colorado. 


We’ve got some of the best fall hikes near Colorado Springs, so let’s dive into the proper gear for your feet and tips for keeping warm so you can get out there and enjoy.

Photo by Oziel Gómez on Unsplash

Gear Necessities for Staying Warm on a Hike

Sock Strategy for Cold-Weather Hiking

In order to keep your feet happy and warm on a hike, you need to wear multiple layers and consider all factors. The first and most important way to keep your feet warm is to keep them dry. Therefore, a moisture-wicking base layer needs to be the first thing you put on your feet. These thin moisture-wicking socks will keep your feet dry no matter how sweaty they get. 

The second layer is insulation. You can wear thick wool socks, which come in different weights (lightweight, midweight, or heavyweight) depending on how cold you are anticipating temperatures will go. If you own insulated hiking boots, these can be worn with just a thinner lightweight wool sock. 

When you are purchasing insulating socks for hiking, there are a few things to keep in mind. In terms of comfort, you want to find socks that fit a little looser. This will help them fit well over your moisture-wicking layer and make sure that your feet are not being squeezed at all. In terms of value, investing in quality socks will definitely make your life easier in the long run. Wool socks tend to be expensive, but they are the best option here as cotton holds moisture and does not insulate as well for the same thickness. 

The Best Boots for Cold-Weather Hiking

The final layer is the boot, and its main job is protection. A good hiking boot protects you from all sorts of injuries, rolling an ankle, stepping on something sharp, and hopefully, preventing frostbite. As noted, insulated hiking boots are a great option for folks who often hike in colder weather or find themselves standing around a lot while on a hike. 

Another must for Colorado hikers is waterproof hiking boots. Many people do not like their boots to be waterproof because it limits breathability. However, if you are hiking in winter or changing elevation substantially, there is a good chance you will come across snow. There is nothing worse than getting your boots wet, from rainy weather or a water crossing, when you are on a hike. If your feet do not have time to dry, you will be risking frostbite, blisters, and surely general discomfort. Even having snow land on your boot can be dangerous, as your body heat will melt it and allow the water to seep in through the tongue. On a very cold day, you could watch your boots freeze up, thus ending your hike.

You may wonder how to fit multiple pairs of thick socks in your hiking boots. When hiking in cold weather, you need to size up on boots. This will allow room for the socks without compressing your feet. You should aim to be able to wiggle your toes in the boots. If you do go for insulated hiking boots, the sizing will understandably vary as well, so it is helpful to go to a physical store to figure out what size will work for you. 

Tips and Tricks for Keeping Your Feet Warm While Hiking

Be Prepared: Watch the Weather

Before you head out on your cold-weather hike, be sure to check the weather and trail conditions. It is easy to learn how to check trail conditions for hiking safety, and it will save you a disappointing and potentially dangerous hike. 

What to Pack to Keep Your Feet Warm

In addition to the warm socks and warm hiking boots already discussed, there are a few specific items that should go in your daypack for your feet. It is always a good practice to have a first aid kit, a blister kit, and in winter weather, chemical warmers for your hands and feet. These will allow you to warm back up in an emergency. You could also consider getting thermal insoles to redirect your body heat back up if you do not have insulated boots. Finally, you should always pack an extra pair of socks: you never know when you will need them, and at the very least, putting on clean socks at the end of the day will be a great reward for your hard work.

Don’t Put Your Boots On Too Early


It is always good to have a second pair of shoes, in case of emergency and for comfort in the car or at the campsite. When you are getting ready for your hike, changing into your boots should be one of the last things you do. This way, your feet will not get sweaty in those waterproof boots before you even get going. 

Don’t Lace Your Hiking Boots Too Tight

The reason that it is so important to have enough wiggle room in your shoes, literally, is because compressing your feet can lead to frostbite. When you are cold, the blood vessels closest to the skin and out in your limbs constrict in order to keep your core at the proper temperature. If you were to tie your shoes too tight, you are only further cutting off blood flow. This will make your feet feel colder sooner, and it can worsen symptoms of frostbite. 

Keep Your Core Warm

This feels obvious, but because your body prioritizes core temperature, your feet will be the first to get cold if you aren’t dressed warmly enough. Therefore, one of the best ways to ensure your feet stay warm while hiking is to make sure the rest of you stays warm, too.  

Get Your Feet off the Ground

The cold, hard ground is going to be one of the coldest places you can step. Even in the snow, the reflection of the sun’s rays makes the ground slightly warmer. When you take a water break or rest on your hike, try to stand on a rock or a tree trunk instead of the ground below. You will find the ground saps the heat from your idle feet faster than anything else.

Always Be Willing to Turn Around

One of the best winter hiking tips (that I believe is applicable year-round) is to always be willing to turn around. If you feel yourself getting too cold, if the trail conditions have changed, or if the weather is taking a turn for the worse, you should head back. The risk of frostbite or other injuries is not worth it.

Photo by Greg Rakozy on Unsplash

How to Warm Your Feet Back Up After Hiking

Get Dry

As keeping your feet dry is one of the most important tips for staying warm, it should be obvious that drying your feet off would be the first step for warming back up if your feet do get cold while hiking. Let your feet air dry for twenty minutes before putting warm socks on. This will make sure your skin is thoroughly dry to prevent blisters. This is especially true if you got your feet wet from something more than sweat, say wading through a river or hiking in a rainstorm.

It can be hard to let your feet dry out properly if it is cold outside. You can dry them off with a towel and then cover them loosely in a blanket or sit inside your tent. This will give them a little space to dry off without getting too cold in the process. 

Go Slow

One thing people often do is try to warm up too quickly. It is tempting to jump in a hot bath when you are cold, but if your toes are cold to the bone, it is not a good idea to try to warm up too quickly. If you’ve done it before, you know it is very painful. The transition from very cold to even tepid can be painful and actually harmful to your vascular system, sending cold blood to the heart.

Rather than shock your system with a quick transition, you can reacclimate to the warmth slowly. If you are camping and building a fire, take a seat far away and get closer as you warm up. Let your feet tell you if you get too close too fast. If you want to warm up with water, make sure you start with colder water and warm it up slowly with your feet.

Skin-to-Skin Contact

The best way to warm up cold feet is with skin-to-skin contact. Use your hands or thighs (sitting cross-legged) to warm your ankles and feet. If your skin is truly frozen, you should not massage or rub it as you can break the skin, but just hold it there to let heat transfer. Or, even better, if there is someone with you who can help, warm breath and skin-to-skin contact with someone else’s warmer body areas like the torso, thighs, and armpits are quick ways to safely warm skin.

If you are looking for some fun and rewarding hiking destinations this season, check out our Guided Hikes near Colorado Springs. You will get expert advice from a certified guide and plenty more real-world experience hiking in the great outdoors in colder weather.