Don’t you just love the snowy season in the Rockies? As you plan some awesome winter activities, one essential piece of gear you’ll need is waterproof boots. Winter hiking boots, that is boots that are waterproof and insulated, are key for staying warm during your time outdoors. If you don’t have waterproof hiking boots (or if your pair has gotten leaky), no worries! It’s easy to apply a waterproof treatment to any pair of hikers. Follow this step-by-step (no pun intended) guide to waterproofing boots so you can stay warm and enjoy the winter wonderland.
How can I tell when I should waterproof my hiking boots?
Waterproof hiking boots don’t stay waterproof forever. The treatment deteriorates over time and will leave your hikers vulnerable to wet conditions. Instead of getting a new pair, you can prolong their lifespan with a simple waterproofing.
Aside from an unpleasant surprise mid-hike, how will you know when it’s time? You can get a sense of your boots’ waterproof capabilities with a simple test. Grab a spray bottle or put a boot under a trickle of water from the faucet. If you look closely, you should see the water droplets beading up before falling off your boot. If they soak into the boot rather than bead against the fabric, it’s time to reapply your waterproofing treatment.
How often should I give my hiking boots a waterproof treatment?
The frequency of waterproofing treatments depends on how often you use the boots. The waterproofing will go faster if you wear the boots regularly for long and rough hikes. It can also deteriorate faster when you clean the boots. It’s a good idea to apply this waterproofing treatment at the beginning of the season, before a particularly big hike, or after a deep cleaning. Treating your hiking boots at least once a year will keep them in good shape so your feet stay dry on the trail.
Which waterproofing treatment is best for my boots?
When you decide you are ready to waterproof your hiking boots, you’ll immediately be overwhelmed by the number of choices. There are sprays, waxes, and liquid forms of waterproofing treatments that are either wax- or water-based. You will want to choose what’s best based on the material of your boots. (More on the proper treatment for each material is below.)
One important thing to keep in mind here is that solid waxes have become less popular for waterproofing (See liquid wax below). This is because it can limit the ability of adhesives to stick to the material in the event that you need to have the boots re-soled.
How to Waterproof Your Hiking Boots
Step One: Clean Your Boots
The first thing you need to do before you waterproof your boots is clean them well. Any leftover dirt or grime will keep the waterproofing treatment from thoroughly adhering to your boots. To give your hiking boots a deep clean, first remove the laces and insoles (if removable). Start by brushing away dirt with a toothbrush or any brush with soft bristles. Then, use a mild soap or boot cleaner if you have it to scrub any dirt out of the seams, creases, and tongue.
If any dirt is really stubborn, you may need to soak your boots in warm water to release the grime. After you give them a good scrub, you will rinse them with warm water anyway, so don’t be afraid of getting them wet. (Do not soak nubuck material – they are allowed to be “damp.”)
You also may not need to dry them, as most waterproofing treatments work better with wet boots. When you are ready to dry them, you can towel them off and then put crumbled newspaper in the boots to absorb moisture faster.
Step Two: Apply the Waterproofing Treatment
Below is an overview of a few ways to apply common waterproofing treatments to different hiking boot materials. Be sure to follow the instructions provided by the waterproofing treatment. The process may take time, but it is important to do it correctly so you do not ruin your boots.
Waterproof Treatments for Leather Hiking Boots
Full-grain leather hiking boots are durable and naturally waterproof. They do not typically have an additional treatment and instead rely on the natural waterproof abilities of the leather. Waxes are the best ways to treat leather, support their waterproofing, and improve their lifespan. As opposed to solid wax, which you need to heat up, liquid wax is a faster and better alternative.
Both waterproofing treatments should be applied to wet leather, as the water helps the treatment get into the leather better. Liquid wax treatments come with a sponge applicator, and you can work solid wax in with gloved fingers. You will want to buff the leather and repeat the process a couple of times before letting the shoes dry fully.
Waterproof Treatments for Nubuck Hiking Boots
Unlike full-grain leather, nubuck is a soft material, sort of like suede leather. If your hiking boots have this material, you will need to be more cautious not to scrub too hard or use a treatment that will decolor or ruin the softness.
Additionally, nubuck should not be submerged in water: instead, the boots are allowed to be damp for applying the waterproofing treatment. Most nubuck waterproofing treatments are water-based, and you can find a liquid or a spray. Liquid can be applied liberally as you can wipe the excess off afterward. For a spray application, you will want to do two or three coats to ensure you do not miss an area.
Waterproof Treatments for Synthetic Hiking Boots
Synthetic hiking boots will likely be treated similarly to nubuck material. However, be sure to check the instructions to see if the material should be damp or really wet before application. Sprays tend to be the most popular for waterproofing synthetic materials, and they are easy to find. While you’re at it, you can waterproof your sneakers, backpack, and even a damaged tent.
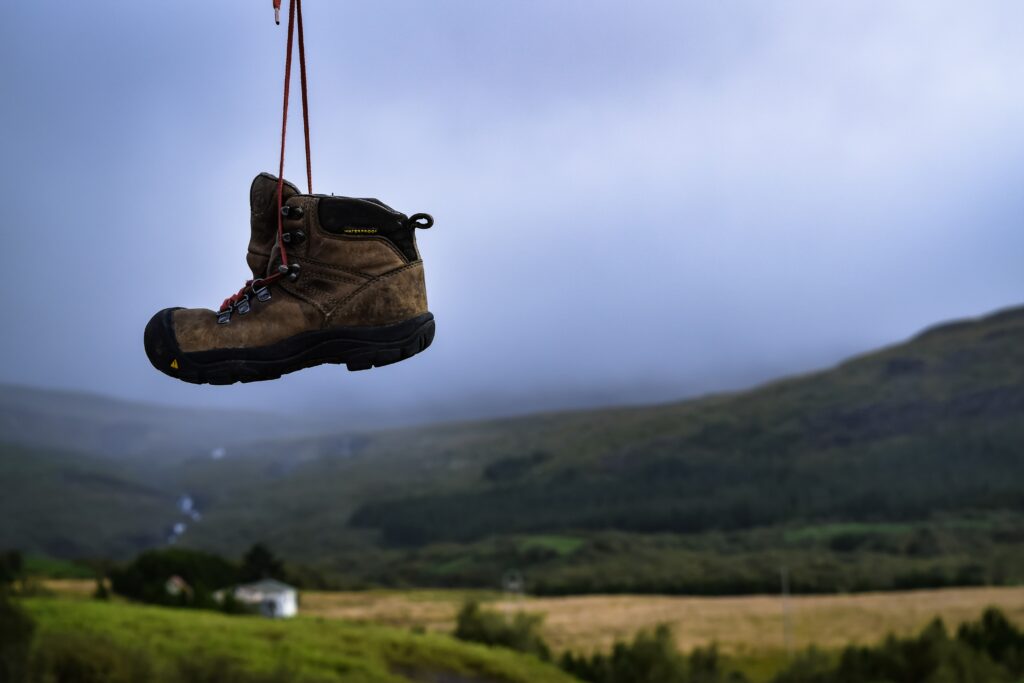
Step Three: Drying Your Boots
After applying the waterproofing treatment, you need to let your hiking boots dry fully before use. If they get scuffed up or dirty mid-process, the treatment may not take as well. There are a few important things to keep in mind when you go to dry your hiking boots. First, too high temperatures, either next to a fire or in direct sunlight, can age leather too quickly and mess with adhesives. You will want to leave them in a dry, warm environment after toweling off excess moisture. Crumpled up newspaper will help, but it will still take a few days to dry fully.
This is why you need to plan ahead and not try to waterproof your hiking boots the day before a big trip. Taking care of your gear will help it last longer and keep you safer and happier on the trail. Whether you’re trekking through snow or getting caught hiking in the rain, waterproof hiking boots are a lifesaver all season long. With a quick waterproofing treatment, you can make old gear like-new again and ensure a fun and dry time on trail. Happy hiking!

