

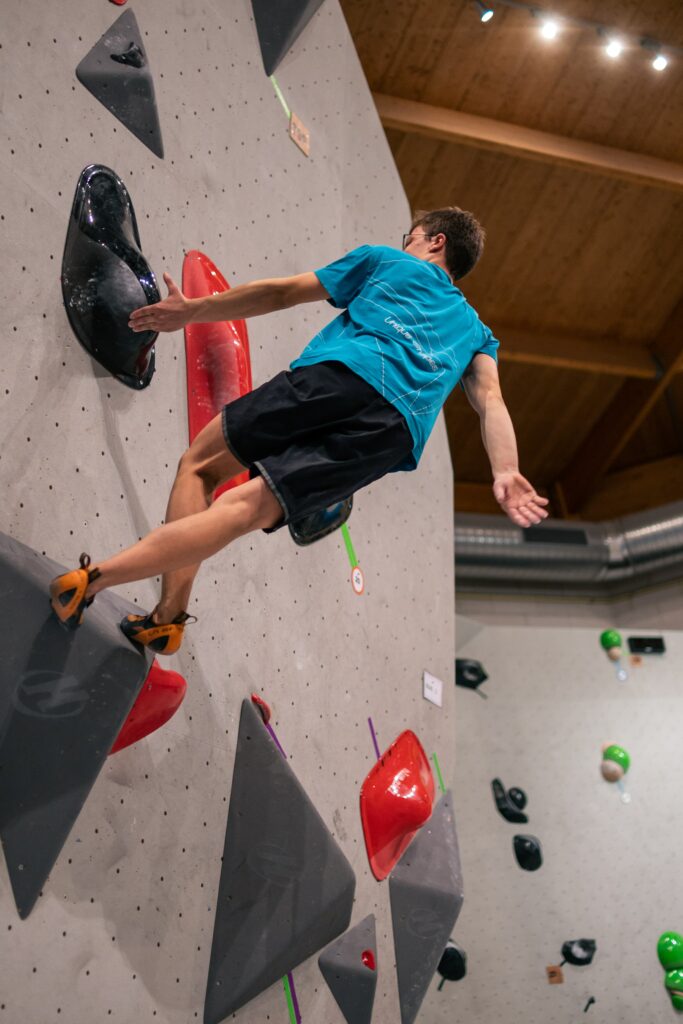
When you are just getting started rock climbing, it can be hard to get on the wall and stay there. Some aspects of rock climbing are not intuitive, and if your only previous climbing exposure is with ladders, there are sure to be types of rock climbing holds you haven’t encountered before.
In this article, we will go over the various indoor climbing holds, how to approach and hold on to them, and what you should know about your center of gravity while rock climbing. Once you learn how to grip different rock climbing holds, you will be much more comfortable on the wall and easily move past beginner rock climbs into early intermediate routes.
Although this article will focus on indoor rock climbing holds, these skills are transferable to outdoor climbing as well. Once you know how to recognize and respond to different holds, you will be prepared for many different types of climbing, including sport climbing, bouldering, and top rock climbing, indoors and out.
The Five Main Types of Rock Climbing Holds
Jugs
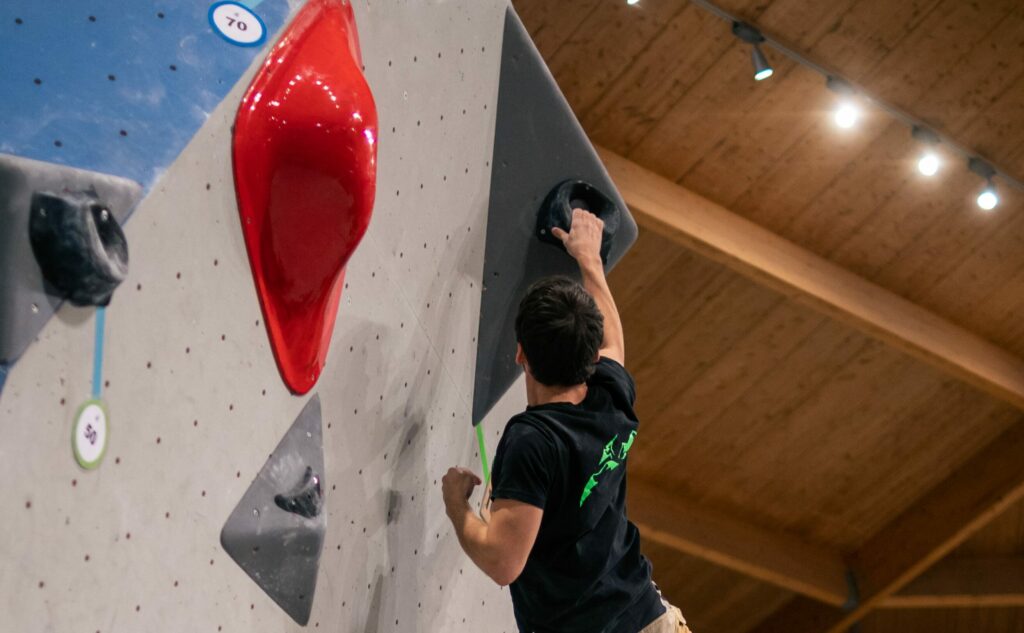
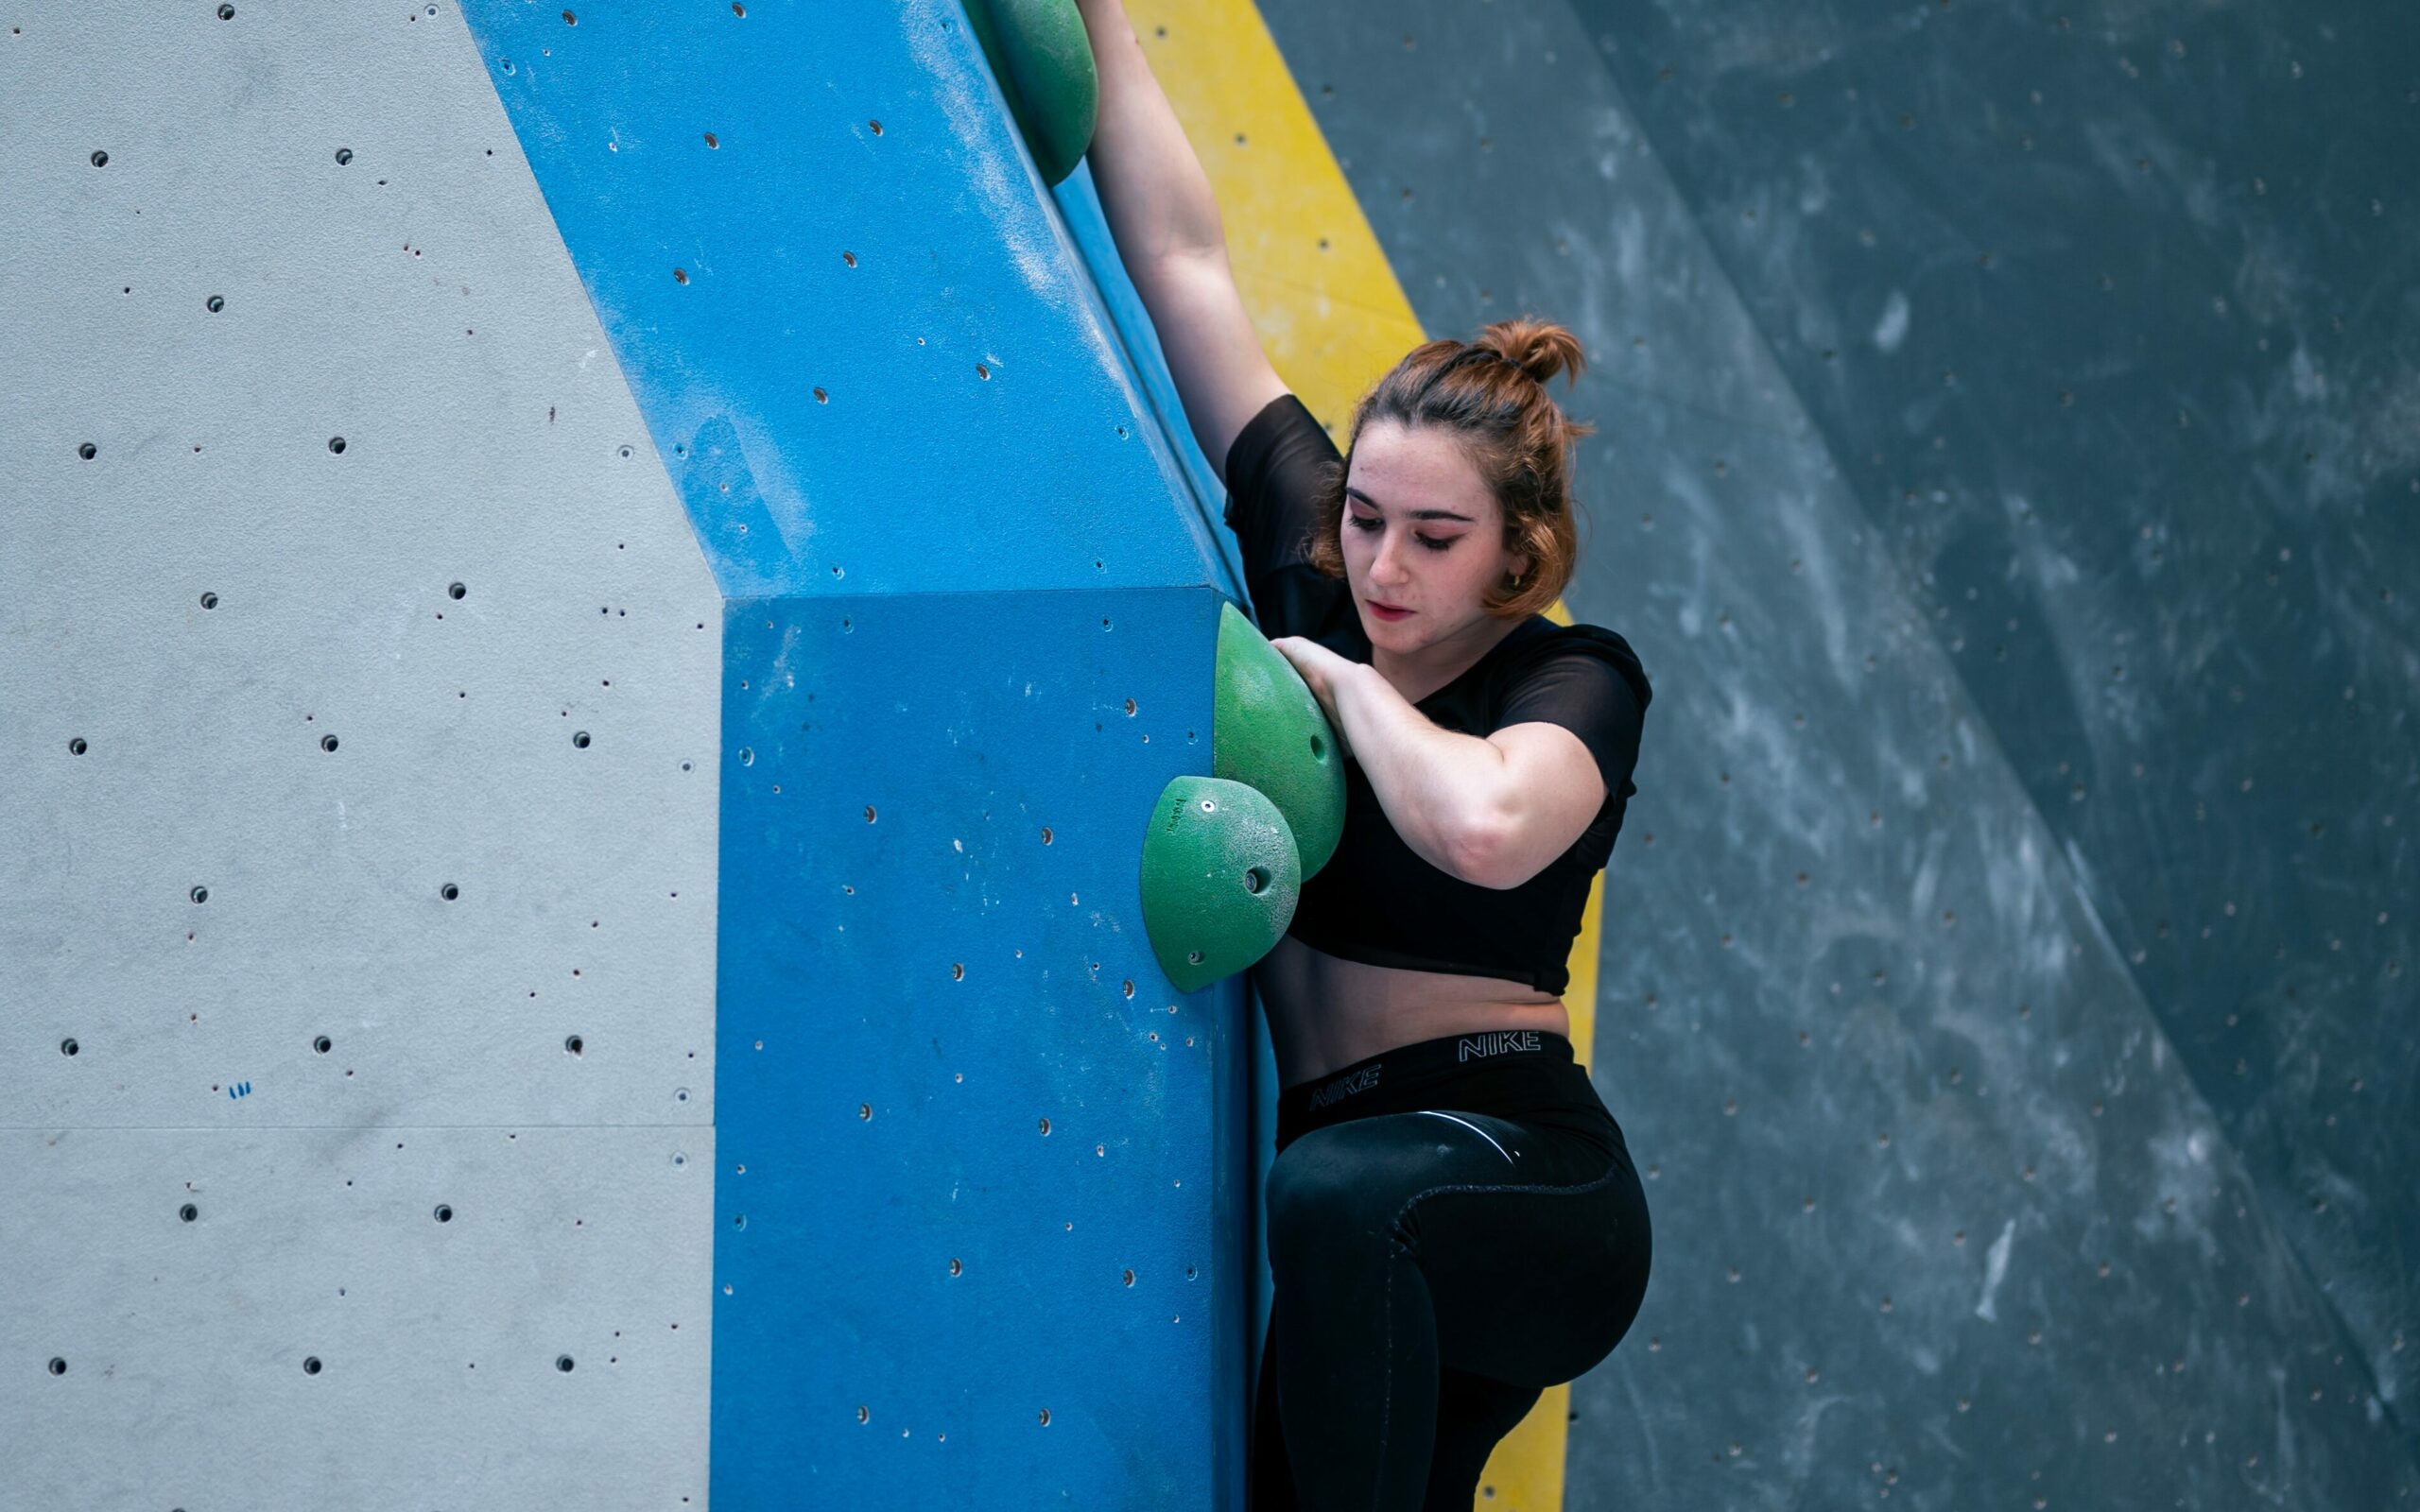
The easiest rock climbing hold for beginners to use is the jug. These holds have large, ergonomic shapes that you can grip with your whole hand. They will typically look like a large pocket at the top, big enough to put all four fingers in. For extra stability, I hold these with my thumb out to the side, as pictured below, although you can also keep it flush against your forefinger.
With jugs, as well as the rest of the basic climbing holds in this first list, it is easiest to hold on when your center of gravity is below the hold. Pulling yourself up to the hold employs the bicep and tricep, and you can continue to use the hold once your center of mass changes. Pulling on the hold will keep your weight close to the wall and help you stand up, and pushing off the hold from above (in a move called a “mantle”) provides extra height for reaching the next hold.
Crimps (and Edges and Chips)
The next most common rock climbing hold is the crimp. Crimps are small holds that have a thin ledge only big enough for the pads of your fingers. Edges are similar holds with less-defined lips to keep your fingers in place. Chips are even tinier holds that you see used mostly as foot holds and in advanced climbing routes. These are also easily the most common holds you will find outdoors on a guided rock climbing tour.
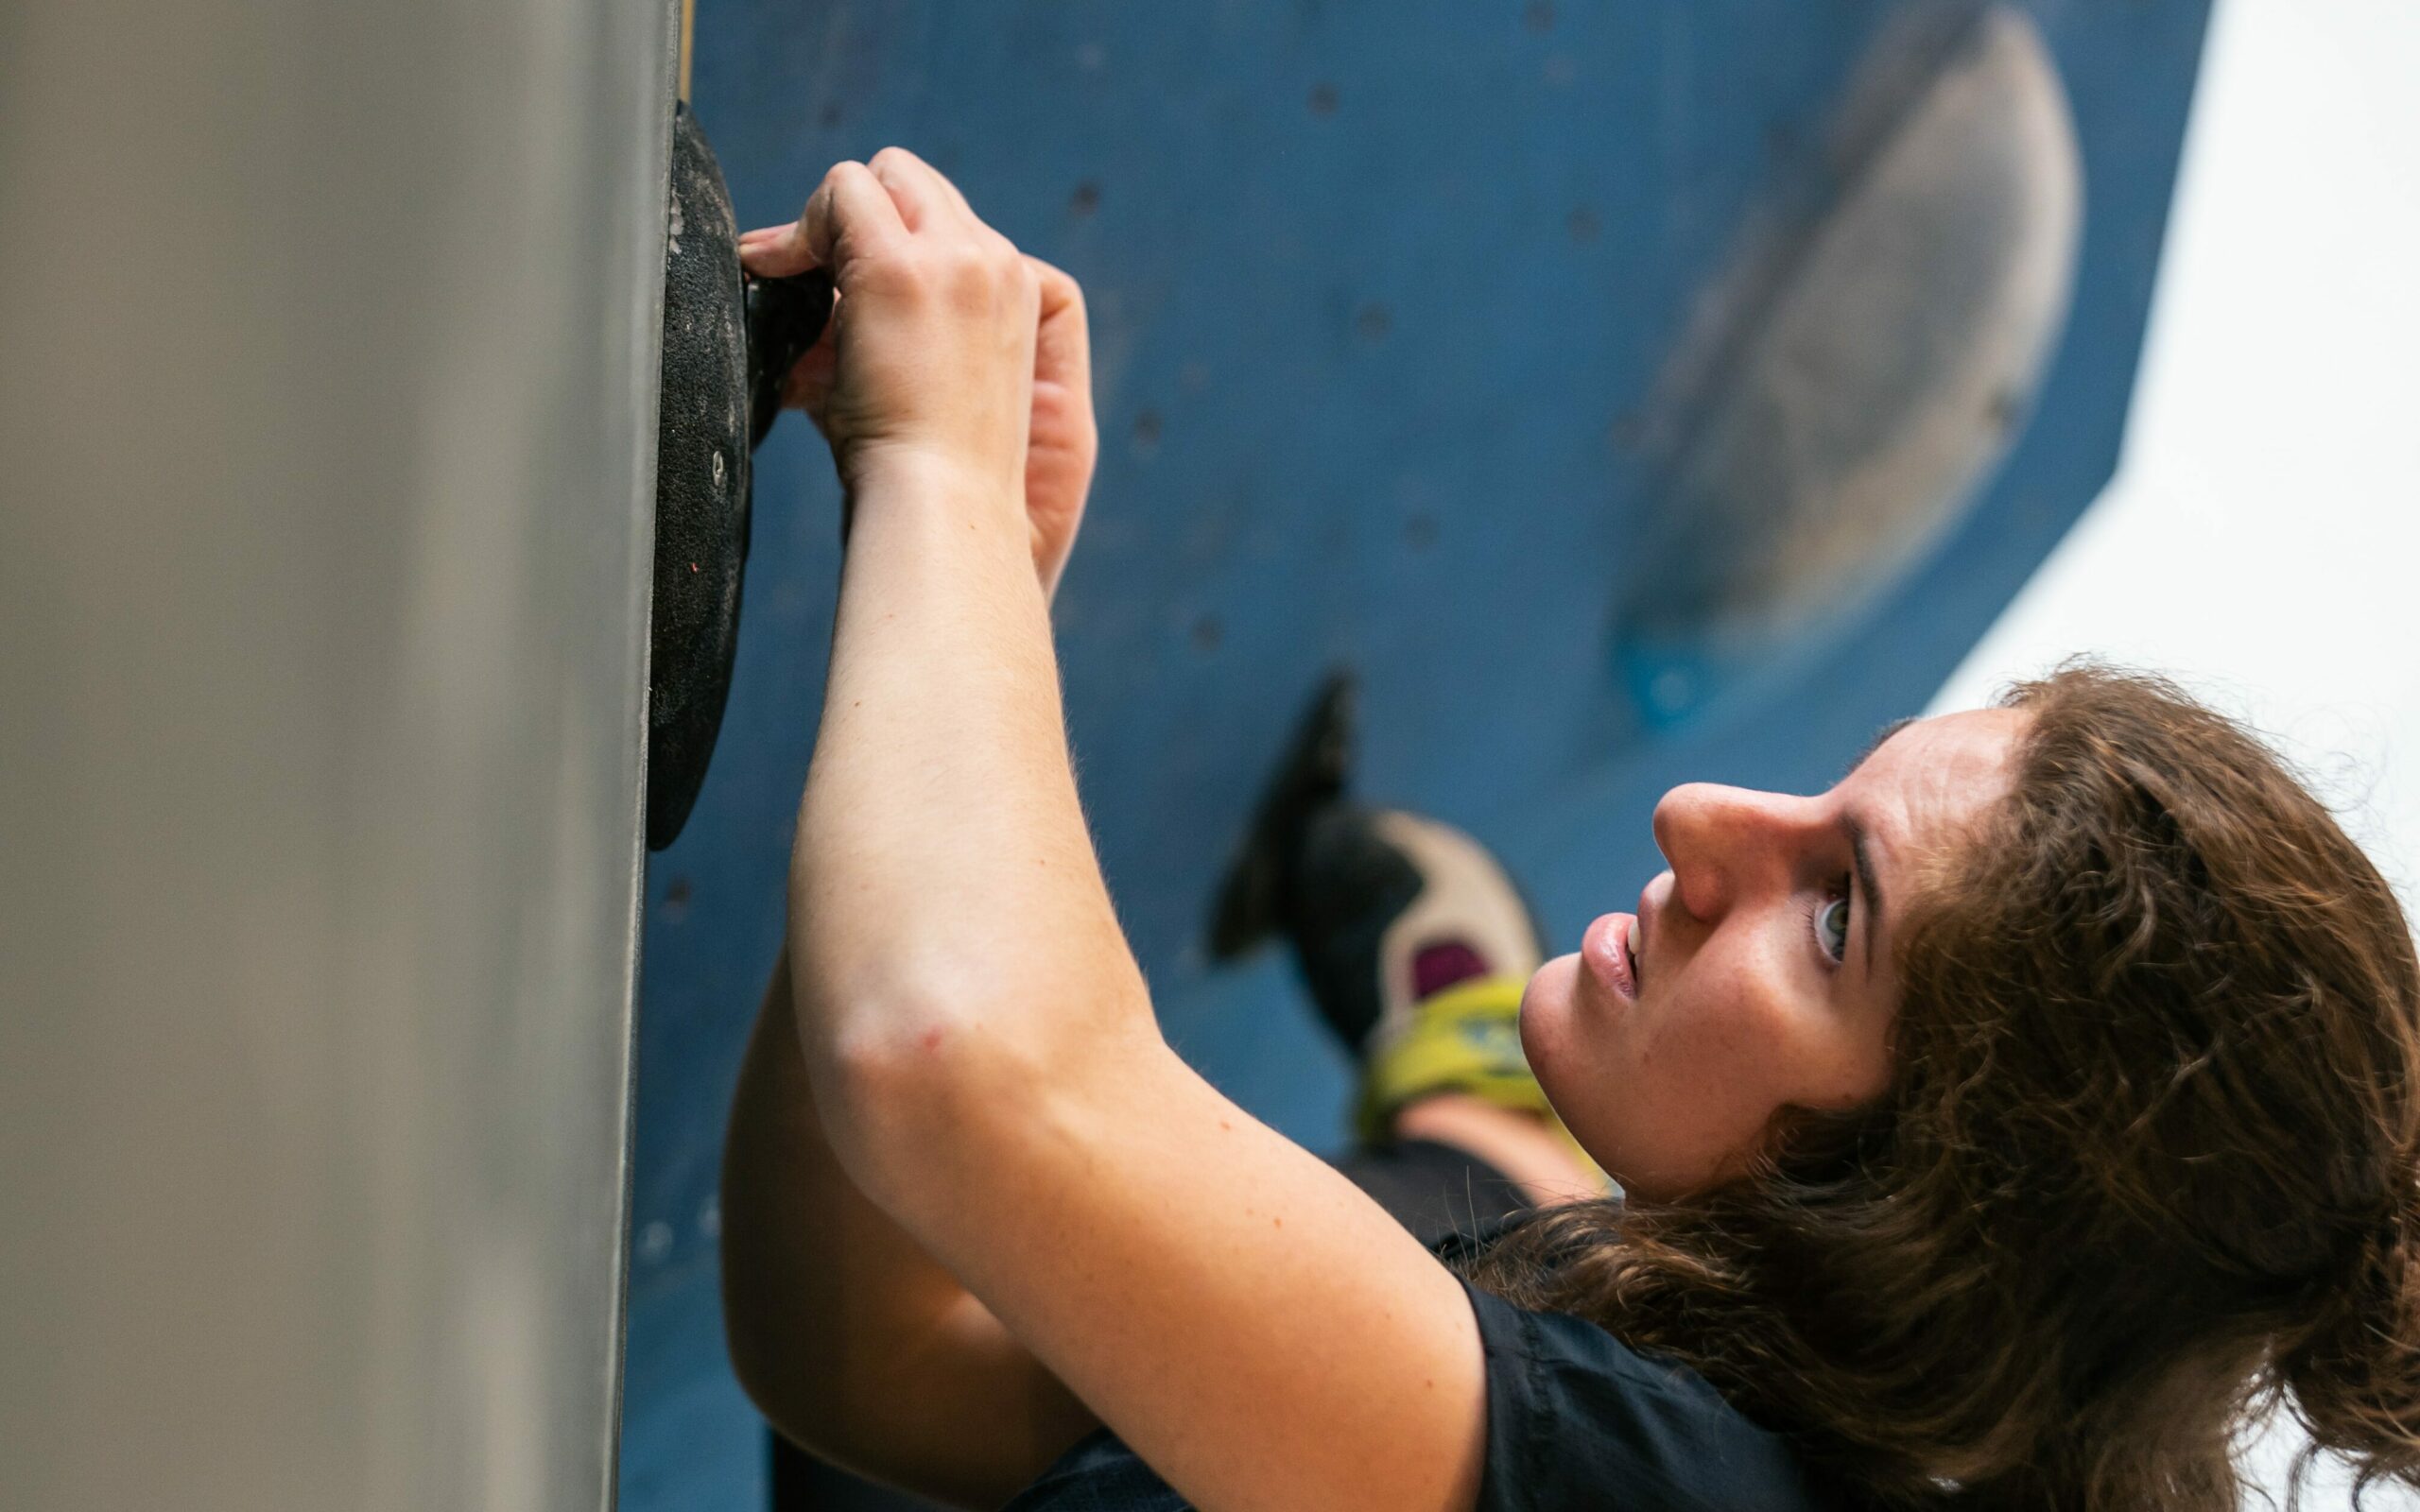
These tiny holds are hard for beginner climbers because they require a lot of finger and hand muscles that, prior to climbing, I hadn’t developed. Sometimes you will only be able to fit a couple of fingers on these holds, and this will stress your tendons. Crimps are the reason it is important to stretch your fingers and wrists before climbing. With these holds, they are almost exclusively usable from below. When reaching for a crimp, remember to move your hips and adjust your body weight accordingly. Keep your wrist straight to avoid injury and use your shoulder and elbow to maneuver into the necessary position.
There are three different ways to grip a crimp. An open hand position, in which the tips of your fingers stay above the other knuckles is the safest to avoid injury. It is also often weaker until you develop these muscles. This is primarily useful for the sloper, another rock climbing hold we’ll get to soon. A closed crimp (shown below) tends to be the strongest position, but it is also the most stressful for the joints. Imagine making a fist, but uncurling the last knuckle. In this hand position, your fingertips are almost touching the top of your palm, and this can cause tendonitis if you are not careful. The most common hand position is the half-open hand, where your fingers wrap around an imaginary circular ladder rung.
Pinches
With a similar hand position as the crimp, pinches require you to keep your fingers mostly straight. Pinches can be horizontal, vertical, or somewhere in between. These are hard for beginner rock climbers, as they require hand and thumb strength that take time to develop.
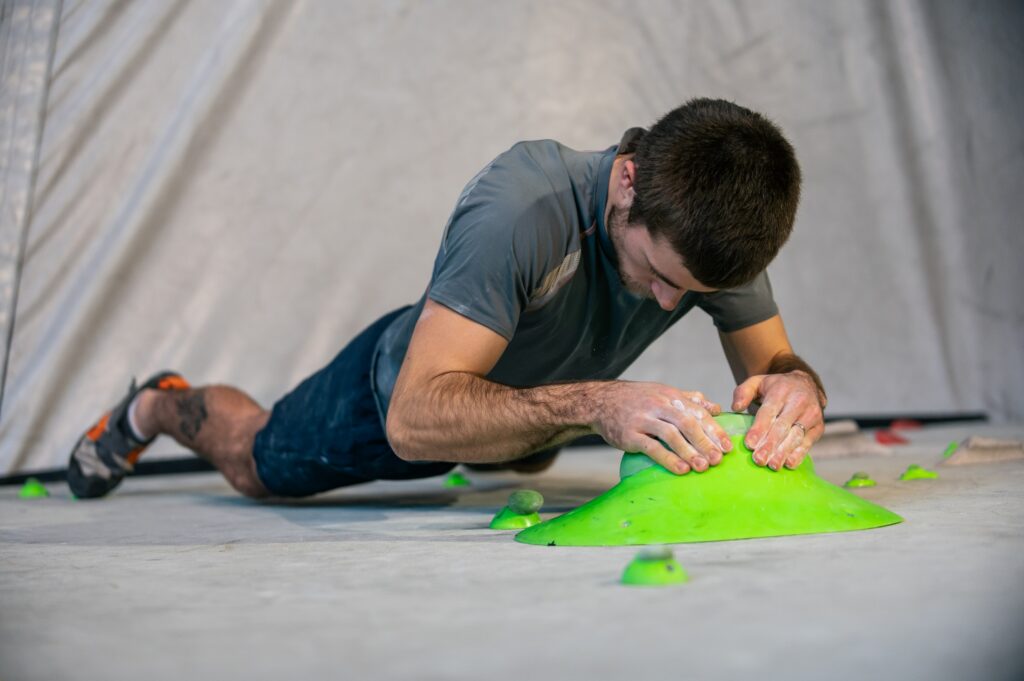
Slopers (and Guppies)
Slopers are large rounded holds that, at first encounter, appear impossible to grab. These tricky rock climbing holds rely on friction more than strength. They also tend to make beginner climbers nervous because it is impossible to feel secure on a sloper. You grab a sloper with an open-hand grip similar to crimps, though you can spread your fingers and thumb out for better coverage.
Slopers are one of the most important holds to consider body position and center of gravity. They are simply impossible to hold onto if you are in the wrong place. Read more about managing your center of gravity in our beginner’s rock climbing technique guide. Consider where your fingers are as a horizontal line, and keep your wrist and elbow perpendicular to that line. This will protect your tendons and joints from injury and provide the best opposite force to keep you on the climbing hold.
A guppy is similar to a sloper, except it works best when you grip it on the side. Whereas slopers have your palm facing the wall, guppies require you to turn your hand ninety degrees. It is easy to grab wrong at first, but you’ll find a sideways grip necessary to get the best friction.
Pockets
Pocket holds are sort of like jugs, but with the pocket facing forward. They also tend to be smaller, only big enough for a couple of fingers. Both of these factors make them a lot tougher for beginner climbers to manage.
Be sure to have a slow approach to a pocket. This is not a rock climbing hold you should grab from a dyno, as that is likely to cause jammed fingers. It is also important not to push yourself too much on a pocket. If you feel like you are injuring yourself trying to hold weight on two fingers, you probably are.
Top Three Secondary Climbing Movements
The Sidepull
There are three more basic climbing holds that you will likely encounter. These are distinguished by the movements required to use them. The first, the sidepull, is any hold out to the side of the route that is turned vertically. To hold a sidepull, put your arm parallel to the ground and employ core and tricep muscles to pull the arm toward you.
If you try to hold a sidepull from below, you will slip off the wall. Instead, rotate your hips and feet in order to turn toward the sidepull and create more opposite action. It is this tension that keeps you on the wall. You’ll see this is true for the last two holds as well. Because it is more about the movement, sidepulls can technically be any hold, but they are most likely either edges or pinches.

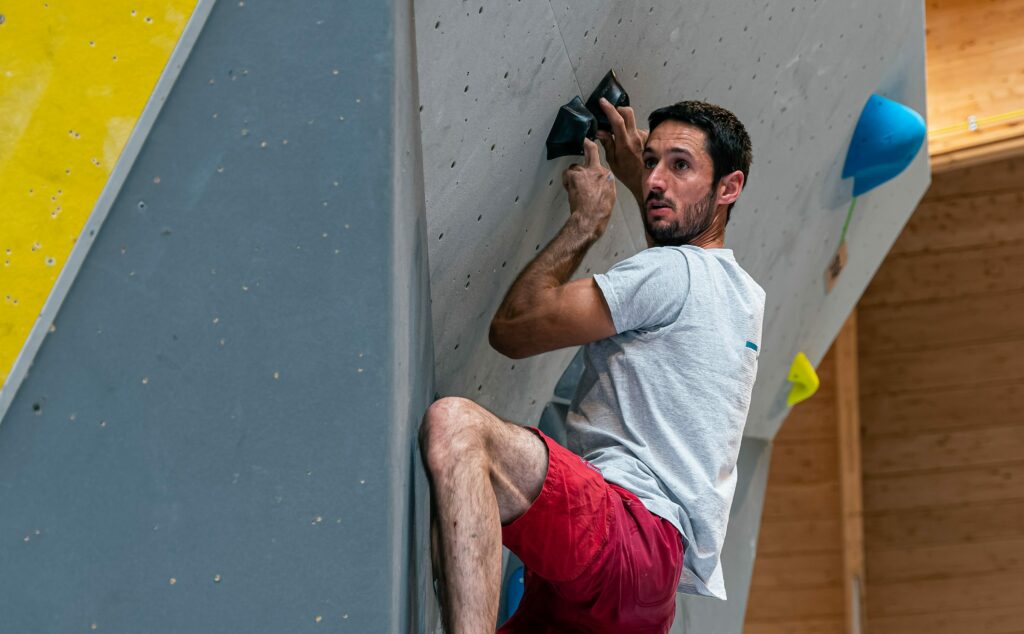
The Gaston
Now that you can visualize a sidepull, the gaston is this in reverse. It is again most likely to be a crimp, pinch, or sloper-type hold. You will have the same sideways-facing hold but positioned closer to the center of the route, where your body is. As a result, the gaston requires climbers to push down or outward away from the body with a fully bent elbow. Similar to the sidepull, it is essential to manage your center of gravity and align your arm perpendicular to the climbing hold.
This is one of the hardest rock climbing holds because it is one of the few that relies on pushing away rather than pulling toward. Depending on the angle, this mechanism can stress the shoulder. The gaston is the most common cause of a shoulder injury, specifically rotor cuff injury, among climbers.
The Undercling
The final rock climbing hold you need to know is the undercling. This will look like a jug but upside down. Underclings are most often found as starting holds and at the base of overhangs. Underclings are another not-particularly intuitive hold for beginner rock climbers. To use one, you need to balance on your foot holds and use the undercling to pull up and keep yourself close to the wall. If you find an undercling in the middle of a route, you will need to lean away from the wall (as shown below) in order to get a good grip on it and not slip off.
Now that you know the different types of indoor rock climbing holds, you can head to the gym and get some hands-on experience. Before you jump on the wall, stretch your arms and look at the route. Examining the holds and envisioning how you will approach them will help you spend less time on the wall getting tired. Be sure to check out our overview of the beginner rock climbing gear you will need, and you will be all set. Happy climbing!