Because our state can have such extreme and diverse weather, it is essential to do some research before you go hiking in Colorado. You should always be aware of weather, trail conditions, and wildlife before you leave for a hike, in part so you can pack accordingly.
There are so many stunning hiking options around the state. If you don’t know where to go, be sure to check out our Colorado Springs trail guide. Once you have a hike in mind, this article provides all the best resources for where to check Colorado trail conditions in order to be properly prepared for your hike.
Trail Condition Resources
All Trails
This amazing community-driven resource has everything you need to ensure a great day on the trail. It is personally one of my favorites on this list because it makes it easy to find variations of trails. This is particularly helpful if you are looking for a shorter mileage or less strenuous option. You can search for accessible trails (for wheelchairs, strollers, etc), parks that allow dogs, mountain biking trails and more. Listed information about trails includes mileage, elevation, reviews, difficulty level, parking information, and pictures.
This is a great resource for figuring out the proper trail for what you want out of the hike as well as staying informed along the way. As you hike, the app shows waypoints and elevation changes and tracks your metrics. You can review the hike, save your favorites, and share helpful tips with others. The app is particularly helpful for popular trails that other users are commenting on regularly. You can read recent reviews for relevant updates on the Colorado trail conditions and also check the weather and UV index for the day.
National Park Service
If you are looking to hike a trail within a national park, you can check the National Park Service’s website for everything you need. They list trail closures, conditions, and other important safety notices regarding wildlife and weather. Trail availability can change rapidly, whether from a storm, maintenance work, or high risk of fire. It is helpful to check the park’s website for updates day-of. This way, you can plan your hike and route around any closures or potentially dangerous areas.
One other especially important factor when visiting national parks is parking and permits. Depending on the time of year, parking can fill up fast. Once you know what hiking trail you want to explore, you can find trailheads and the closest parking lots. Grab the necessary permits or parking lot reservations in order to save time on the drive-in and help your day go smoothly.
Colorado Trail Explorer
Similar to All Trails, Colorado Trail Explorer is a comprehensive resource for exploring the outdoors in Colorado. You can find routes for hiking, horseback riding, skiing, ATV riding and more. Their filtering function also includes so much more than just dog-friendly and wheelchair-accessible options. You can search for special interests like geology or mining or things you’d like to see like wildflowers or waterfalls.
Once you’ve identified a trail, the website pulls in Google Maps for directions and Weather.gov for forecasts. My favorite feature, though, is the custom ability to see the different sections of the hike. Rather than simply listing the mileage and elevation change, you can look at it step-by-step and see how each leg of the hike will test you. They even have a measure tool that allows you to check out a custom length of the trail. This is very useful if the different sections they list are not specific enough for you. From grade to elevation to mileage, you will get a good sense of the trail’s difficulty before you even get out of the car.
The crowdsourced trip reports allow you to get updates on trail conditions, crowding, bathroom availability, and insect presence. Once you get the app and download the trail for offline access, you can keep notes on your experiences and track your progress in real-time. There are also fun challenges like identifying wildflowers and noting scenic lookouts to keep you engaged with all the beauty of Colorado’s trails. If you are an outdoor enthusiast, this resource is a fun and informative way to stay updated on Colorado trail conditions and track all your progress hiking around the state.
Colorado Trail Foundation
The 567-mile Colorado Trail between Denver and Durango is an accomplishment of massive proportions. Efforts to build the trail started in 1974 and took over ten years. It is a unique adventure that travels through six wilderness areas, eight mountain ranges, five major river systems, and some of the best views the Rockies have to offer. All up, the trail climbs nearly 90,000 vertical feet, but you don’t have to do it all at once. The trail is divided into 28 segments plus an additional 5-segment, 80-mile trail variation called Collegiate West.
If you are looking to hike any part of the Colorado Trail, the guidebook is strongly recommended. It includes mile-by-mile trail descriptions, driving directions and access points, mileage and elevation stats, and even information on towns to resupply if you do the whole trail at once. The website is also a great resource for information on packing, finding natural water sources along the trail, and preparing for the high elevation. There is a lot of research and preparation necessary before hitting the Colorado Trail. However, with the help of the Foundation, it has been completed in full by nearly 5,000 people.
How to Interpret Trail Conditions
It is not enough to just check on trail conditions and make sure the trail is still open. There can be some crucial information in these updates that will help you pack well and be properly prepared for your day. If there is a trail closure, you can check out All Trails or Colorado Trail Explorer to find variations or nearby trails with similar stats.
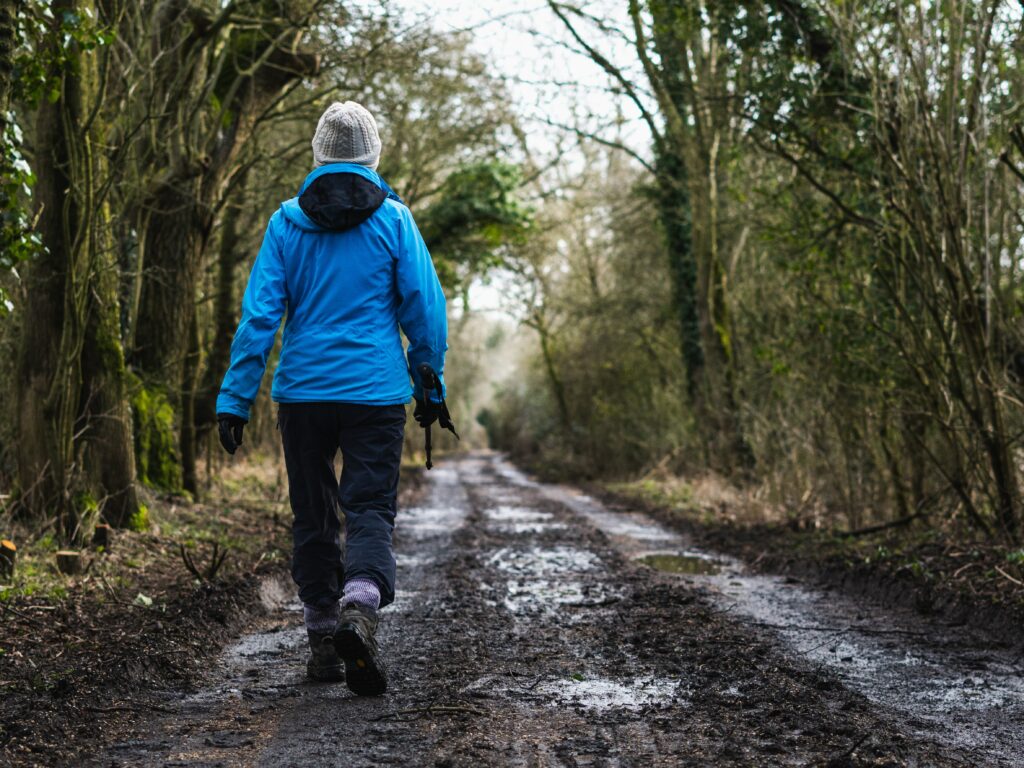
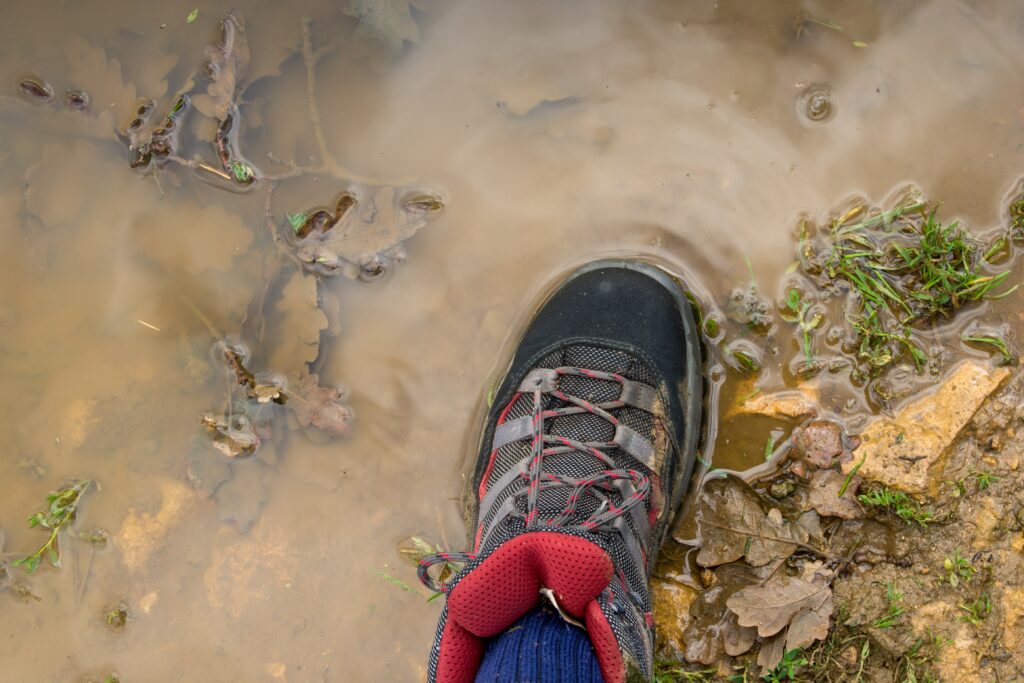
Common information about trail conditions can include obstacles and downed trees, muddy or snowy sections, and standing water. In the case of wet trails, you will want to wear waterproof hiking boots (or boot liners). Additionally, pack extra socks, and read up on some tips for hiking in mud. If you know you will encounter obstacles on your hike, hiking poles can be helpful for extra stability, and gloves will protect your hands from rough tree bark or scrapes from branches.
Other conditions may include loose soil, exposed tree roots, or damage from a mudslide or flash flood. These conditions tell you to be cautious and watch where you step. Wearing your best hiking boots with good grip will help you overcome a damaged trail.
Other Resources to Check
In addition to looking for updates on trail conditions, there are a few other things to research in order to be fully prepared for a hike. First, checking the weather reports for the day will help you pack and dress properly. You should also know about weather changes when hiking to a higher elevation or hiking between different climatic zones.
Next, be sure to check the park or county’s website for guidance on permits and parking. Some parks may require permits for backcountry hiking, in order to limit hikers and protect the landscape. Many places especially around Colorado Springs have limited parking lots and use reserved tickets to control overcrowding. Be sure to look into these aspects of your day hike as well so you do not show up unprepared and miss out on your adventure.
No matter where you go, it is always important to be aware of Leave No Trace guidelines in order to be a good steward of the land. There are plenty of resources available to learn about how best to pack out trash and get rid of waste so you can protect the trails for future generations.
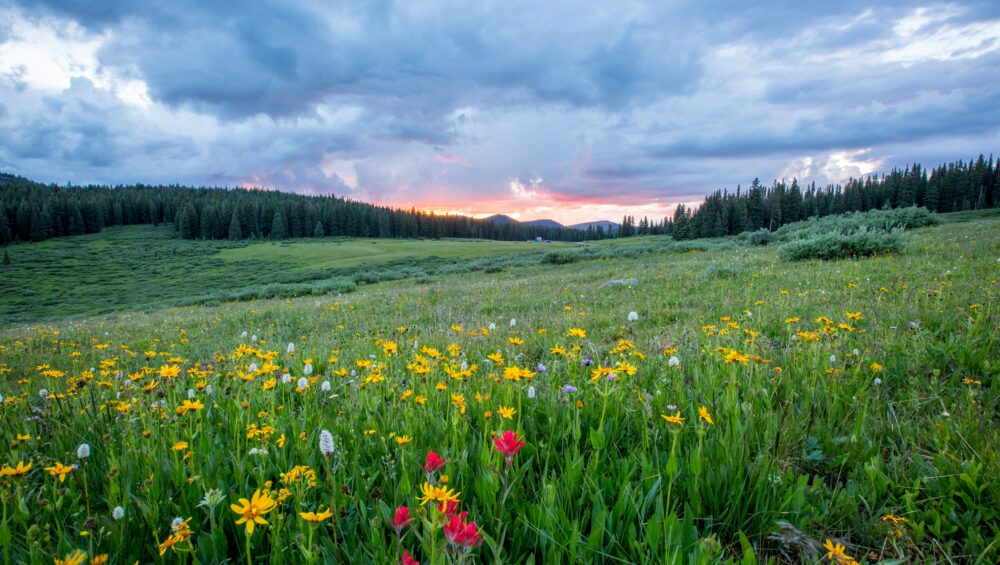
Finally, I like to prepare for hikes by checking information on local wildlife and the flora of the area. I find this information heightens the experience because I am able to identify and appreciate the nature around me more. It can also be important to be aware of wildlife near hiking areas. For example, if bears have been spotted from the trail, make sure you are aware of bear safety tips and don’t go on the hike during their peak hours. You can prepare by learning what wildlife you might encounter and reading up on how to watch wildlife safely.
Final Thoughts
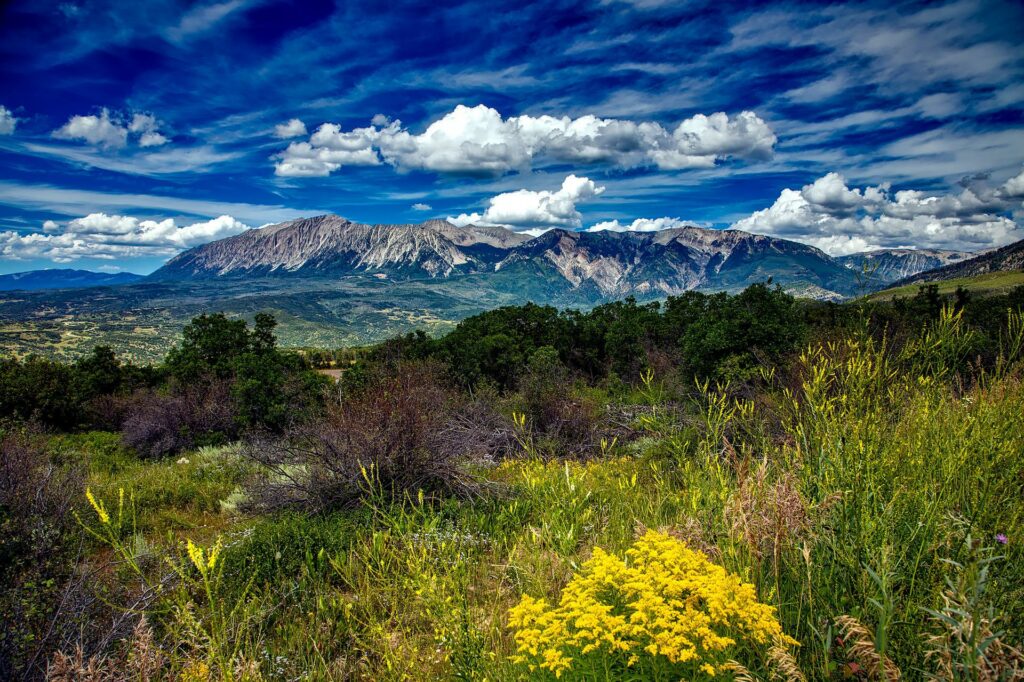
Colorado has some of the best hiking in the country. It includes over 5,600 miles of hiking trails according to Colorado Trail Explorer. No matter what type of view or how strenuous a hike you are looking for, you can surely find an exciting and awe-inspiring hiking trail near you. If you are just getting started on your hiking journey, consider going on a Guided Hiking tour in order to become familiar with best practices and helpful techniques while on the trail. Hiking with experienced friends or a professional is the best way to start hiking and get comfortable with packing and preparing for a hike in Colorado.