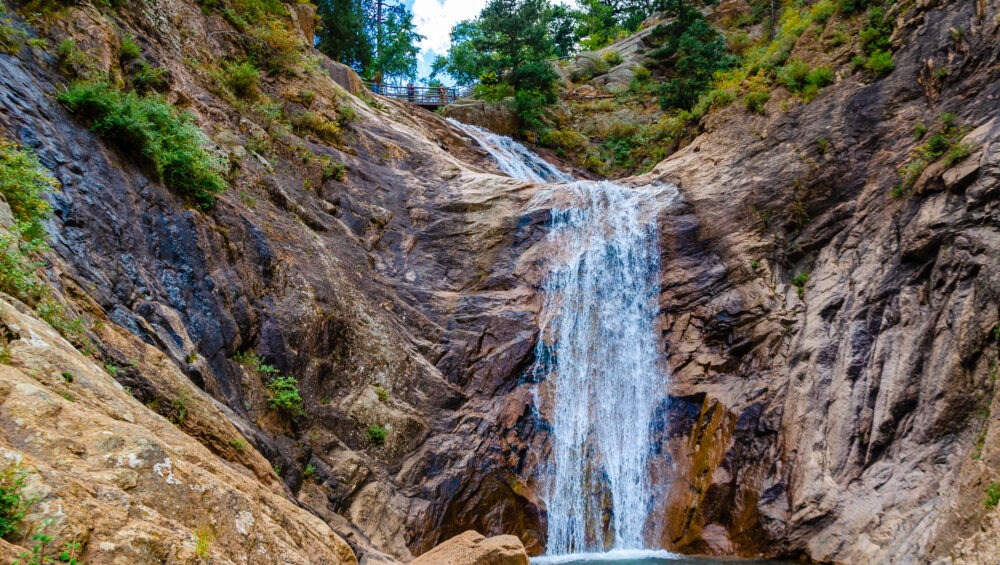
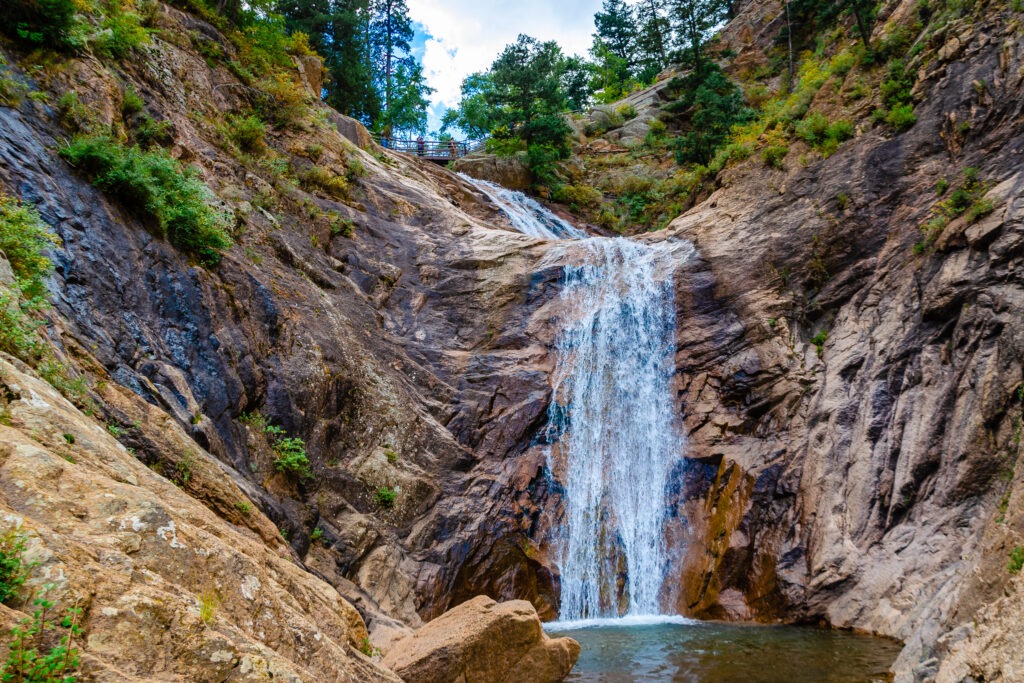
Tucked into the box canyon of South Cheyenne Cañon, just minutes from The Broadmoor Resort, Seven Falls has dazzled visitors for over a century. Often called “The Grandest Mile of Scenery in Colorado,” this series of cascading waterfalls is more than a natural wonder. I t’s a landmark steeped in local heritage, conservation, and tourism history. From Indigenous significance to entrepreneurial visionaries, the history of Seven Falls is as layered as the waterfall’s seven distinct drops.
Whether you’re a first-time visitor or a local curious about your backyard, learning the story behind this beloved destination adds a new dimension to the experience.
Long Before Tourism: Indigenous Roots
Long before roads were built or admission tickets were sold, the land surrounding Seven Falls held meaning for Native American tribes. The Ute people, among others, inhabited the Southern Rocky Mountains for generations and traveled through the canyons and meadows of what is now Colorado Springs.
South Cheyenne Cañon, with its flowing streams, abundant wildlife, and towering cliffs, was a place of seasonal passage and spiritual connection. While specific legends tied to Seven Falls are hard to trace, it’s clear that the area was a valued part of ancestral homelands long before European settlers arrived.
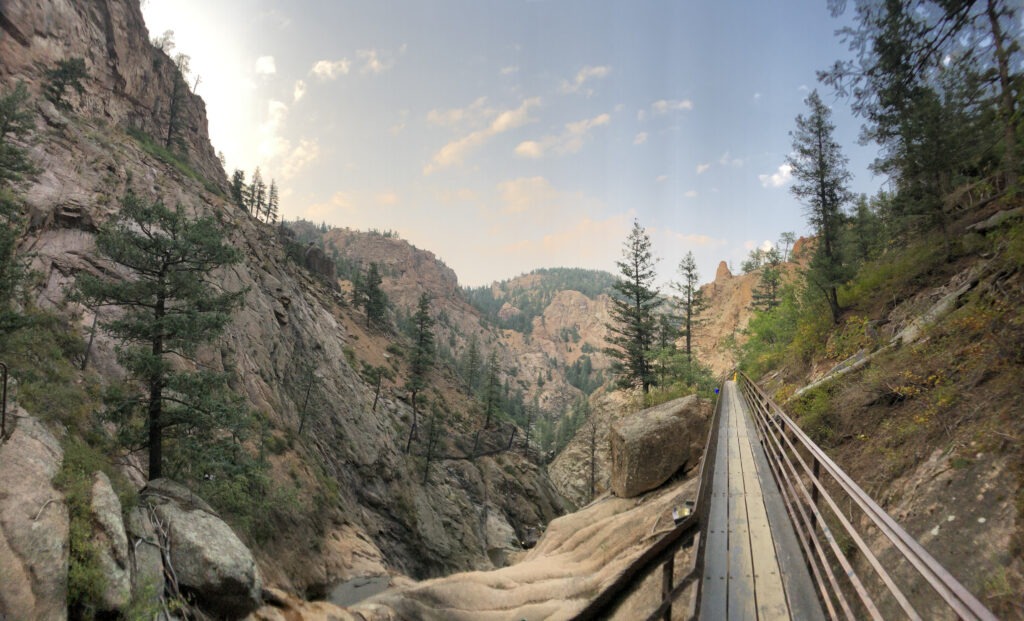
The Discovery Era: Early Western Exploration
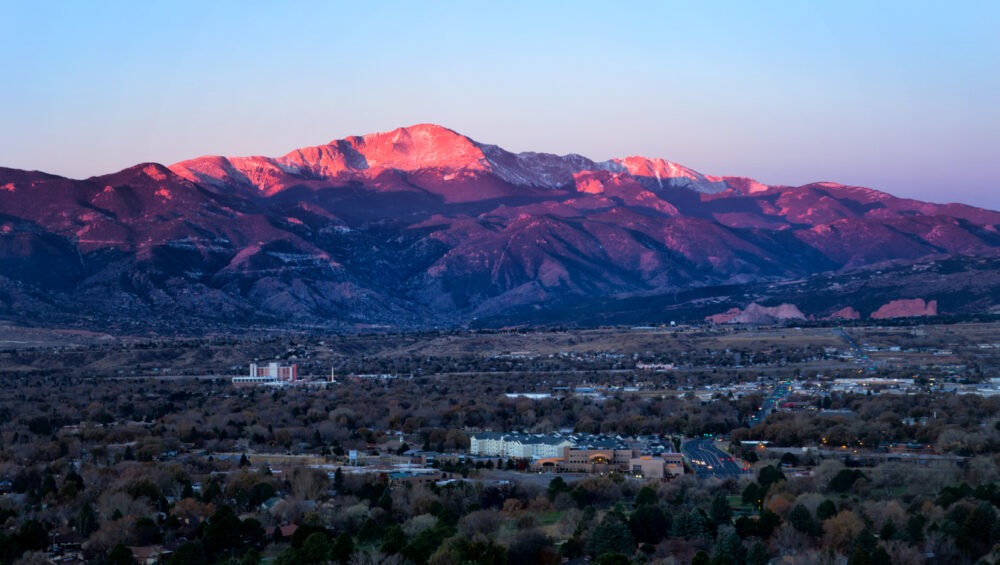
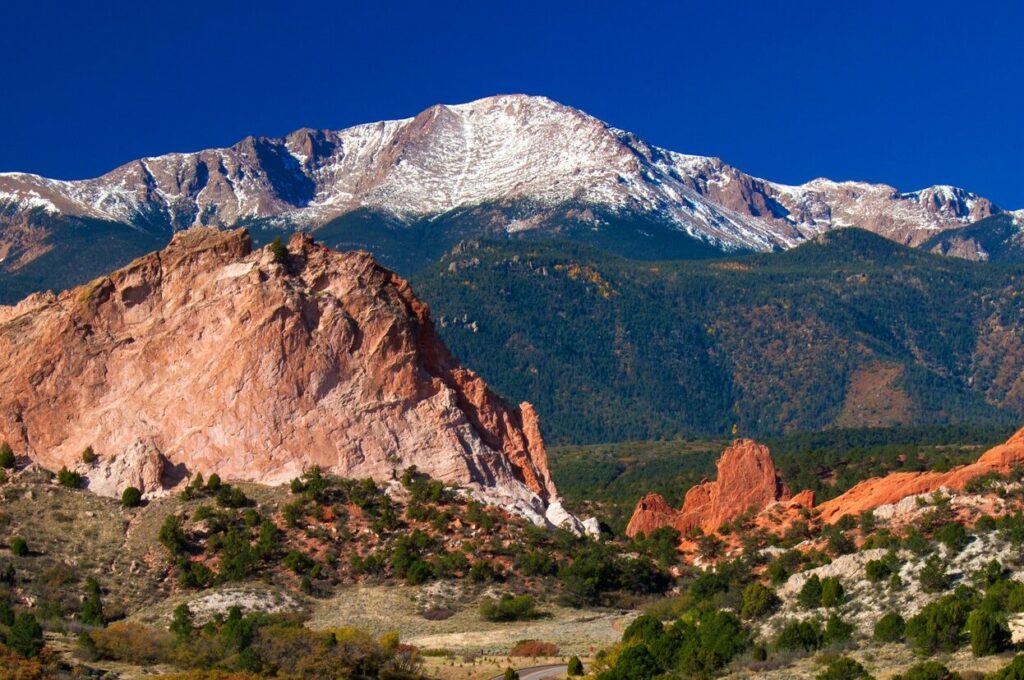
In the late 1800s, as the Pikes Peak region attracted miners, homesteaders, and railroad tycoons, word of a breathtaking waterfall in South Cheyenne Cañon began to spread. The falls became a local attraction not long after the founding of nearby Colorado Springs in 1871 by General William Jackson Palmer, the city’s founder and a key figure in developing its outdoor spaces.
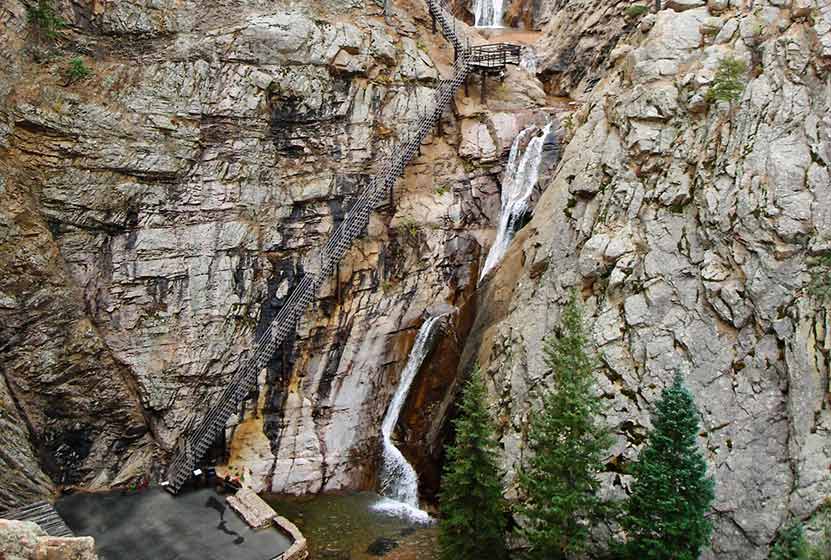
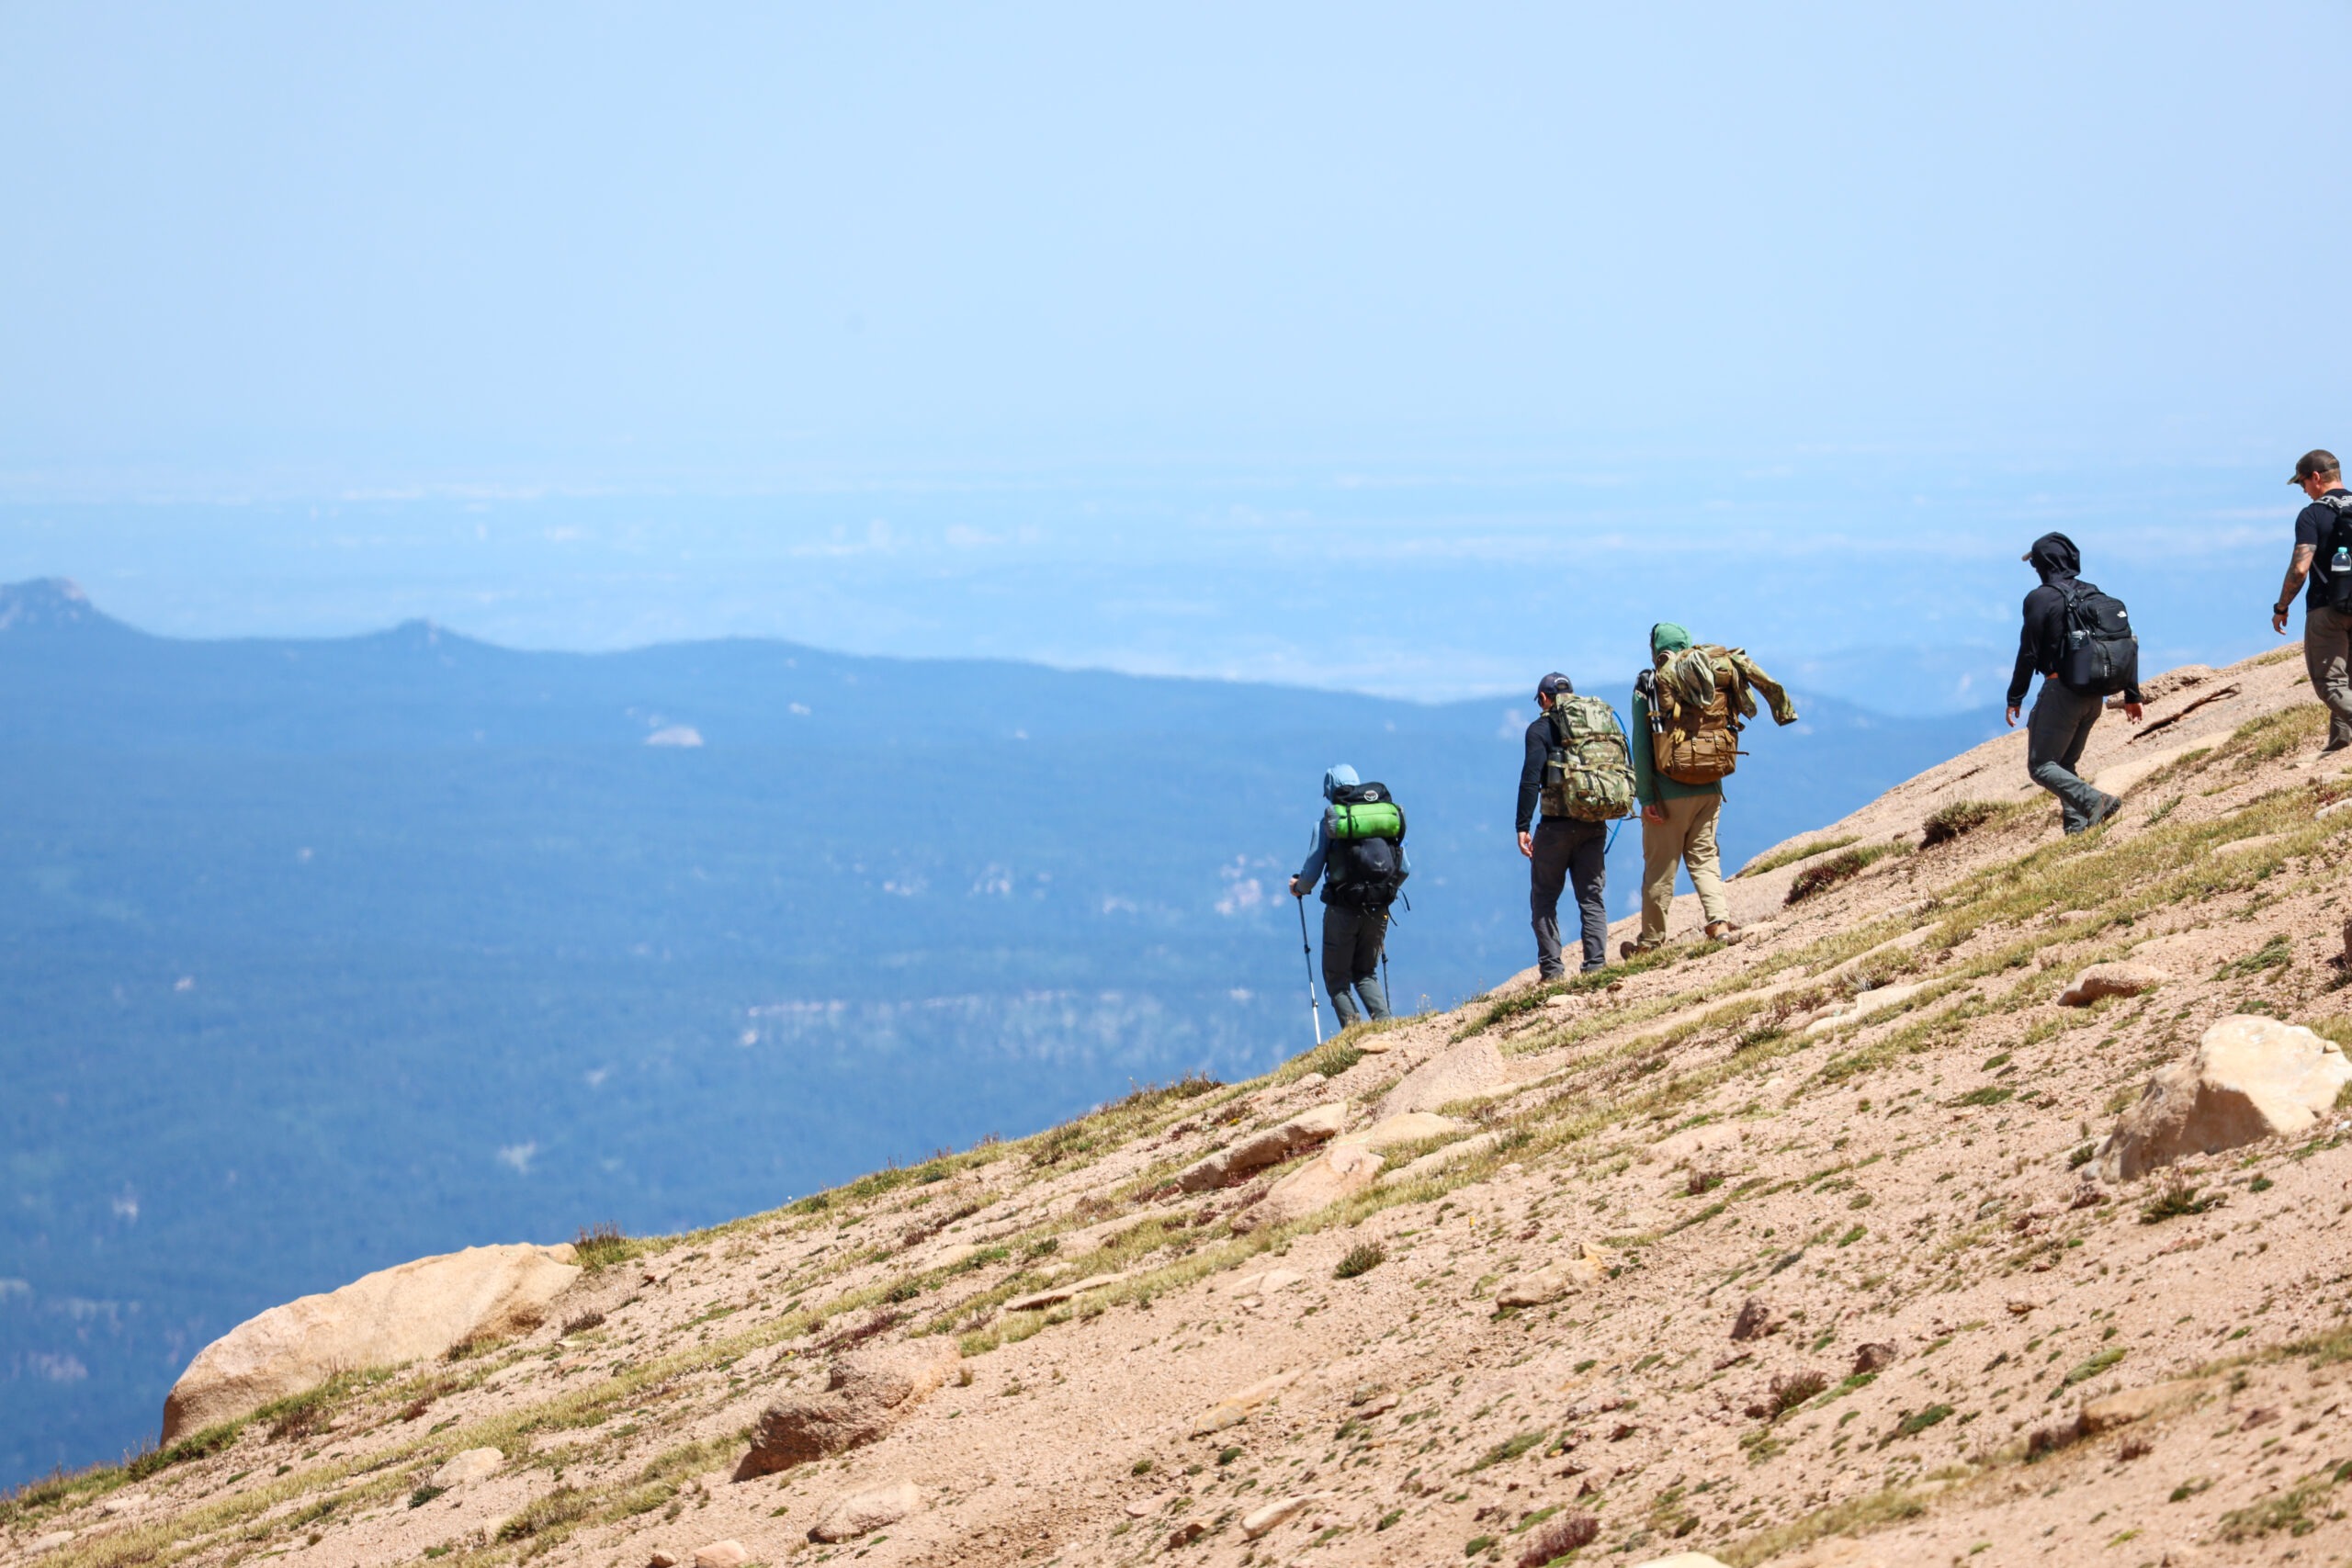
At that time, reaching Seven Falls was a bit of an adventure in itself. Visitors traveled on horseback or by carriage along narrow dirt roads carved into the canyons. But for those who made the trip, the payoff was worth it: a dramatic waterfall plunging 181 feet in seven distinct steps through a steep, narrow gorge of pink granite.
James Hull: The Man Who Made It a Destination
In 1882, a visionary entrepreneur named James Hull purchased the land around Seven Falls. Recognizing its potential as a natural attraction, Hull built walking paths, bridges, and rustic infrastructure to make the area more accessible to the public. He even constructed a wooden staircase alongside the falls so visitors could climb to the top and enjoy the view from above.
Hull’s approach was unique for the time. He believed in preserving the beauty of the canyon while still allowing others to experience it, and he invested in keeping the space clean and safe. Thanks to his care and commitment, Seven Falls grew into one of Colorado’s first privately owned tourist destinations centered around natural beauty.
Over the decades, the wooden stairs were replaced by more permanent fixtures, the trail system expanded, and infrastructure such as roads and lighting made the area more accessible. But the spirit of Hull’s original vision—to blend conservation with exploration—still guides the site today.
Click HERE to see some vintage photographs of Seven Falls.
A Visit from the President
One of the most notable moments in the history of Seven Falls came in 1901 when President Theodore Roosevelt visited Colorado Springs. An avid outdoorsman, Roosevelt visited South Cheyenne Cañon and was reportedly impressed by the rugged beauty of the waterfalls. Though he didn’t make a formal speech at the falls, his presence boosted its profile and cemented its reputation as a must-see attraction.
Generations of Private Stewardship
For much of its history, Seven Falls remained in private hands. Unlike many U.S. waterfalls protected as part of state or national parks, Seven Falls was cared for by families and private owners who kept the site open to the public while continuing to make improvements.
Over the years, upgrades included enhanced safety features, lighting for nighttime viewing, and the addition of attractions like the in-mountain elevator, which was carved into the granite wall in 1947 and still carries visitors to an overlook today. Trails above the falls, such as those leading to Midnight Falls and Inspiration Point, were added to give hikers a more immersive experience in the surrounding wilderness.
This balance between development and preservation is a defining trait of Seven Falls, and it helped the site survive where others may have been overtaken by urban growth.
Natural Disasters and a Resilient Return
Like many places in the Rocky Mountains, Seven Falls has faced its share of natural challenges. In 2013, the site was devastated by flash flooding caused by severe rainstorms. Trails were washed out, bridges destroyed, and much of the infrastructure around the falls was left in ruins. For the first time in over a century, the future of Seven Falls was uncertain.
That changed in 2014 when The Broadmoor purchased the site with a commitment to restore, preserve, and enhance the historic location. After extensive repairs and upgrades, Seven Falls reopened in 2015 with improved safety features, a new restaurant, enhanced trails, and an upgraded gift shop—all while maintaining the natural charm that had captivated visitors for generations.
Seven Falls Today
Today, Seven Falls continues to enchant guests from around the world. The experience begins with a scenic one-mile walk through the canyon, followed by a climb up 224 stairs beside the falls (or a ride in the in-mountain elevator for those who prefer). At the top, you’ll find stunning views and peaceful hiking trails that offer a quieter, more reflective experience above the canyon floor.
At night, strategically placed lights transform the falls into a glowing spectacle. The rhythmic rush of the water, the scent of pine, and the sight of the falls under starlight create a truly unforgettable moment.
Seven Falls is also home to Restaurant 1858, named for the year Colorado Springs gold prospectors arrived. Set beside the creek and designed to reflect the rustic elegance of the area’s mining-era heritage, it’s a perfect place to relax after exploring.
Preserving the Legacy
What makes the history of Seven Falls so special is how it reflects broader themes in Colorado history—exploration, conservation, innovation, and a deep respect for the natural world. From James Hull’s original vision to its modern-day restoration by The Broadmoor, Seven Falls remains a living example of how nature and people can coexist in harmony.
It’s a rare thing to find a place that’s been welcoming guests for over 140 years and still feels wild, fresh, and inspiring. Whether you’re climbing the stairs, snapping a photo of the waterfall, or hiking above the canyon, you’re taking part in a legacy that continues to unfold.
Learn more about Seven Falls from The Broadmoor HERE.
Plan Your Visit
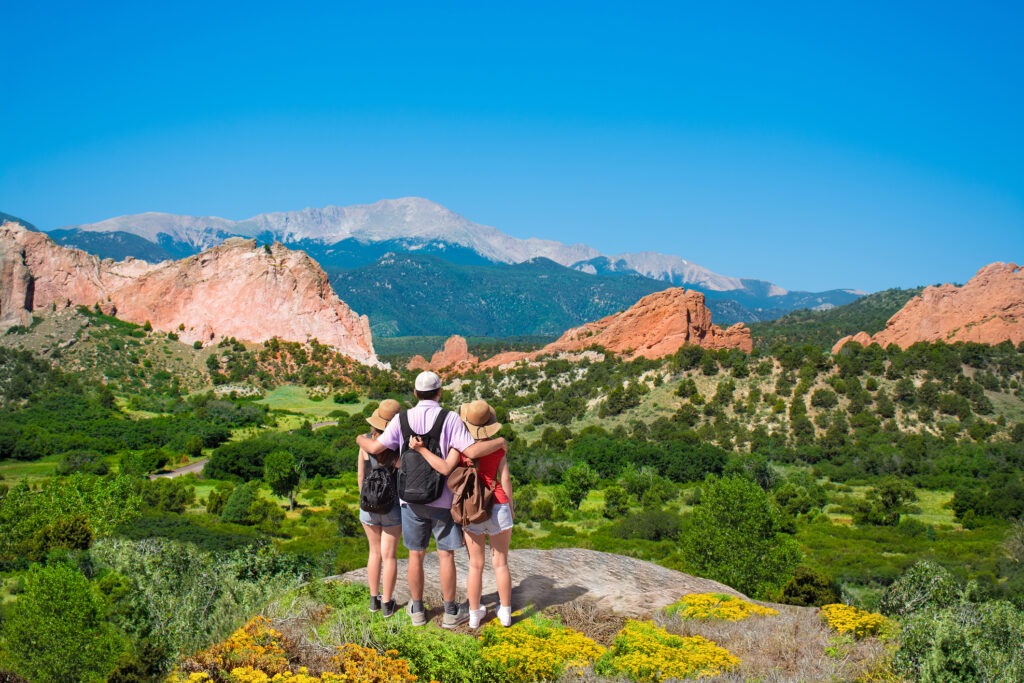
If you’re planning a trip to Colorado Springs, don’t miss the chance to walk the Grandest Mile of Scenery in Colorado. Whether you visit in the quiet morning hours or come for a sunset view, Seven Falls offers a beautiful blend of history, nature, and wonder.
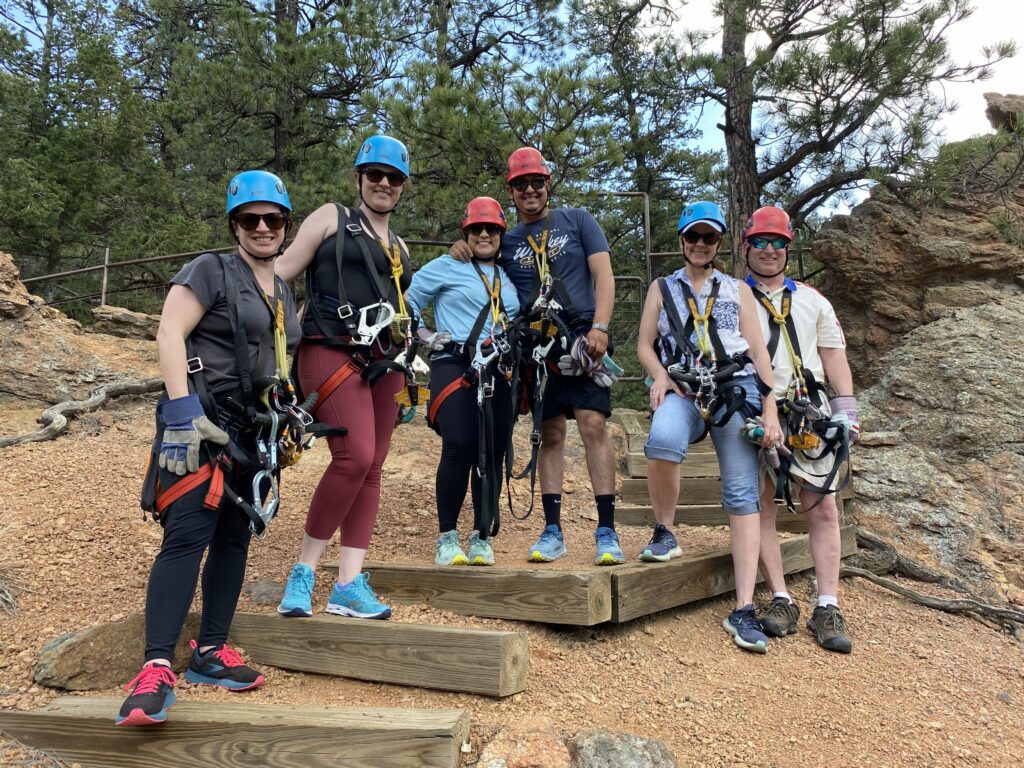
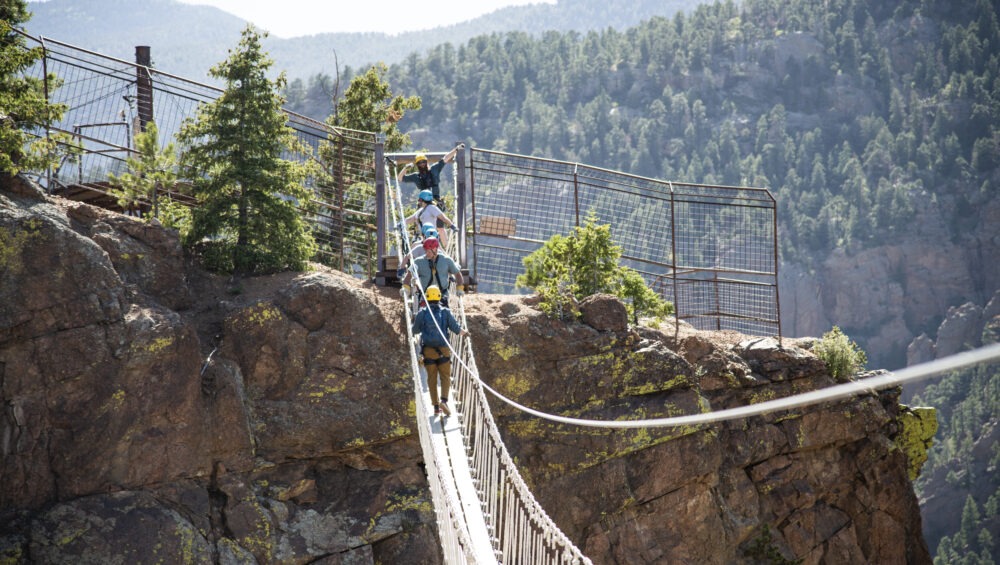
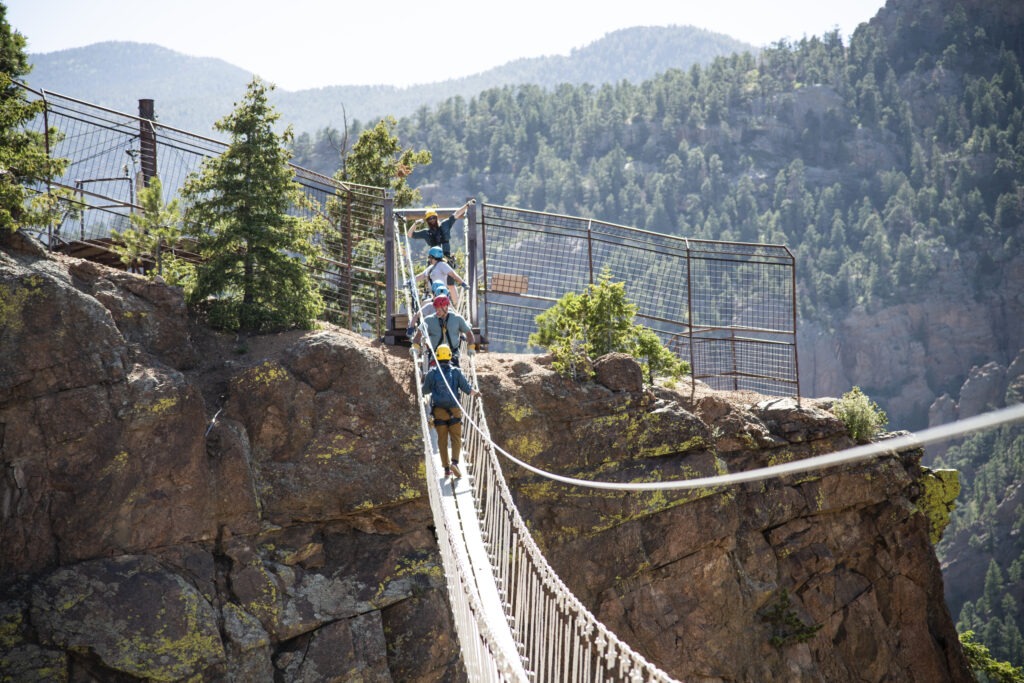
Learn more about Seven Falls and nearby adventures, including guided hikes and scenic experiences offered by Broadmoor Outfitters.