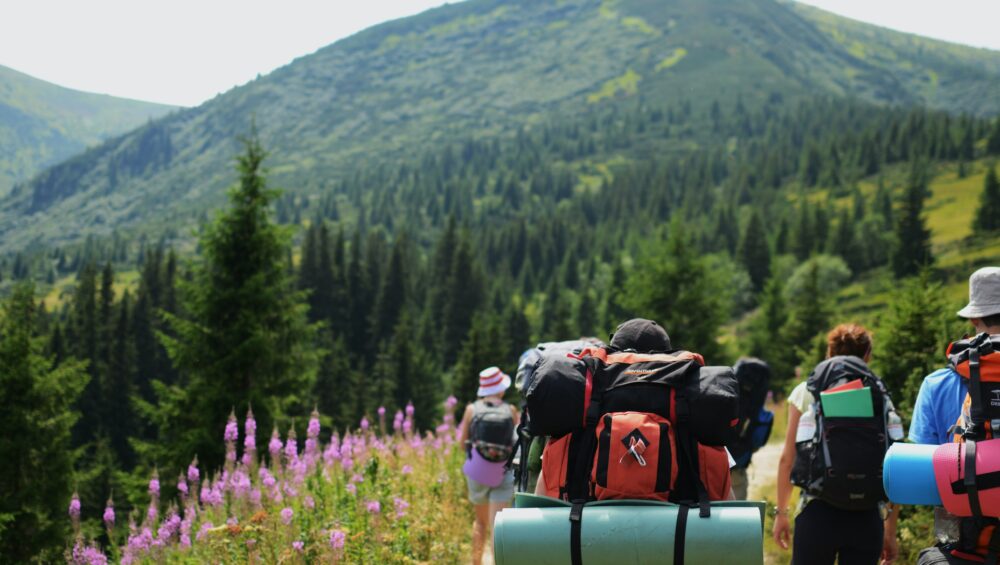
When it comes to outdoor adventure, few places match the diversity, accessibility, and natural beauty of Colorado Springs. Whether you’re planning a weekend getaway or a full-on adventure vacation, this city isn’t just a stop on the map. It’s the ultimate launchpad for all things outdoors. Nestled at the foot of one of the country’s most iconic mountains, Colorado Springs serves as a gateway to the Rocky Mountains. We have a wide range of activities that appeal to every level of adventurer.
So, why is Colorado Springs the ultimate outdoor basecamp? Let’s dive in.
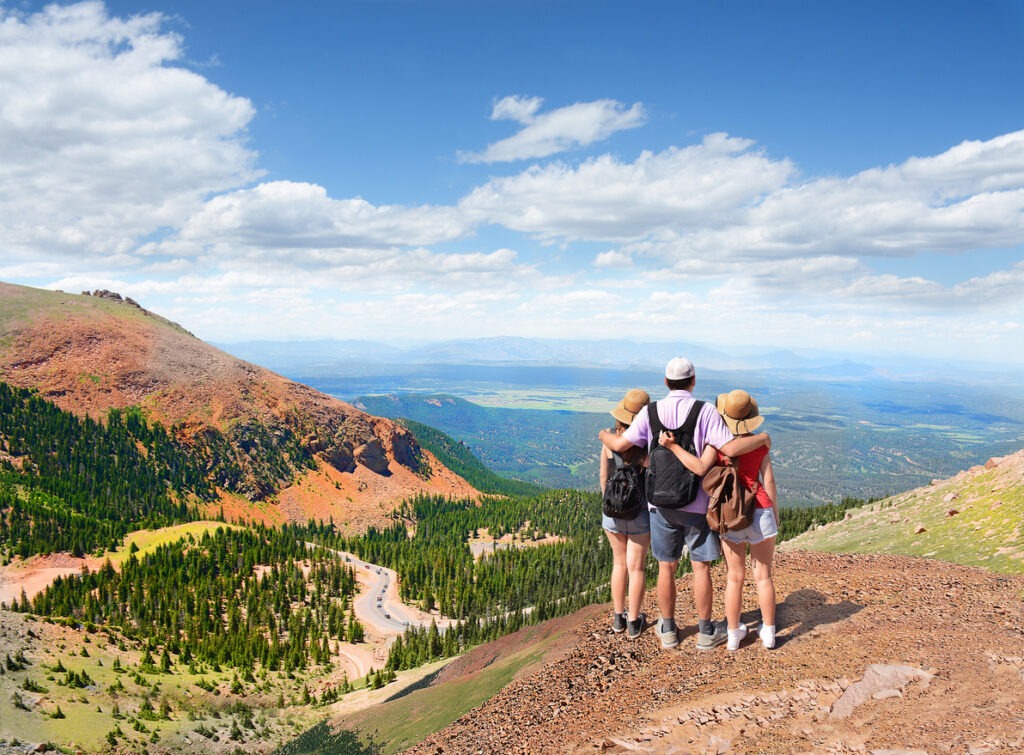
1. Strategic Location at the Base of Pikes Peak
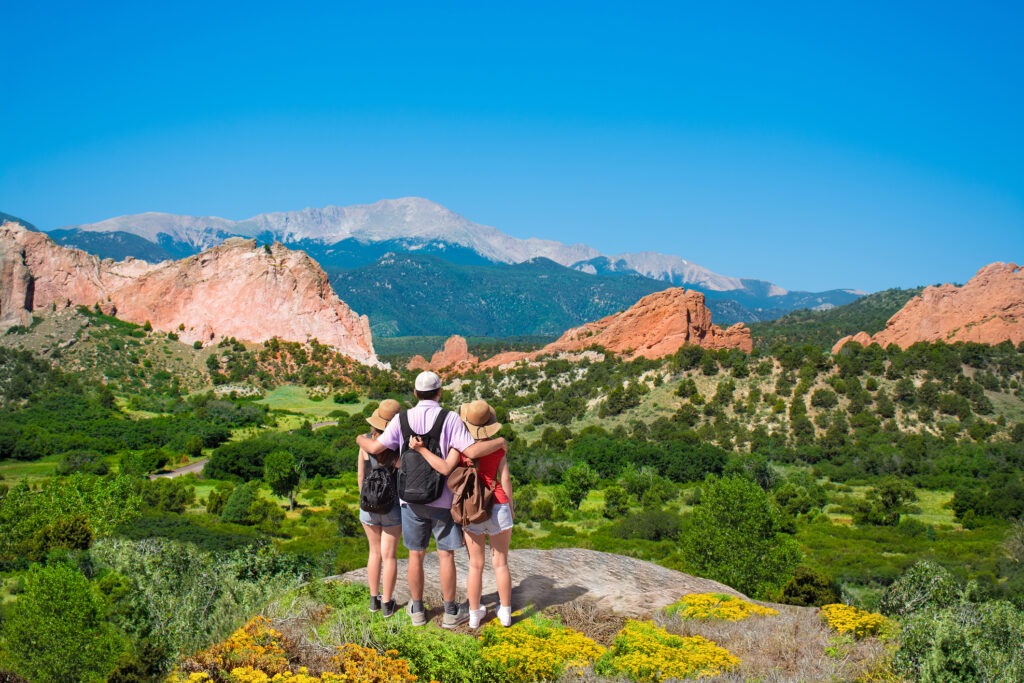
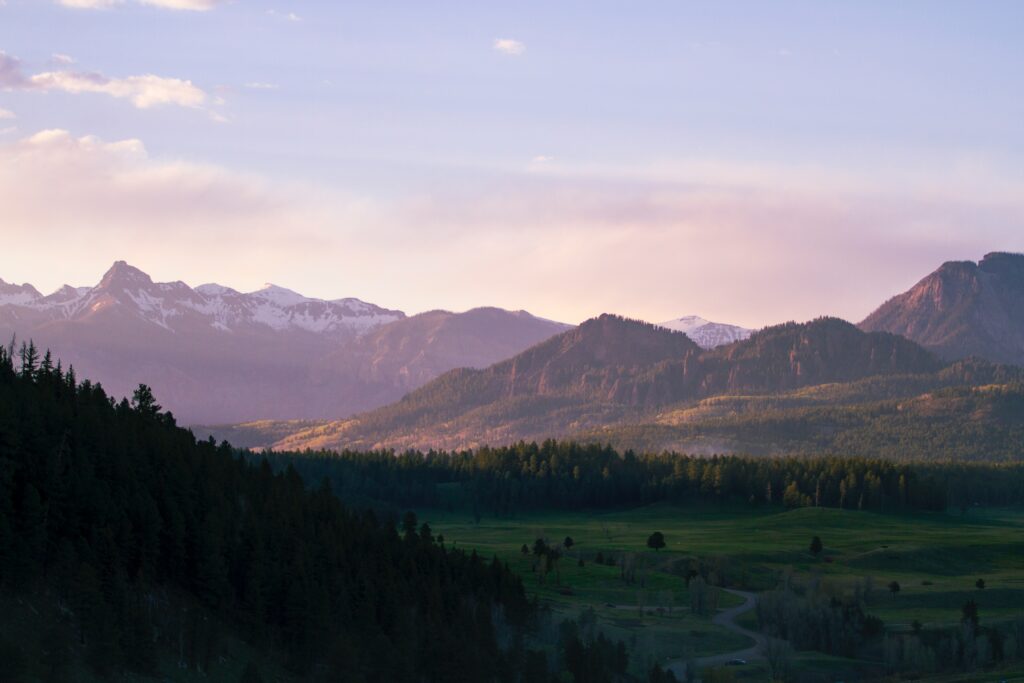
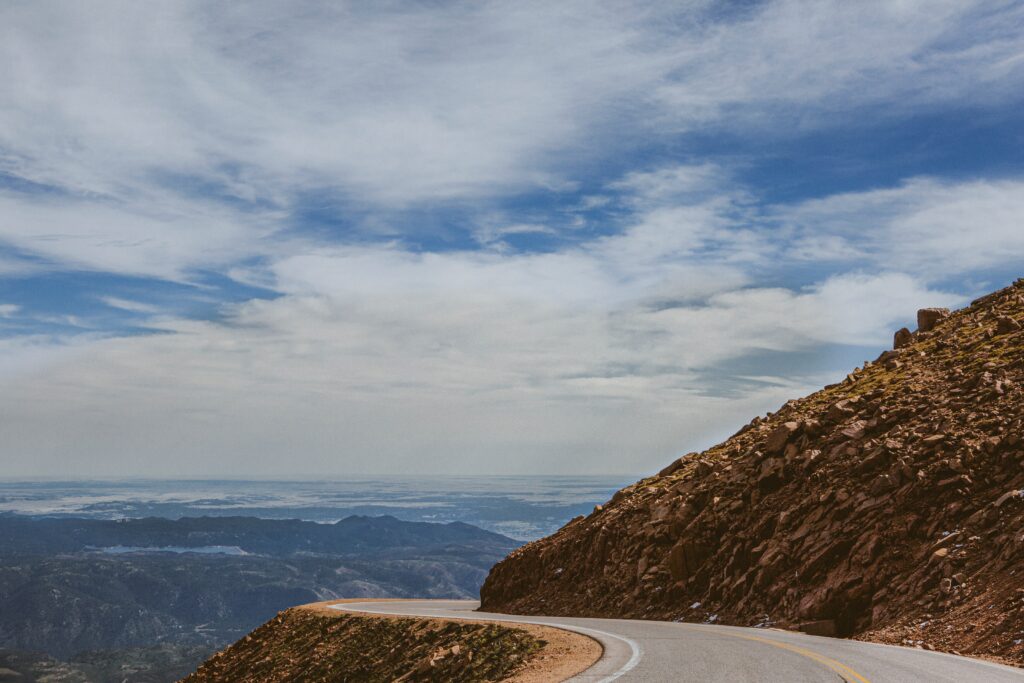
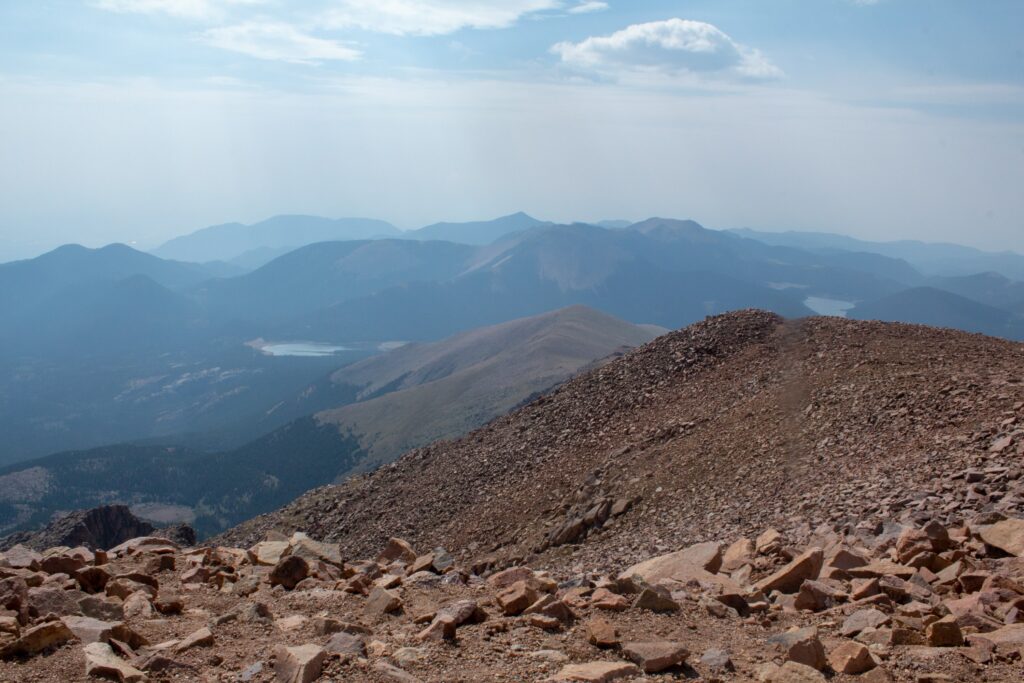
First and foremost, Colorado Springs’ location is a major win for outdoor lovers. Sitting at an elevation of around 6,000 feet and located just east of Pikes Peak, this city offers immediate access to high alpine terrain, dense forests, sandstone canyons, and rolling plains. That means you can start your morning on a scenic trail, spend your afternoon ziplining through the trees, and be back in town for a relaxing dinner, all without a long drive.
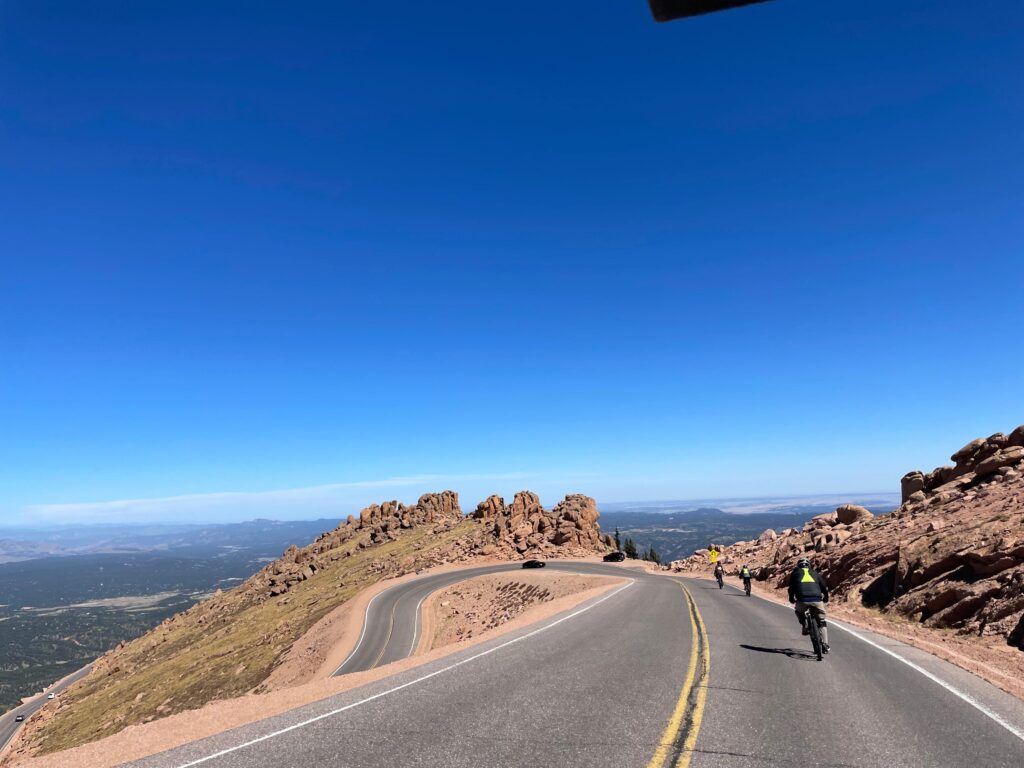
Pikes Peak, often referred to as “America’s Mountain,” looms over the city, drawing visitors from around the world. You can hike, bike, or drive to its 14,115-foot summit, and the views along the way are unforgettable. CLICK HERE for timed entry tickets for driving. Learn more about the historic Cog Railway HERE. Take the Cog up and then Bike down with Broadmoor Outfitters!
2. Four Seasons of Outdoor Adventure
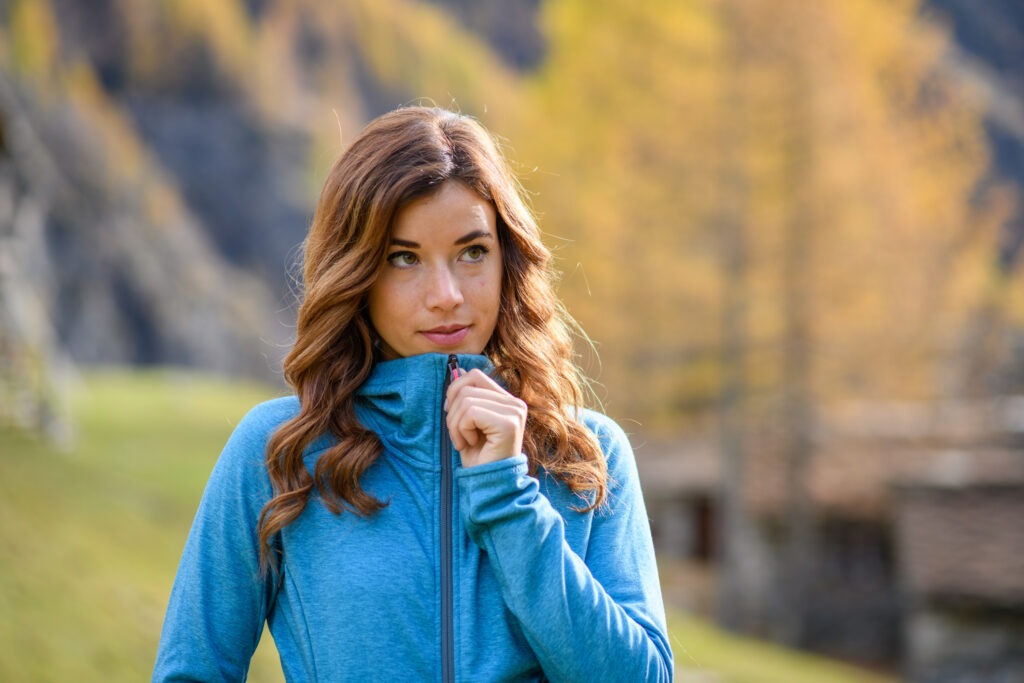
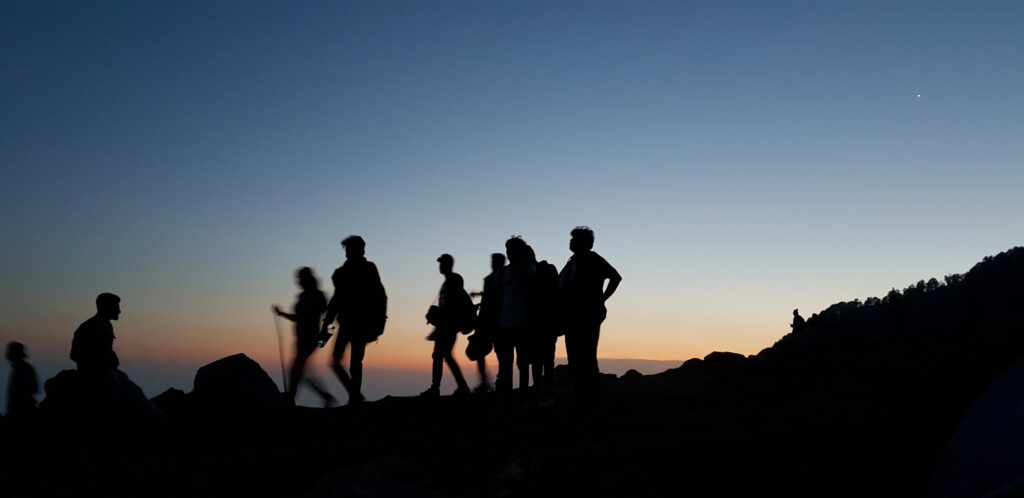
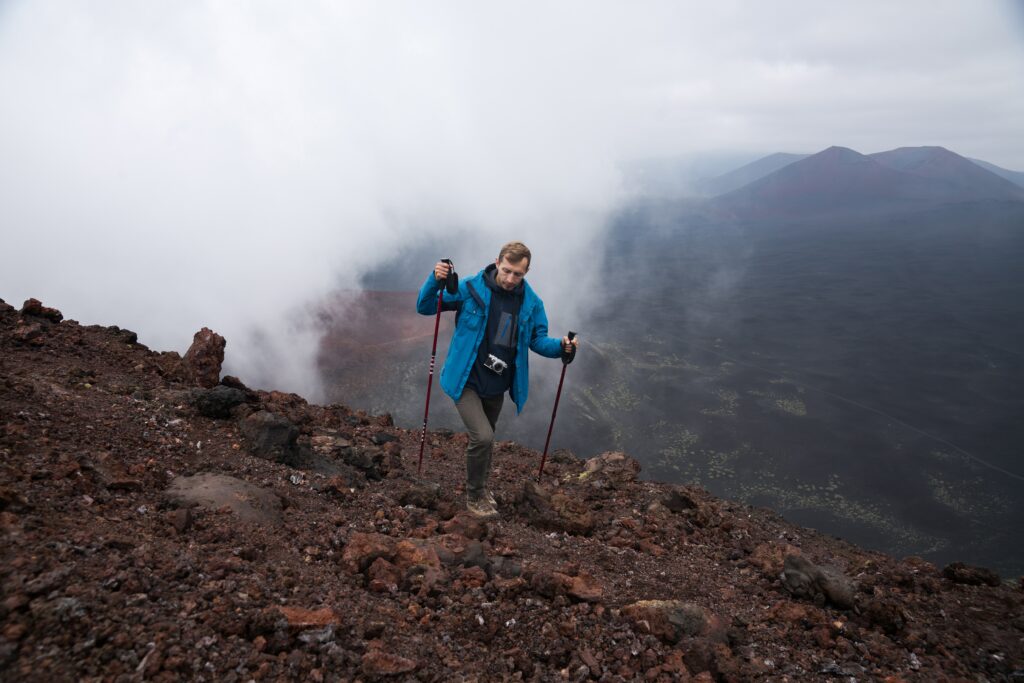
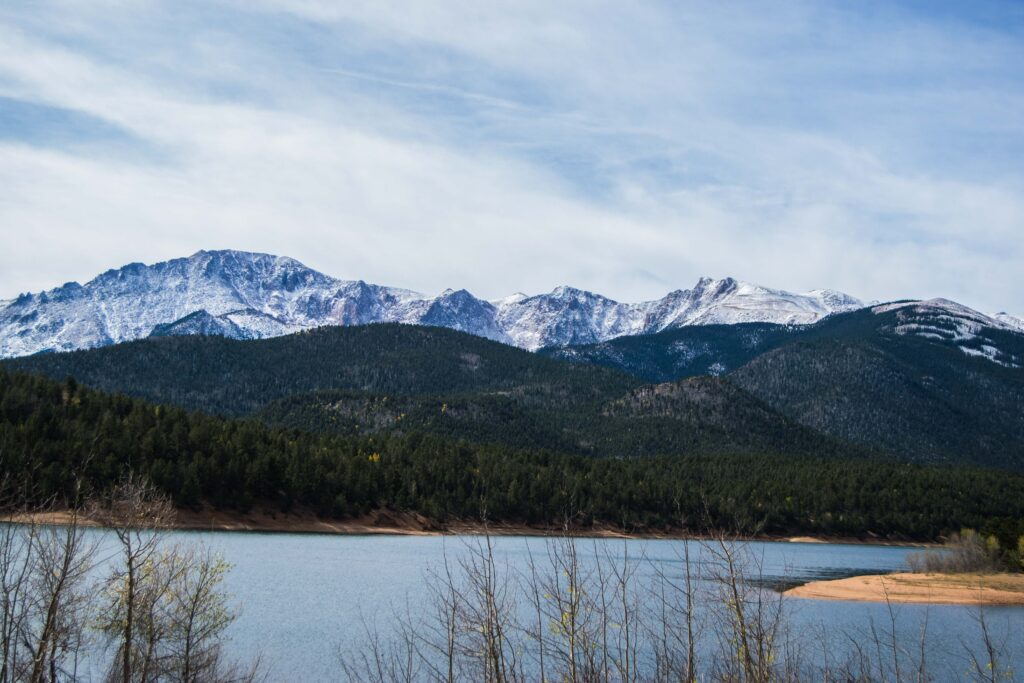
Colorado Springs offers outdoor recreation year-round. The city enjoys over 300 days of sunshine annually, so even in winter, you can often hit the trails in a light jacket. In the summer, temperatures remain comfortably warm without the intense heat found in lower-elevation destinations. Fall brings vibrant foliage in nearby canyons and parks, and winter turns the surrounding mountains into a snowy playground.
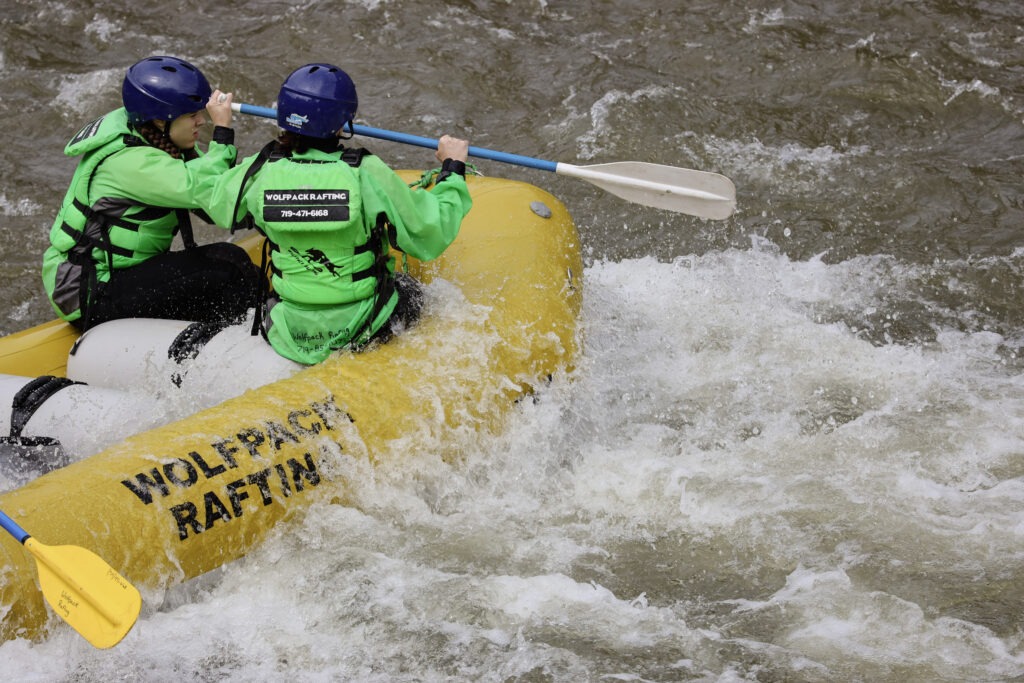
Each season brings its own unique set of outdoor opportunities. Whether you’re into snowshoeing in Mueller State Park, biking through aspen-lined trails in the fall, or white water rafting during peak runoff in the spring, Colorado Springs as an outdoor basecamp gives you options 12 months a year.
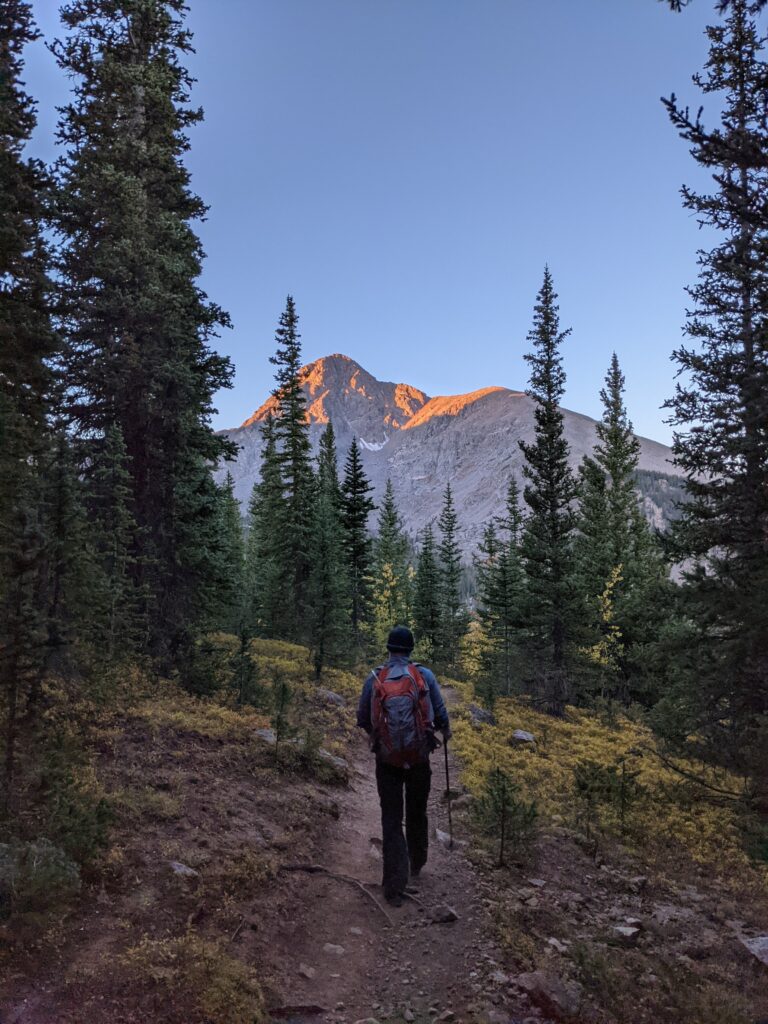
3. World-Class Trails and Parks Just Minutes from Town
Unlike other mountain destinations that require long drives to reach trailheads, Colorado Springs puts adventure right on your doorstep. Within just 30 minutes of downtown, you can access:
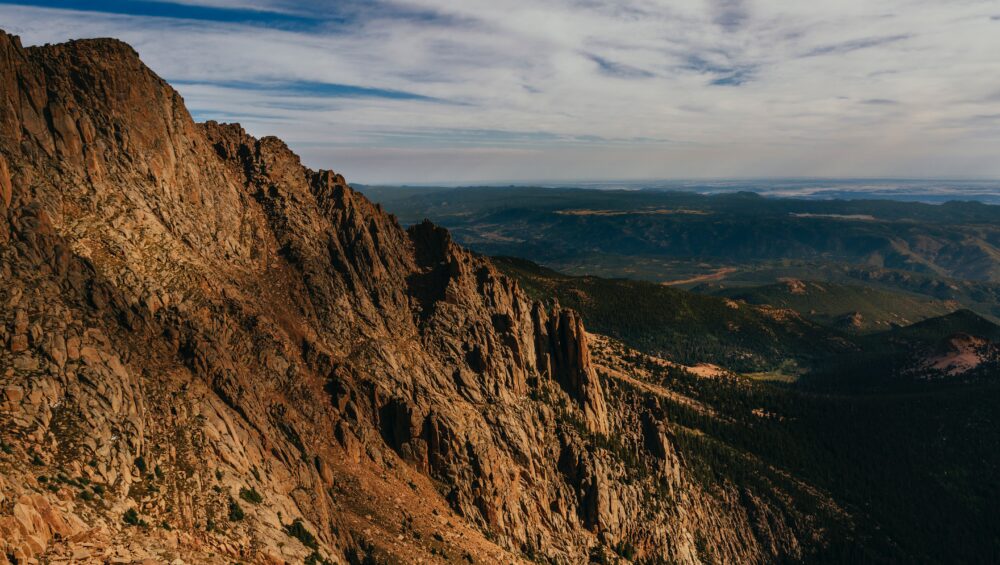
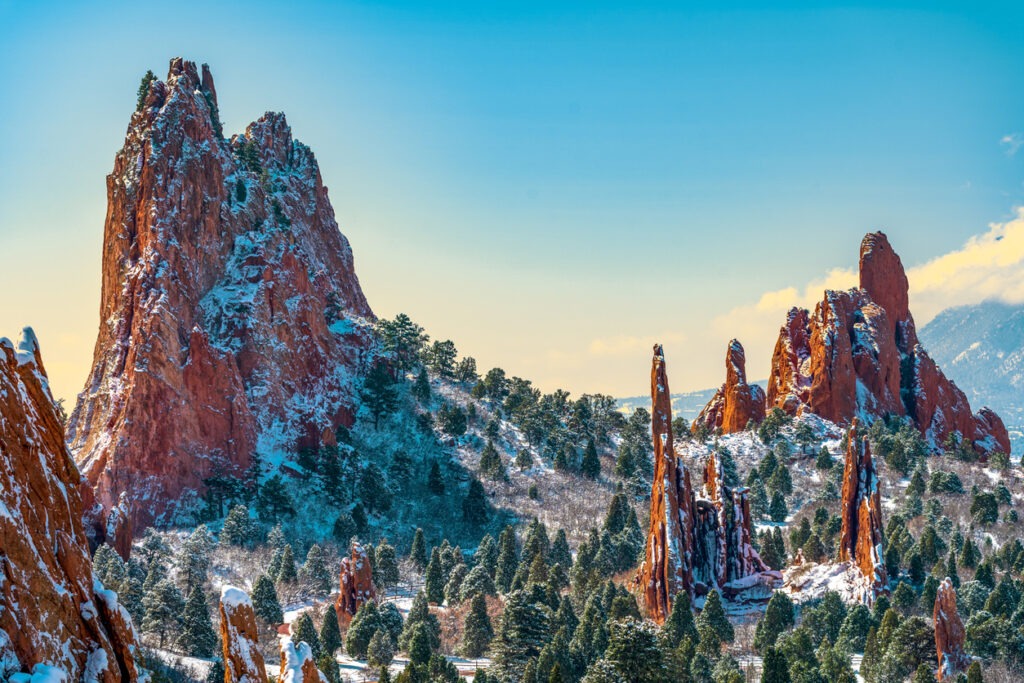
- Garden of the Gods – A National Natural Landmark famous for its red sandstone formations, hiking trails, and rock climbing routes.
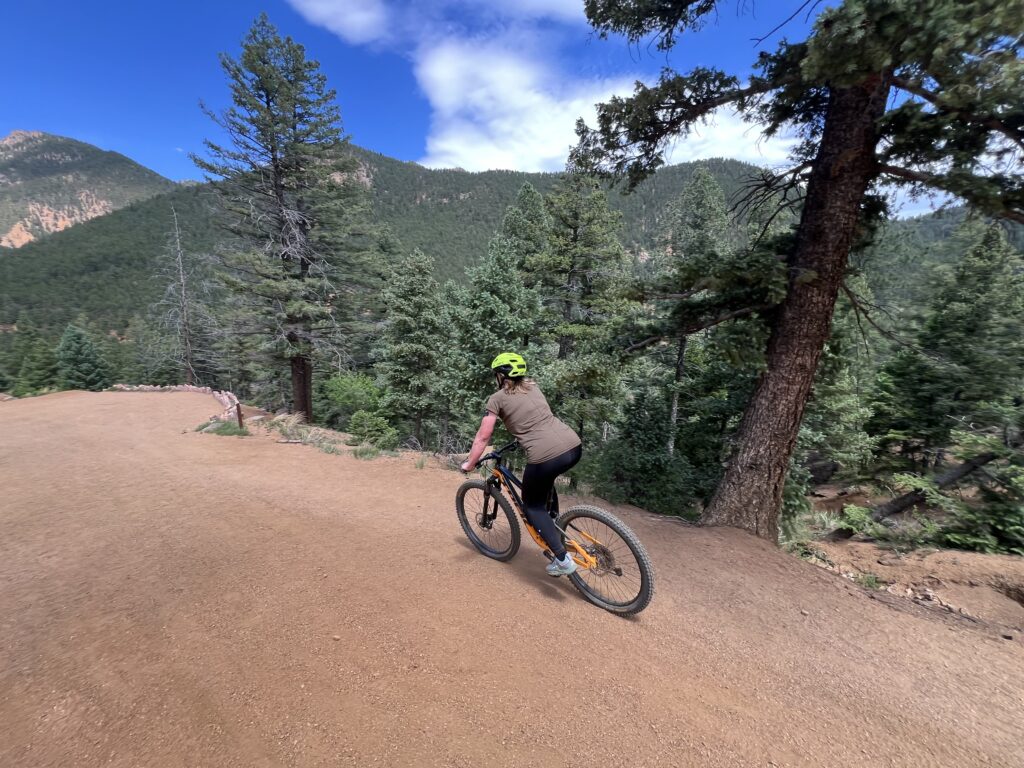
- Red Rock Canyon Open Space – A quieter cousin to Garden of the Gods, perfect for trail running, hiking, and mountain biking.
- North Cheyenne Cañon Park – Home to waterfalls, scenic drives, and steep canyon trails that lead deep into the Front Range.
- Cheyenne Mountain State Park – With over 28 miles of hiking and biking trails, this park offers views of the city and the eastern plains.
All in all, staying in Colorado Springs means you can go from your front door to a trailhead in under 20 minutes.
4. Easy Access to Iconic Colorado Adventures
Not only is Colorado Springs rich in local outdoor offerings, but it also places you within reach of some of Colorado’s most bucket-list adventures. Drive a few hours in any direction, and you’ll find:
- The Royal Gorge and world-class white water rafting on the Arkansas River.
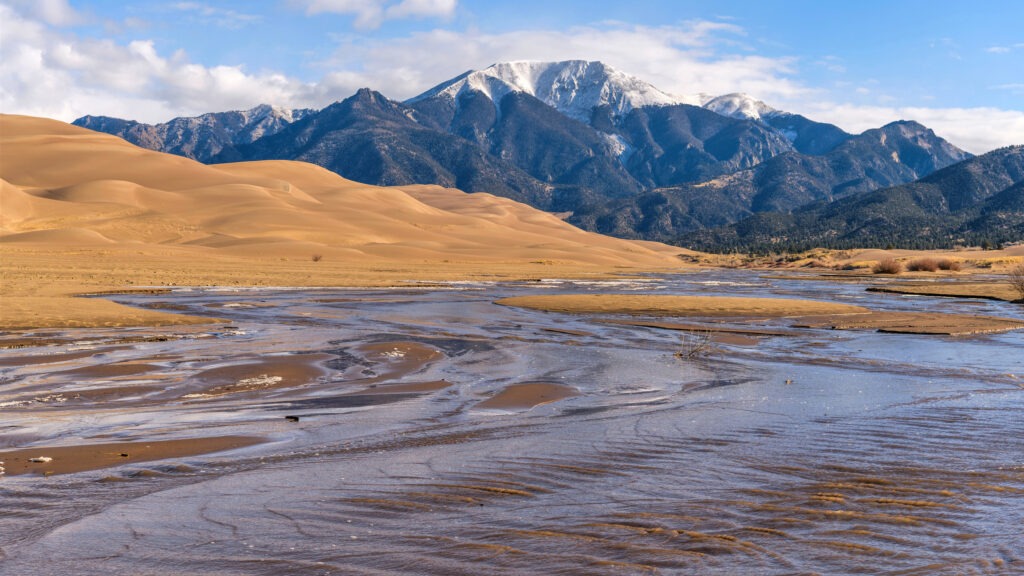
- Great Sand Dunes National Park, where you can sandboard or camp under the stars. Learn more about this awesome National Park HERE.
- Ski resorts like Breckenridge and Monarch, ideal for a winter weekend trip.
- Rocky Mountain National Park, located a bit farther north but easily reachable for an overnight getaway.
This kind of central access makes the city perfect for both day trips and multi-day excursions. Just another reason why Colorado Springs is the ultimate outdoor basecamp.
5. Outdoor Culture and Local Support
Adventure in Colorado Springs isn’t just something visitors come for, it’s a way of life. The city has a deep outdoor culture, supported by local outfitters, gear shops, and a population that genuinely loves being outside. Local events like mountain bike races, climbing festivals, and trail maintenance days bring the community together around a shared passion for the outdoors.
Additionally, you’ll find a wealth of resources for planning your adventures. From REI to local bike shops to experienced guides, the outdoor community here is always ready to help you gear up and get out.
6. Epic Guided Adventures from Broadmoor Outfitters
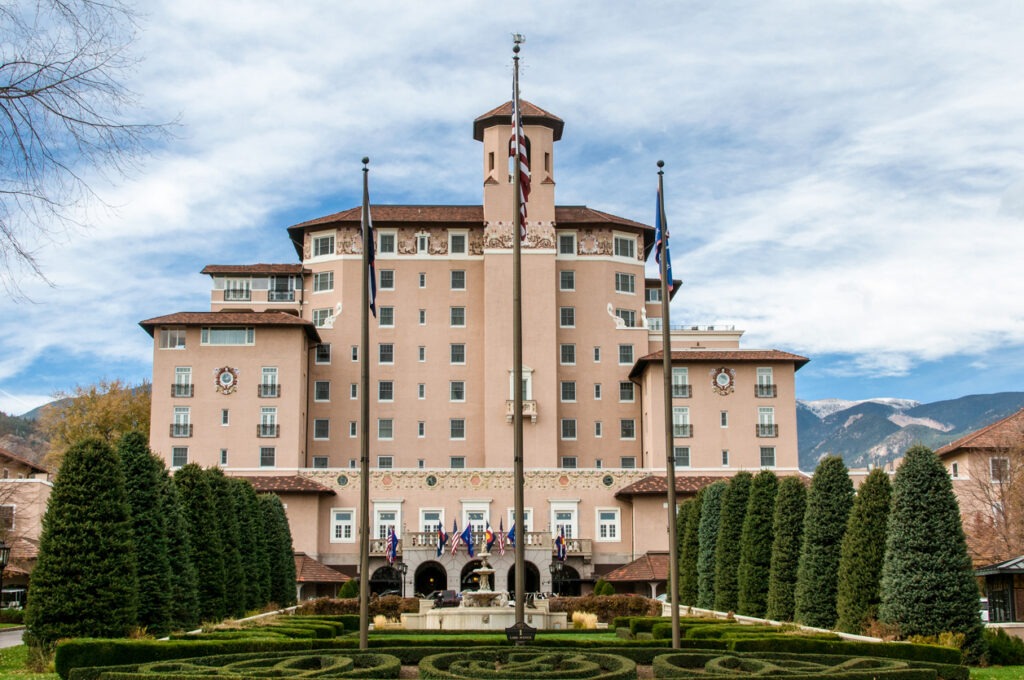
If you’re ready to take your outdoor adventures to the next level, Broadmoor Outfitters offers guided experiences that make the most of the region’s natural playground. Located at The Broadmoor resort, we specialize in luxury outdoor excursions that are both thrilling and safe. It’s the perfect place for families, small groups, or corporate outings.
Some highlights include:
- Cog Up/Bike Down Pikes Peak – Ride the famous cog railway up to 14,115 feet, then cruise back down by bike for an unforgettable mountain descent. Learn More!
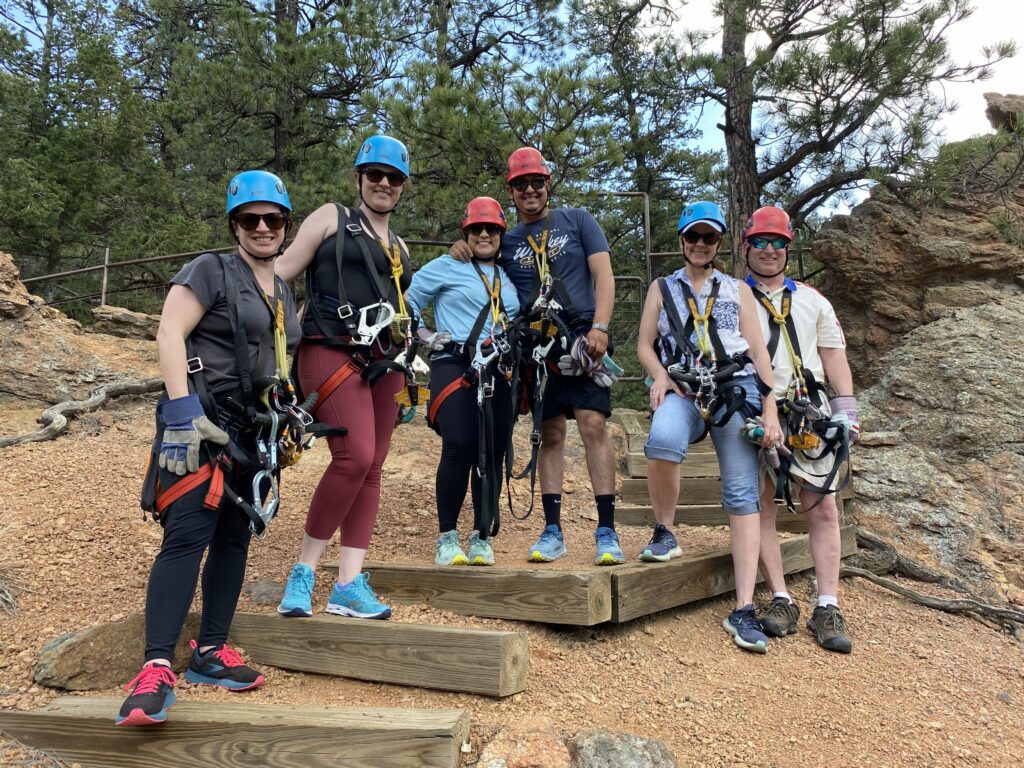
- Guided Rock Climbing and Ziplining – Explore the cliffs and treetops of the Front Range with professional instructors. Decide which Zipline tour is for you HERE.
- Falconry Lessons – Learn the ancient sport of falconry and get hands-on with trained birds of prey. Get up close and personal TODAY!
- Tomahawk Throwing and Archery – A fun and unique experience for small groups and team-building events.
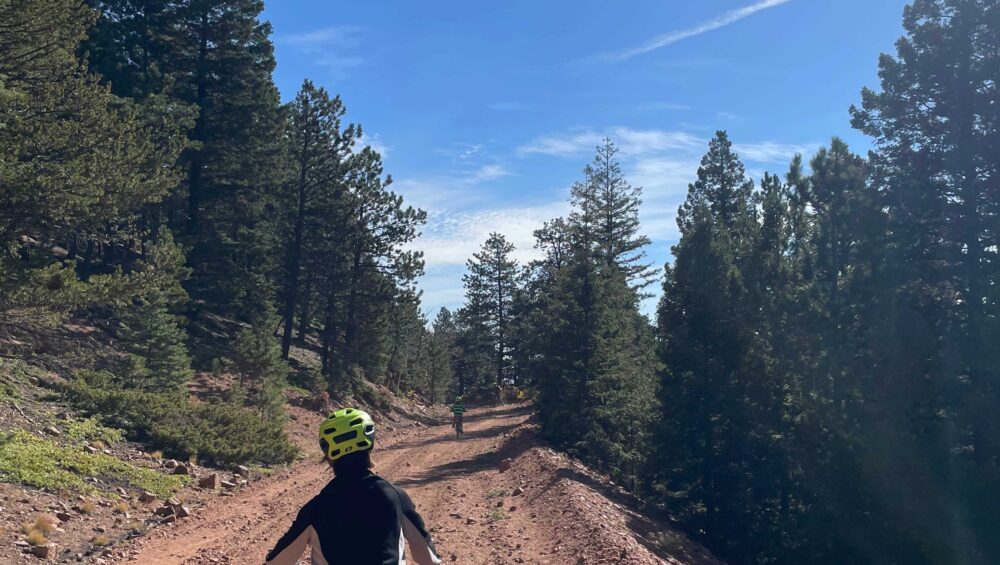
- Guided E-Bike and Mountain Bike Tours – Cover more ground and enjoy the best views without exhausting your legs. Check out Pikes Peak Mountain Bike Tours for another local outfitter.
These activities are tailored to every skill level and designed to show you the very best of what this region has to offer.
7. A Perfect Balance of Comfort and Wilderness
One of the underrated benefits of choosing Colorado Springs as your outdoor basecamp is the ability to combine rugged adventure with upscale comfort. After a long day exploring the mountains, you can return to top-notch lodging, fine dining, and spa services. The Broadmoor, a five-star, five-diamond resort, is just one example of how Colorado Springs seamlessly blends luxury with proximity to nature.
This balance is ideal for travelers who want to explore the wild without sacrificing comfort, or for families and groups with a mix of experience levels and interests.
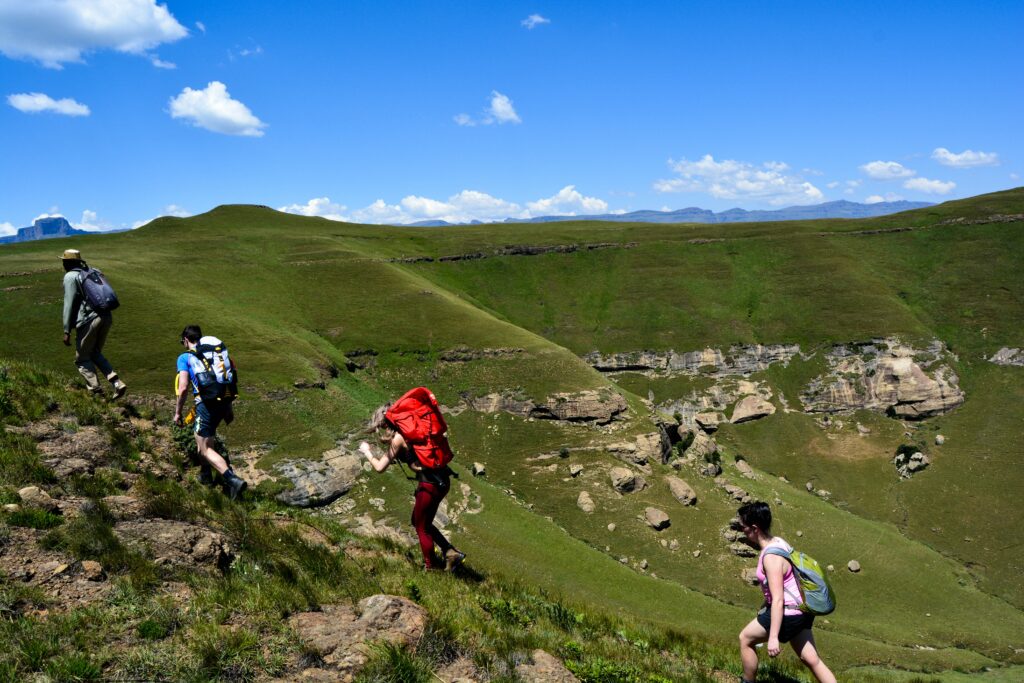
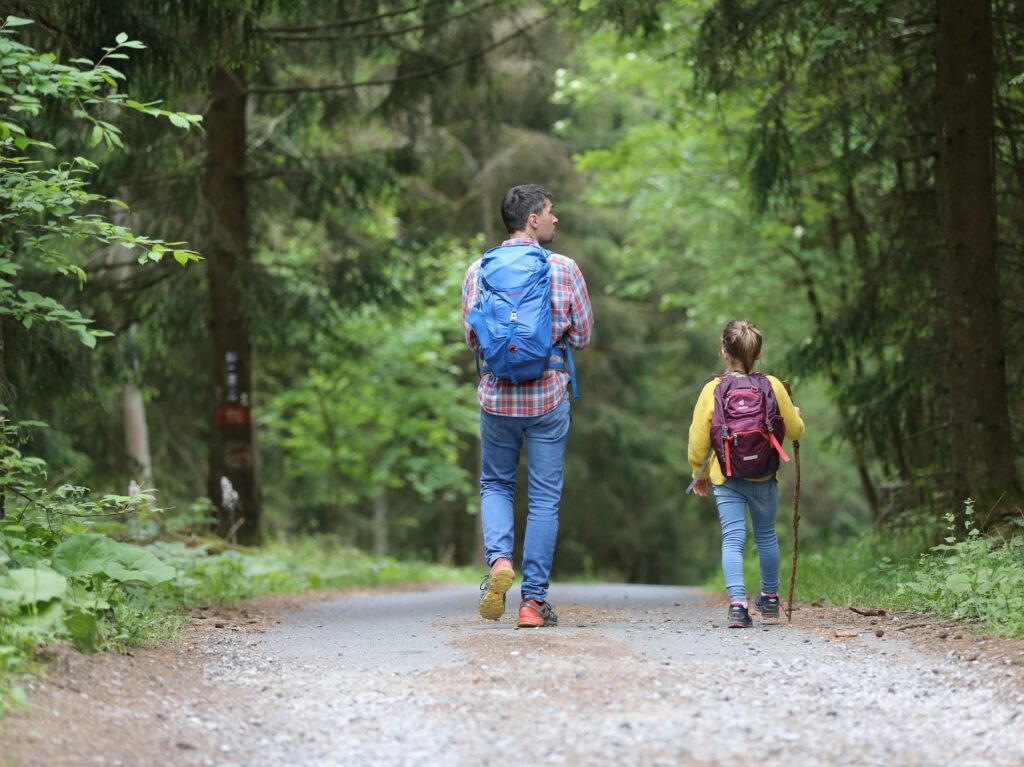
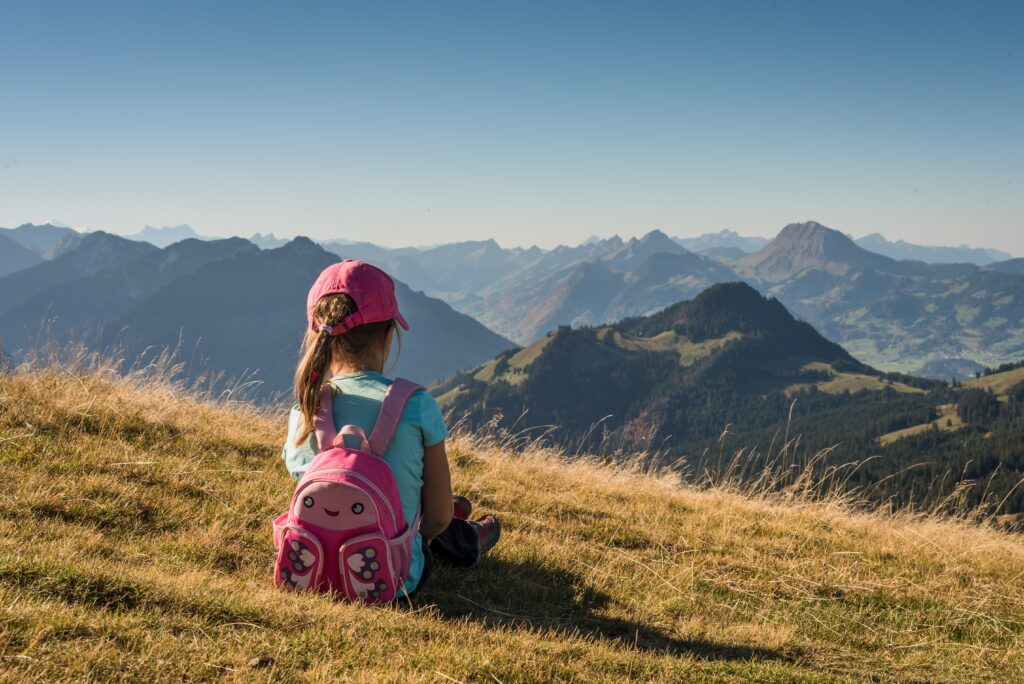
8. Family-Friendly and Beginner-Ready
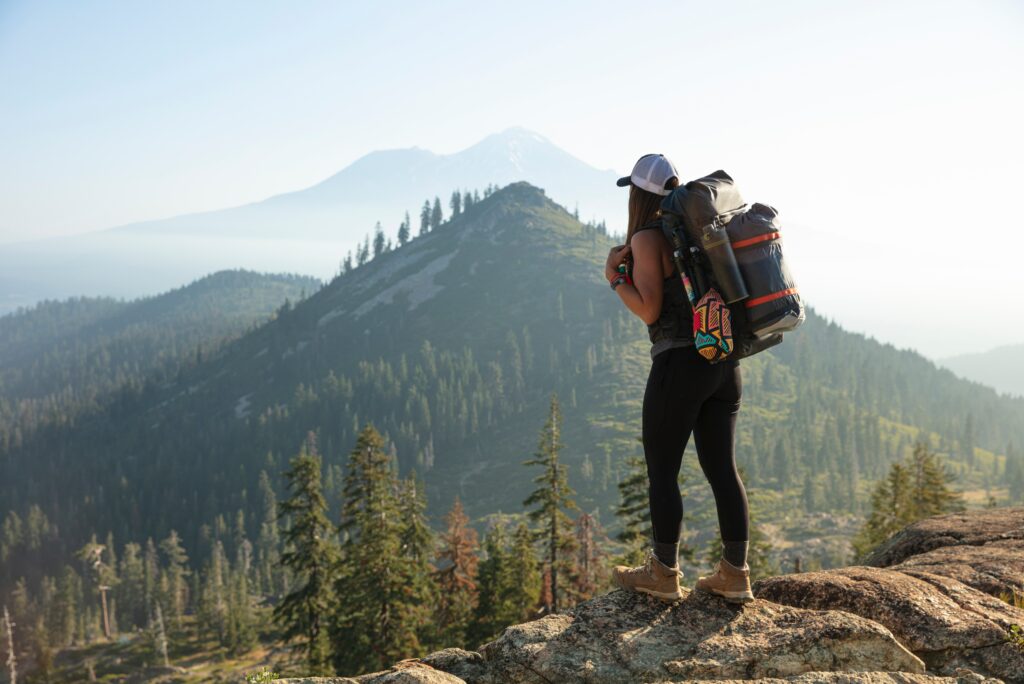
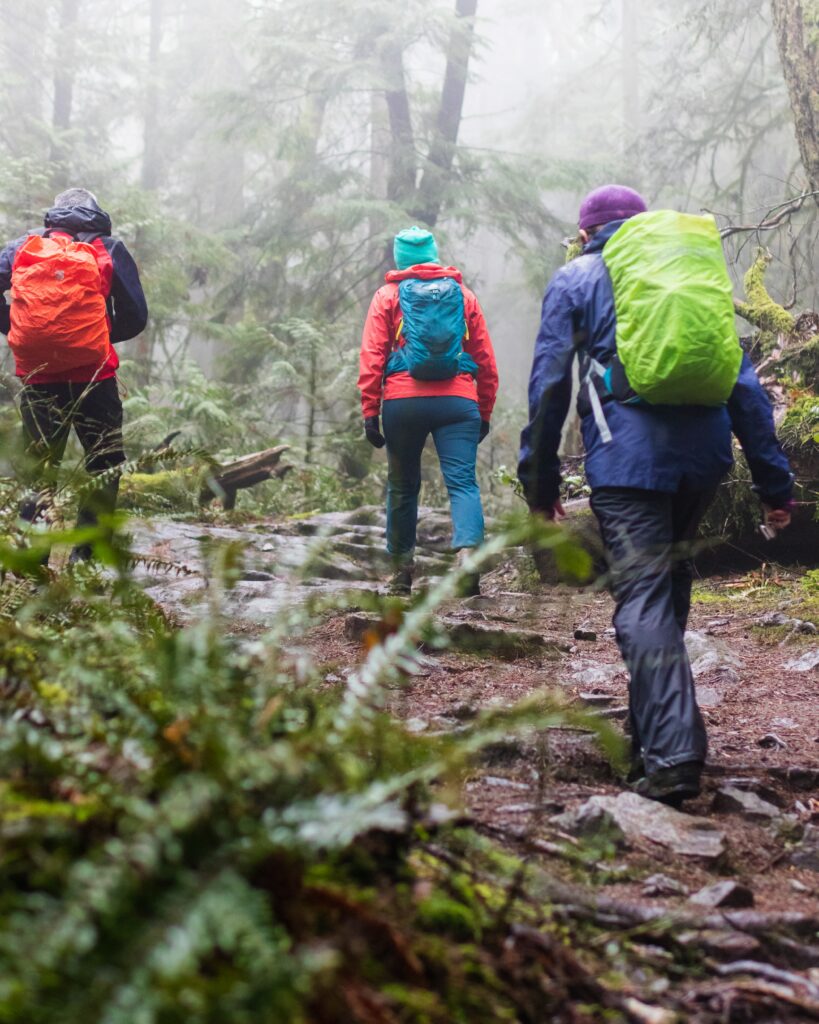
Don’t let the towering peaks intimidate you. Colorado Springs is also one of the best places in the country for beginner and family-friendly outdoor adventures. Many local trails are gentle enough for young hikers or new mountain bikers, and guided tours are available for everything from rafting to climbing.
Parents can feel confident introducing their kids to the outdoors here, and those new to outdoor recreation will find helpful guides and accessible terrain to build confidence. Check out some of our top choices in our Blog Post: Family-Friendly Colorado Springs Adventures.
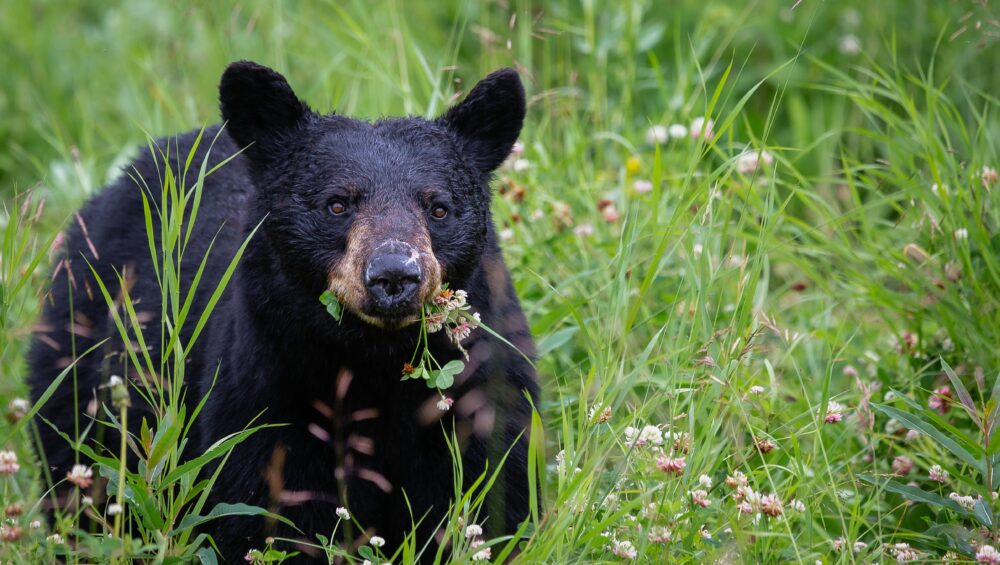
9. Wildlife, Waterfalls, and Wonder Around Every Corner
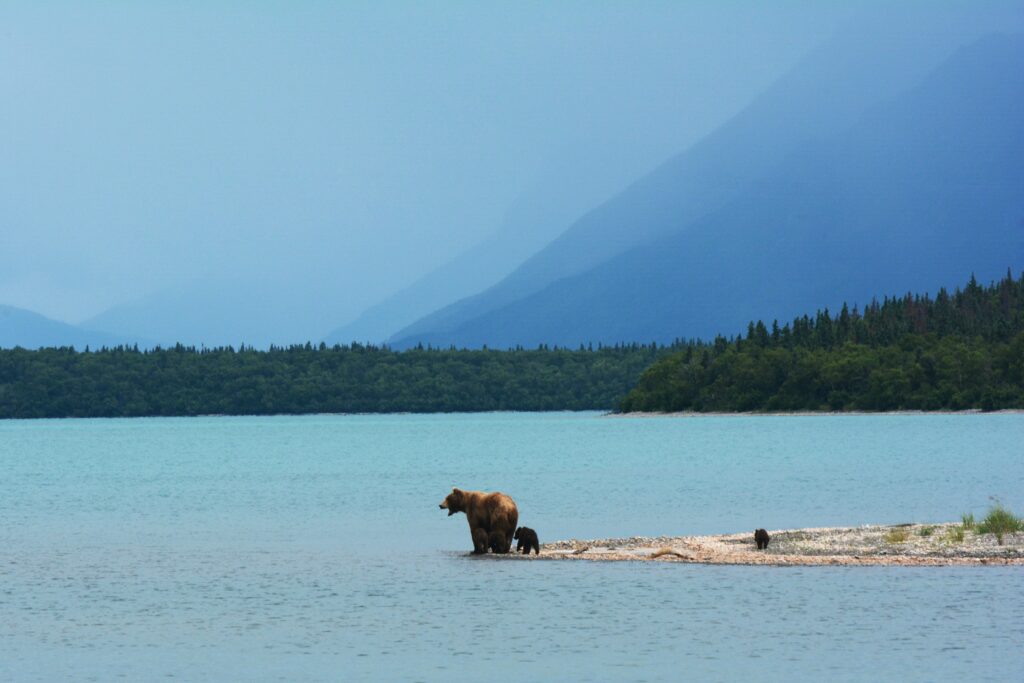
Part of what makes this region so special is the variety of natural wonders packed into a small area. It’s not unusual to spot a herd of bighorn sheep while driving through the foothills, or see a falcon diving near a canyon edge.
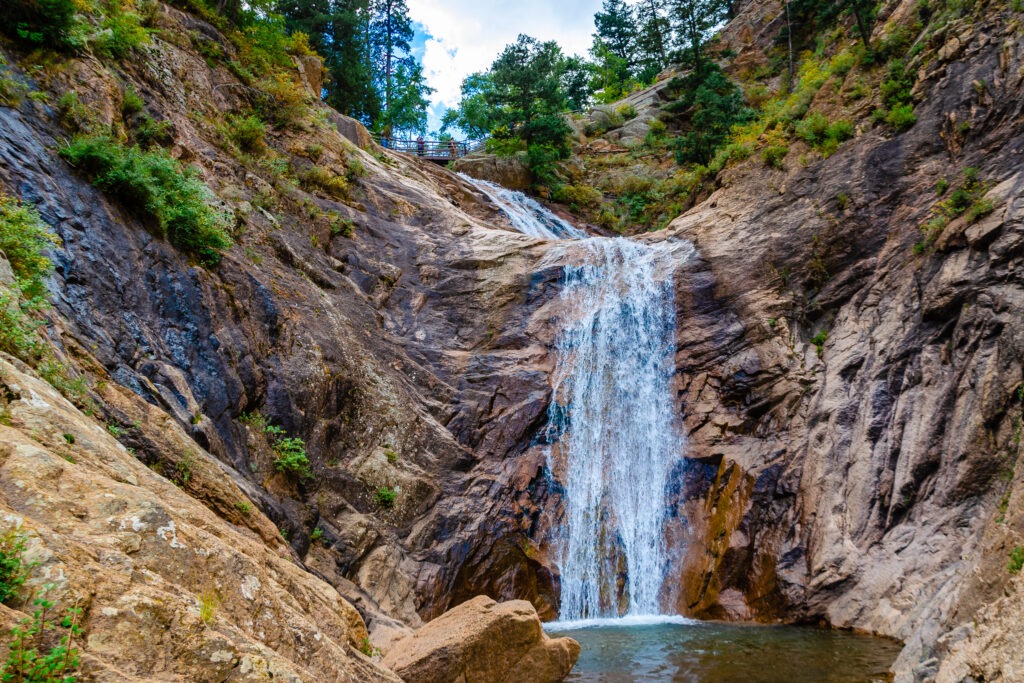
Waterfalls like Helen Hunt Falls, Seven Falls, and St. Mary’s Falls offer rewarding hikes and cooling mist in the warmer months. Meanwhile, the city’s many ridges and overlooks provide awe-inspiring views of the plains to the east and peaks to the west.
10. Easy to Reach, Hard to Leave
Finally, Colorado Springs is remarkably easy to access. It has its own airport (COS), and it’s just over an hour’s drive from Denver International Airport. Unlike some high-mountain towns that require hours of winding roads, Colorado Springs makes getting here simple, so you can spend more time exploring and less time in transit.
And once you’re here, the combination of scenery, adventure, and community makes it hard to leave.
Ready to Make Colorado Springs Your Outdoor Basecamp?
All things considered, there’s no better place to base your outdoor adventures than Colorado Springs. From its unbeatable location and year-round recreation to its unique mix of high adventure and high-end comfort, it’s easy to see why this city is loved by weekend warriors, families, and experienced adventurers alike.
Whether you’re planning a single day of outdoor exploration or a full vacation packed with bucket-list experiences, Broadmoor Outfitters is here to help you make the most of it.
Check out our Zipline Tours, Bike Pikes Peak, or Falconry Lessons to start planning your Colorado Springs adventure today!