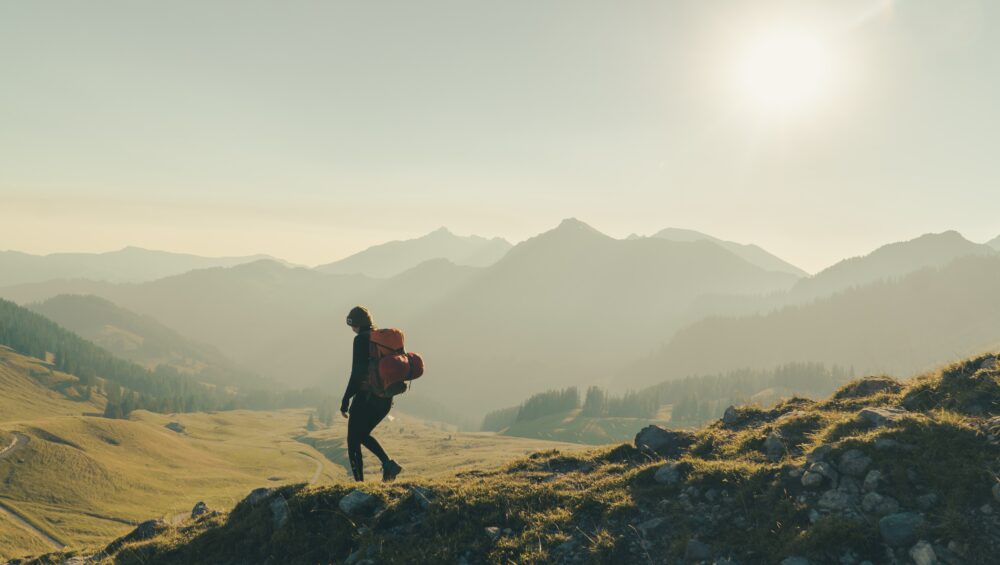
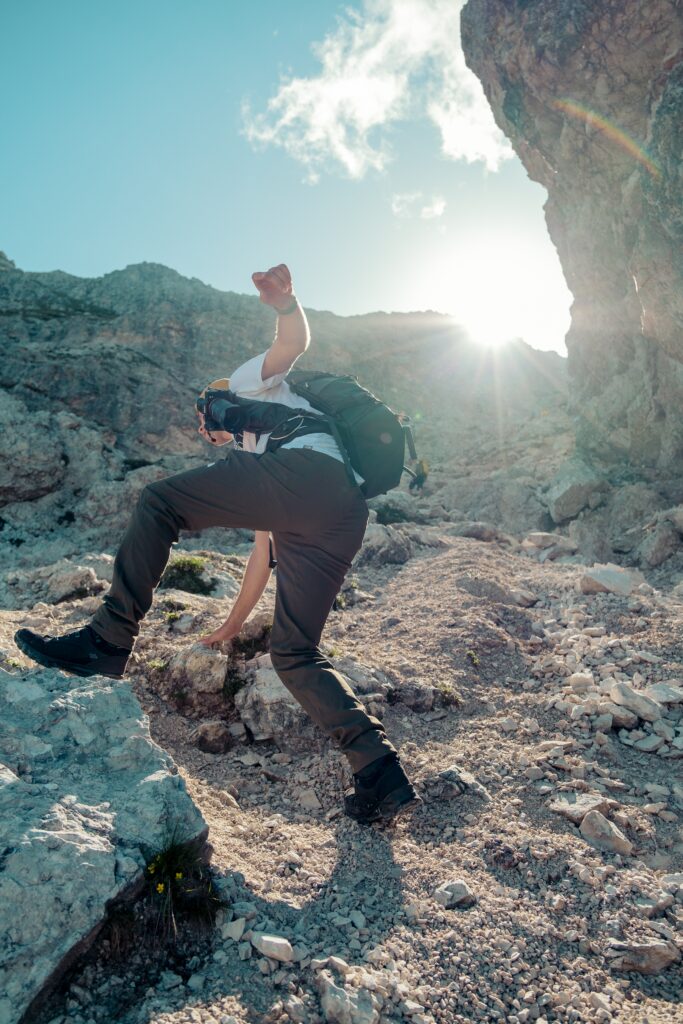
Colorado summers are known for their sunshine, blue skies, and… yes, their heat. While mornings can be pleasant, mid-afternoon temperatures in the lower elevations around Colorado Springs often climb into the 80s or 90s. Luckily, there’s a simple and scenic solution: head up.
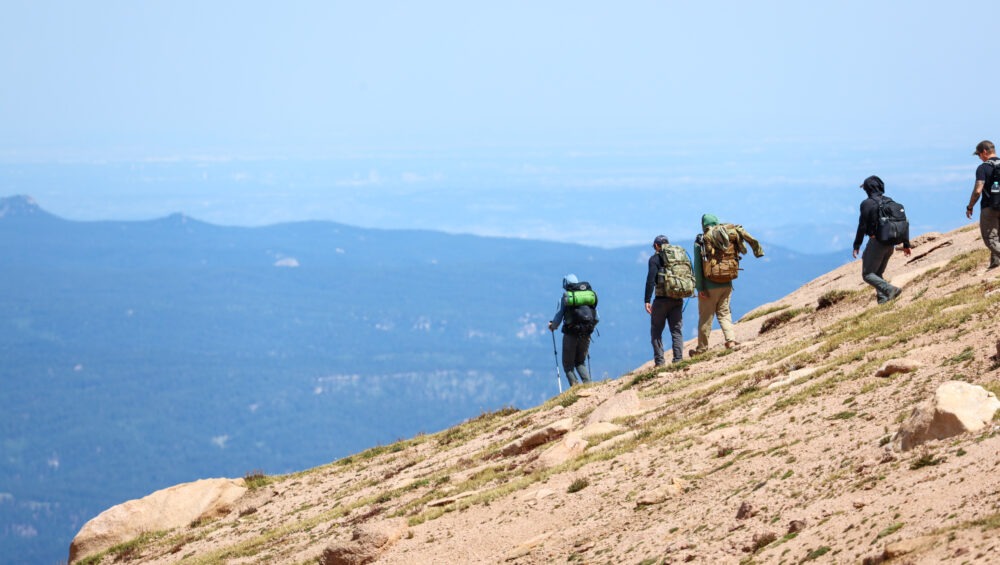
High-altitude hikes to beat the heat are the ultimate summer escape. As you gain elevation, temperatures drop, wildflowers bloom, and the breeze picks up—offering a refreshing contrast to the valley below. From alpine lakes to ridgeline views, high-country trails offer not just relief from the heat, but some of the most stunning landscapes in Colorado.
Here’s everything you need to know about why high-altitude hikes are a summer favorite, plus our top picks for cool, elevated trails near Colorado Springs—including a few adventures you can experience with Broadmoor Outfitters.
Why Hike at Higher Elevations in Summer?
1. Cooler Temperatures
Every 1,000 feet of elevation gain typically drops the temperature by about 3.5°F. So if it’s 90°F in Colorado Springs (elevation ~6,000 feet), it could be 70°F or cooler on a trail above 10,000 feet.
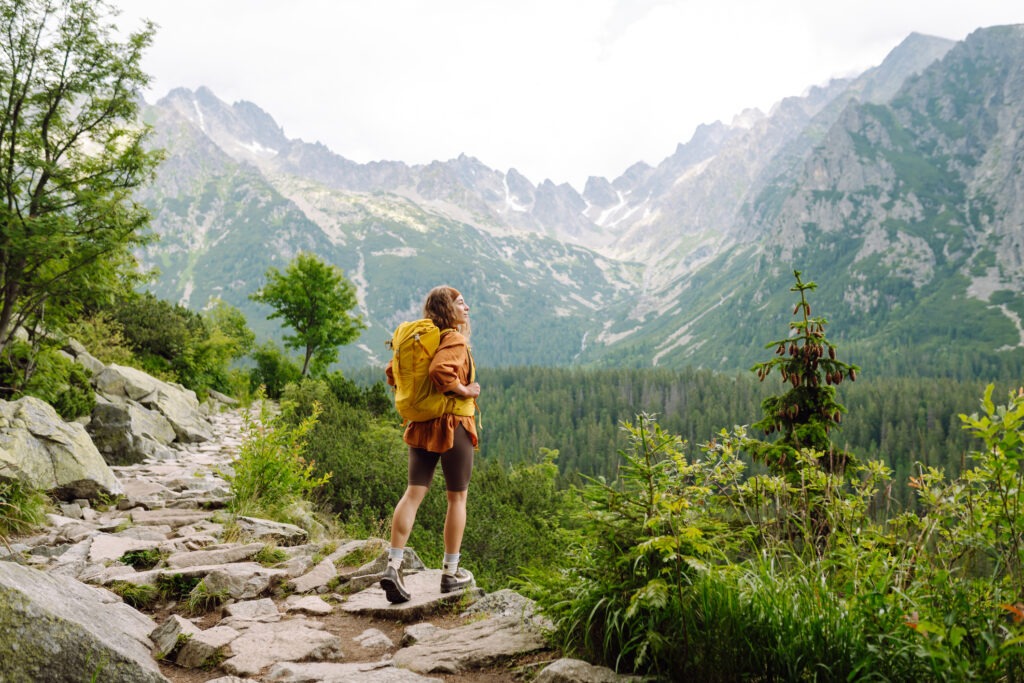
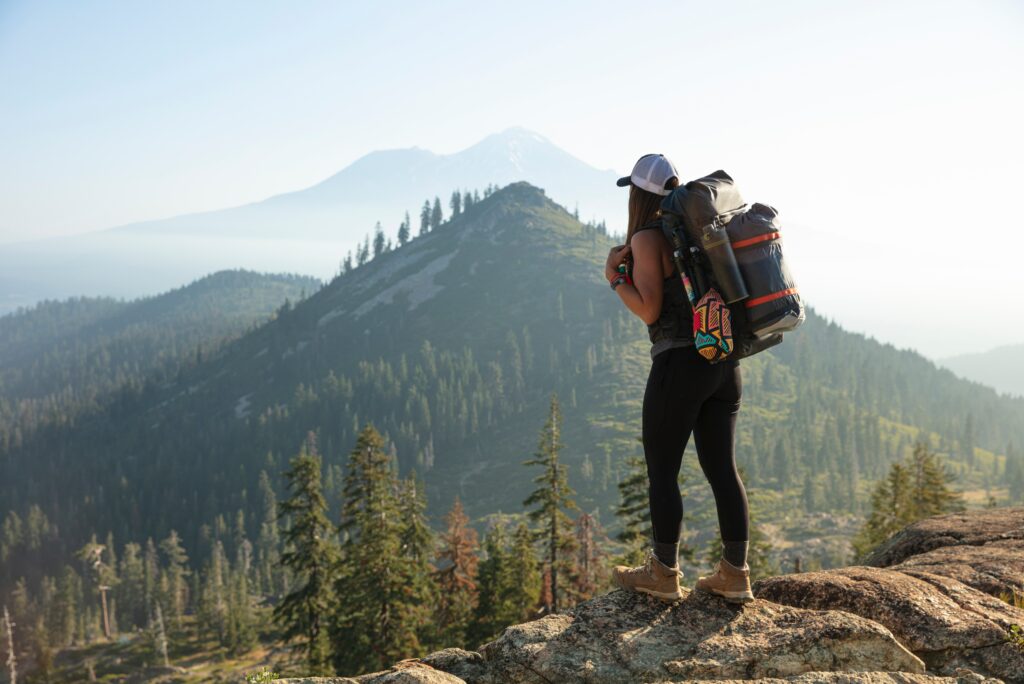
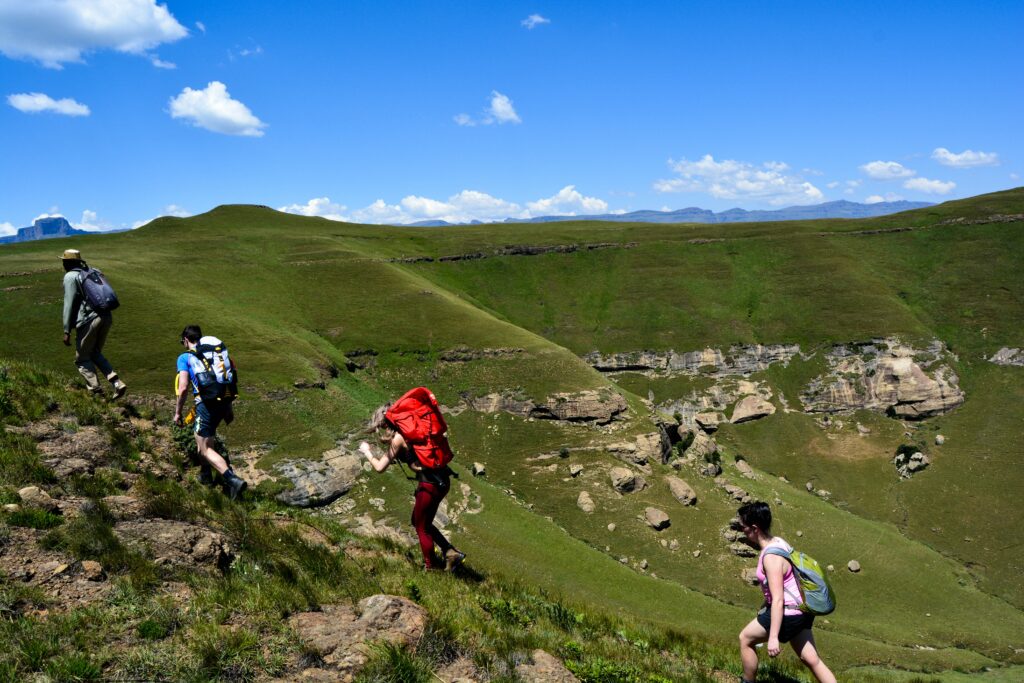
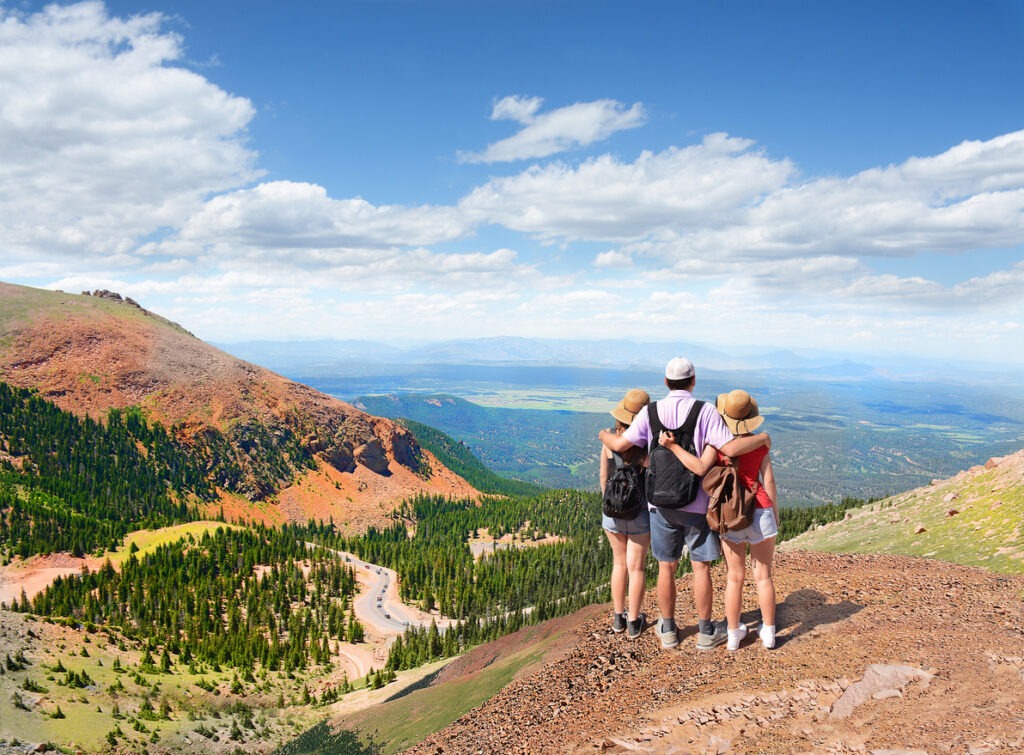
2. Breathtaking Views
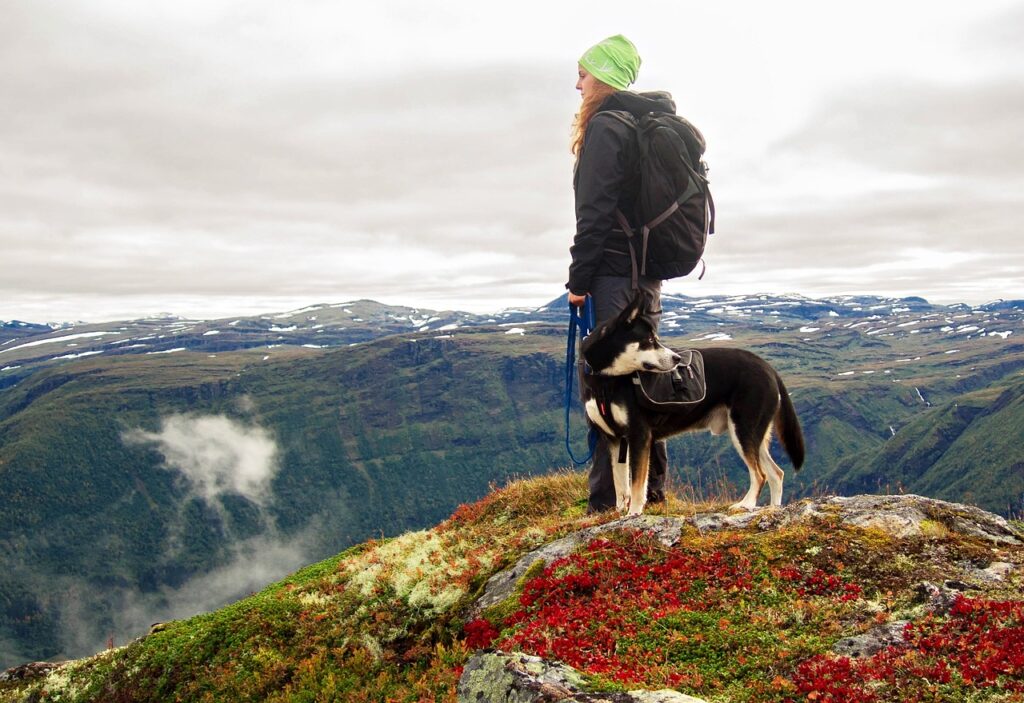
The higher you go, the farther you can see. High-altitude trails often reward hikers with panoramic views, alpine lakes, rocky peaks, and peaceful meadows teeming with wildflowers.
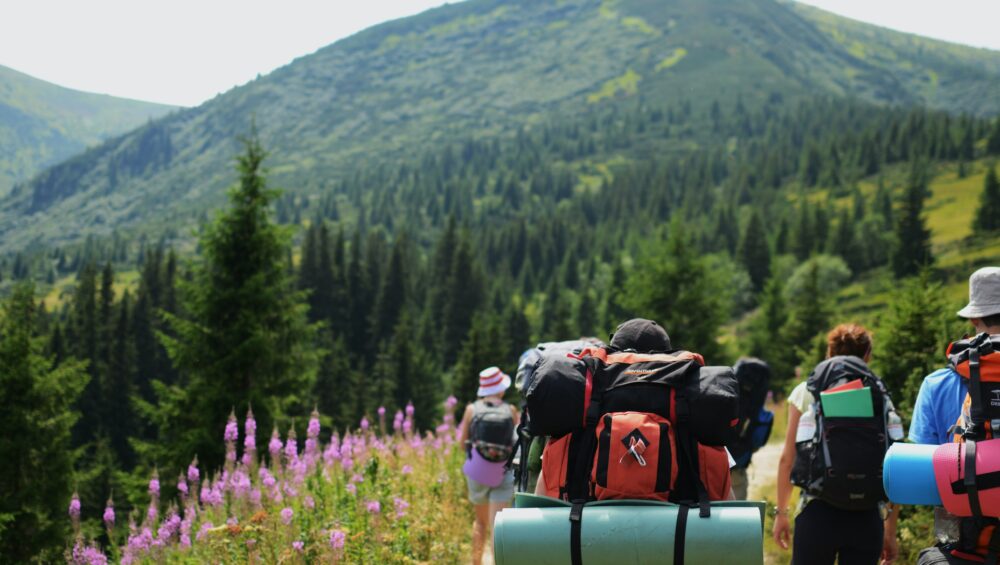
3. Fewer Crowds
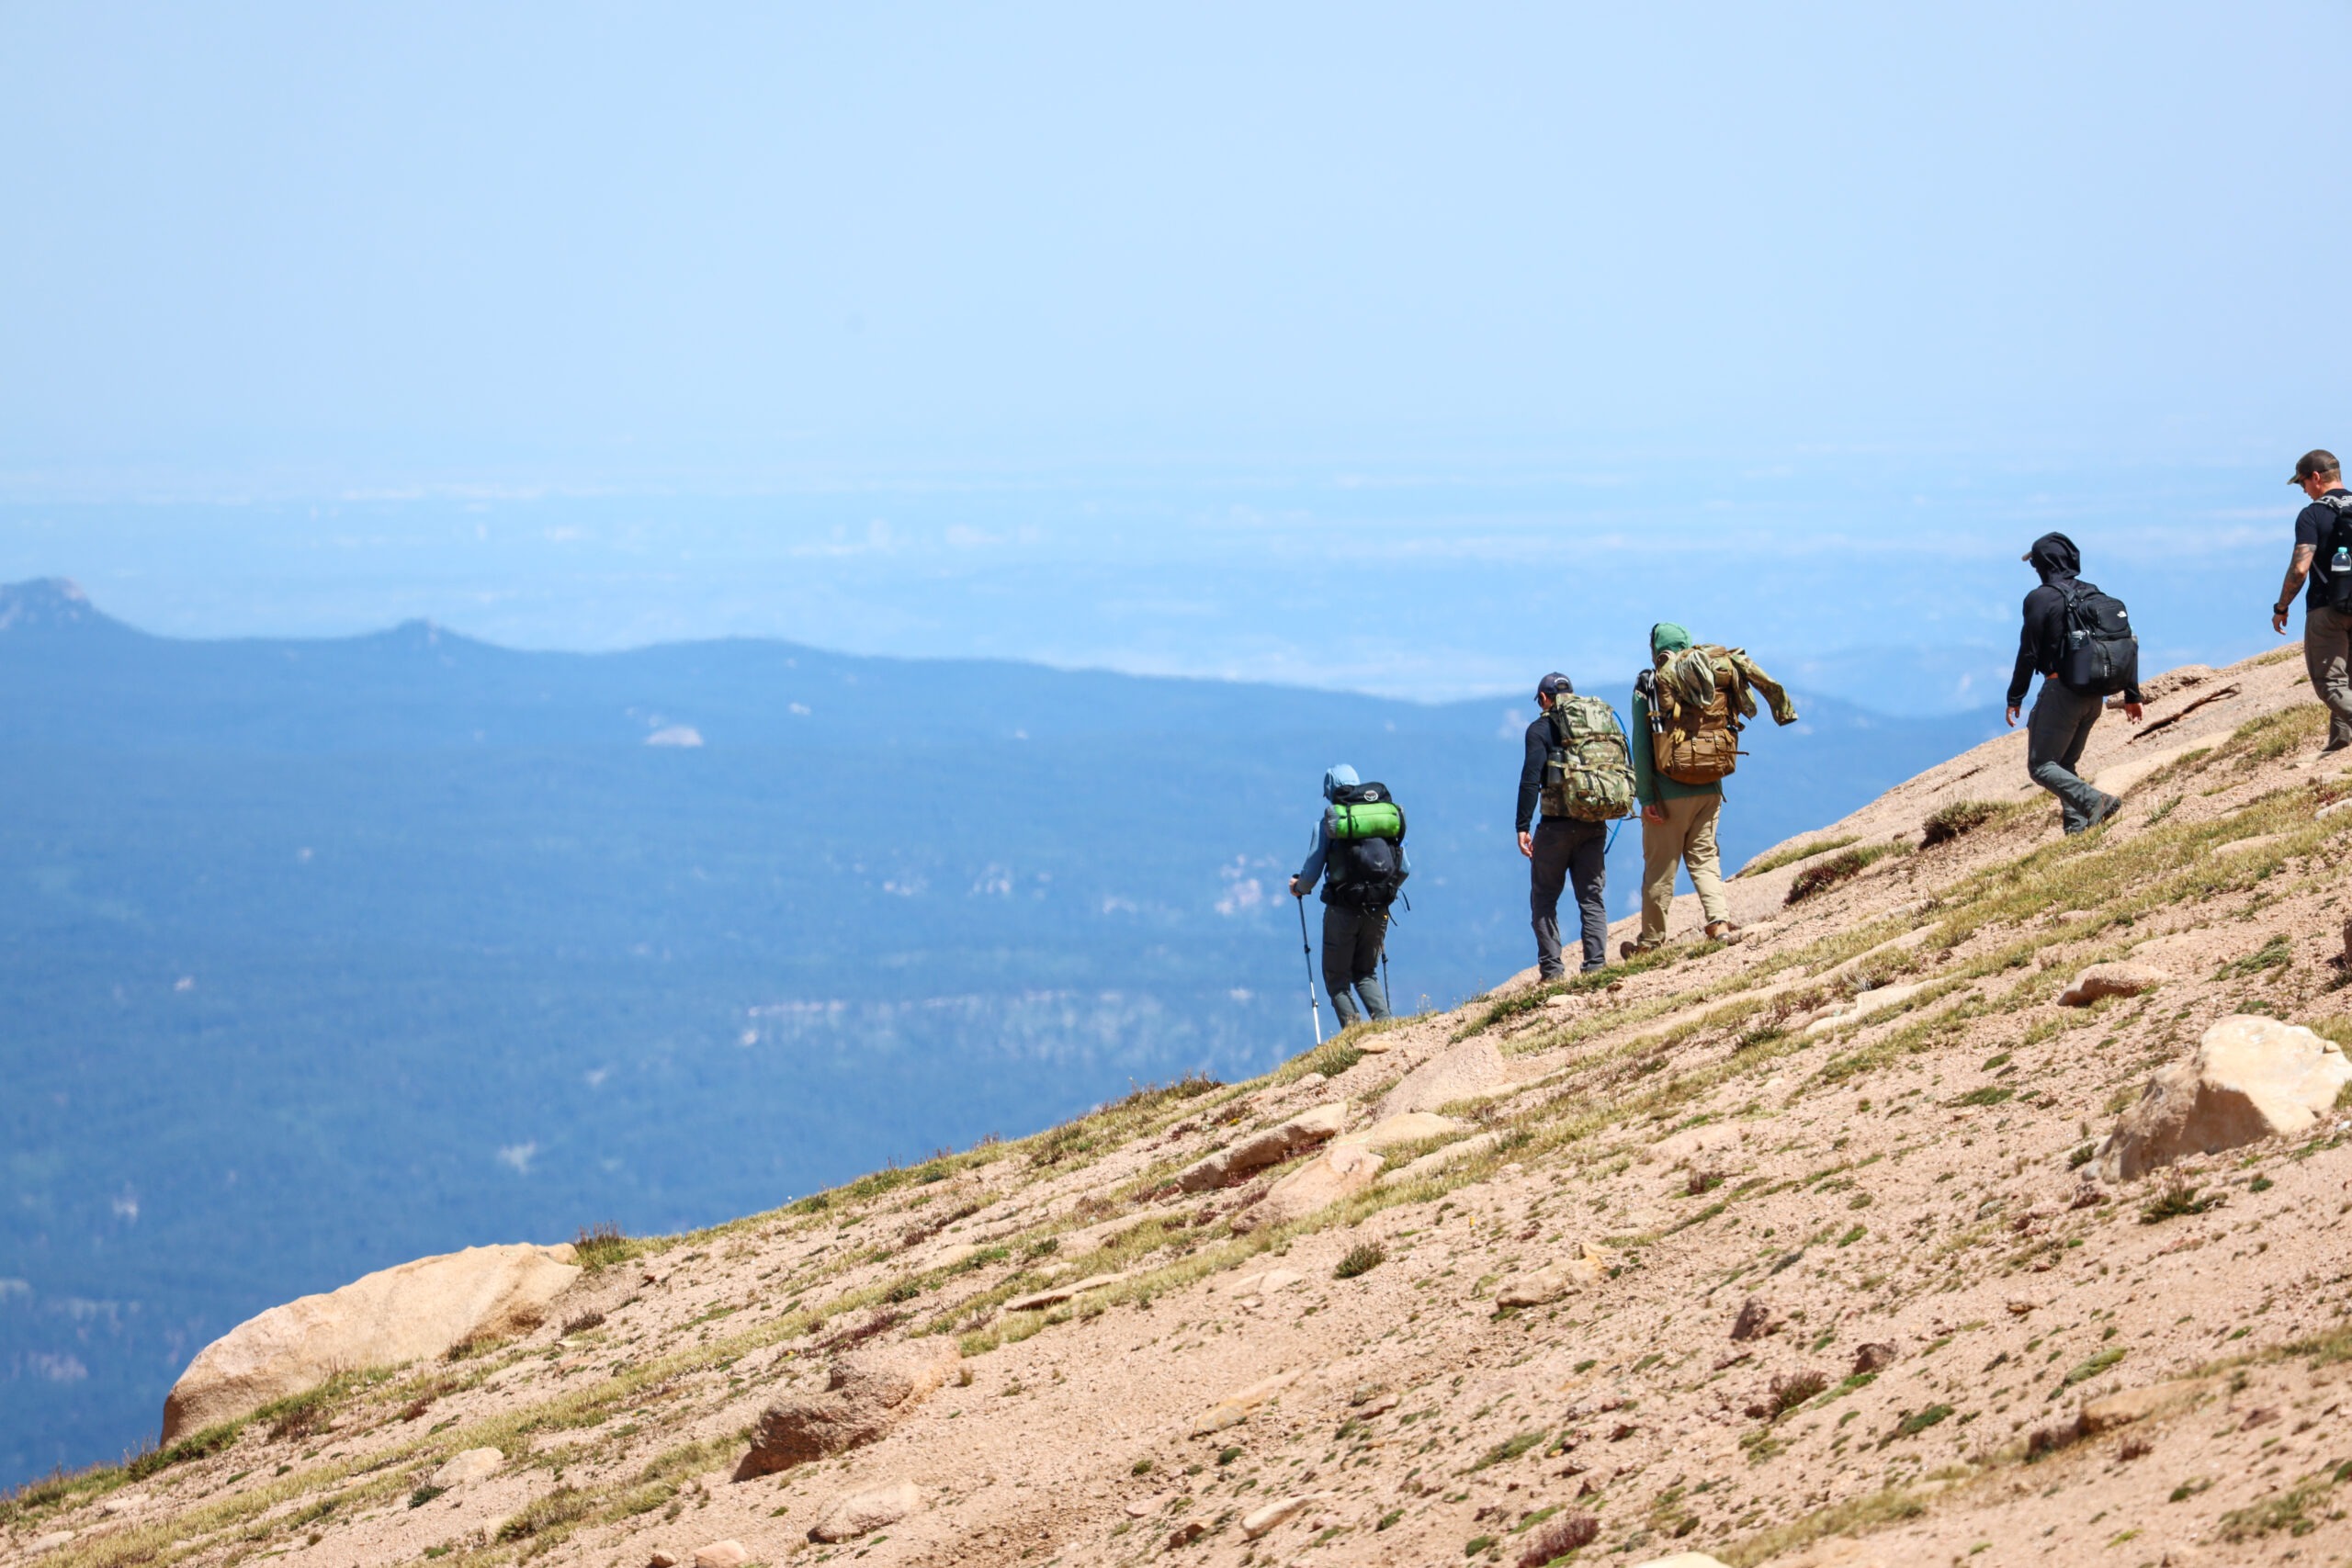
While popular lower-elevation trails can get packed in summer, many higher-altitude hikes require more effort to reach—meaning more solitude for those willing to climb.
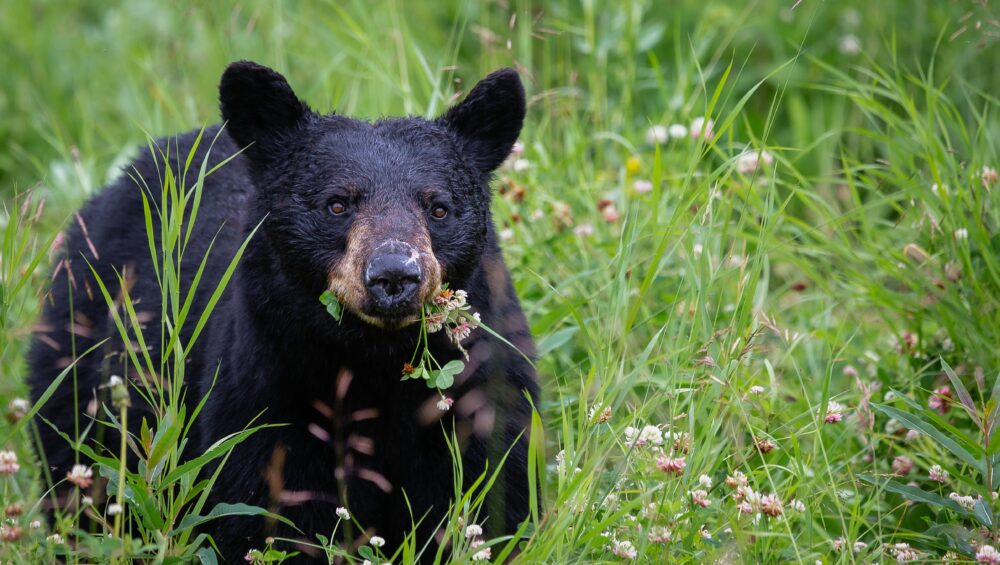
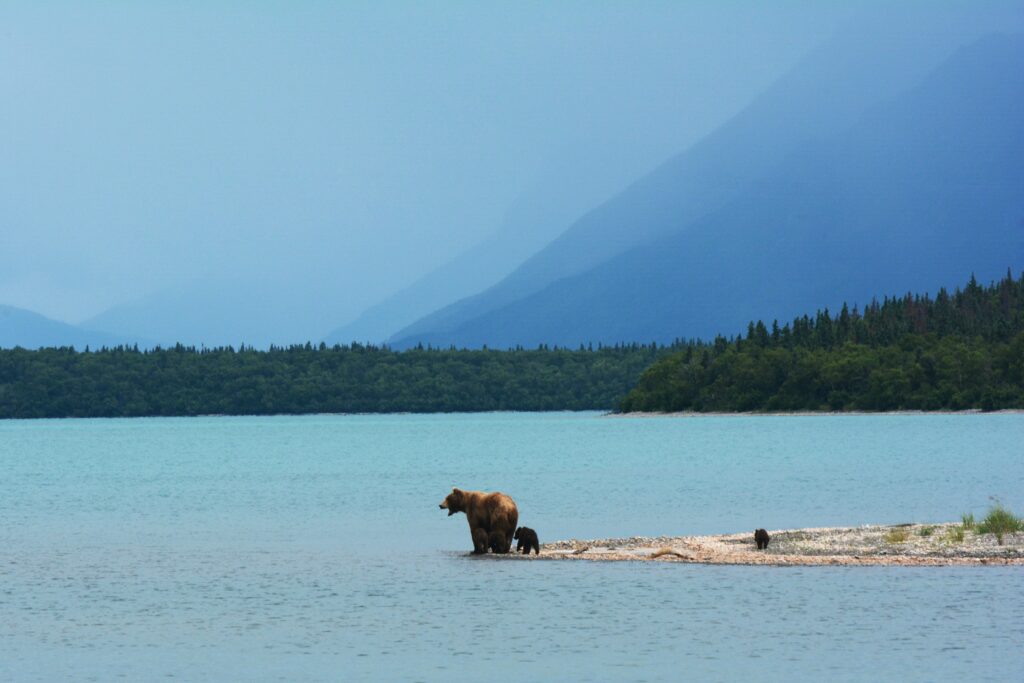
4. Wildlife Encounters
Higher elevations are home to marmots, pika, mountain goats, and even the occasional elk or bighorn sheep. These critters are more active in summer and often spotted along ridgelines and open meadows.
Things to Know Before Hitting High Altitude Trails
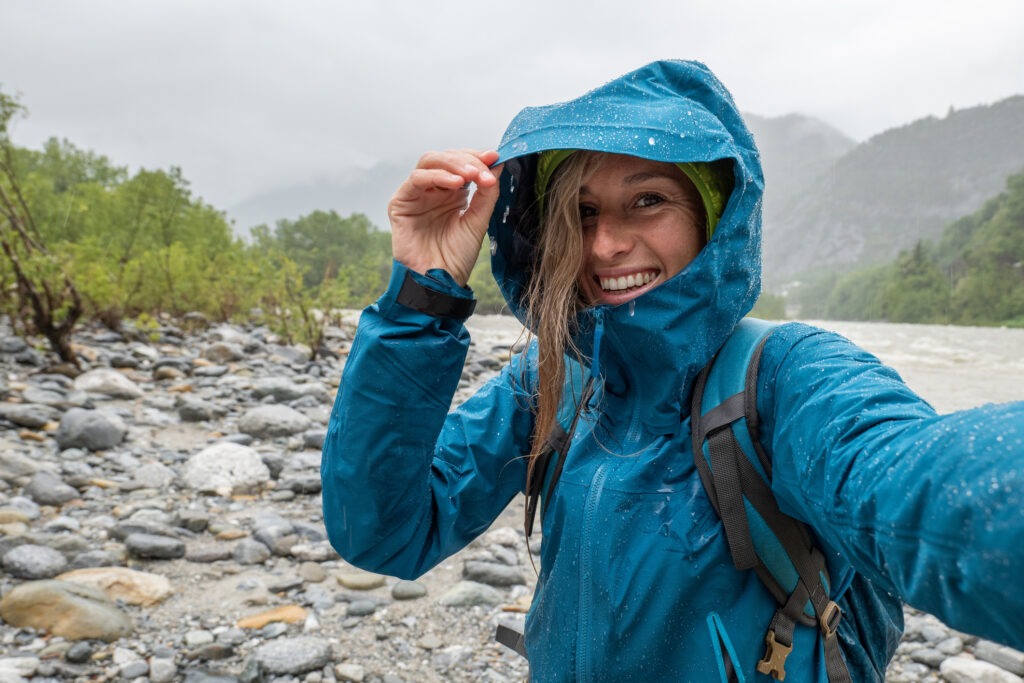
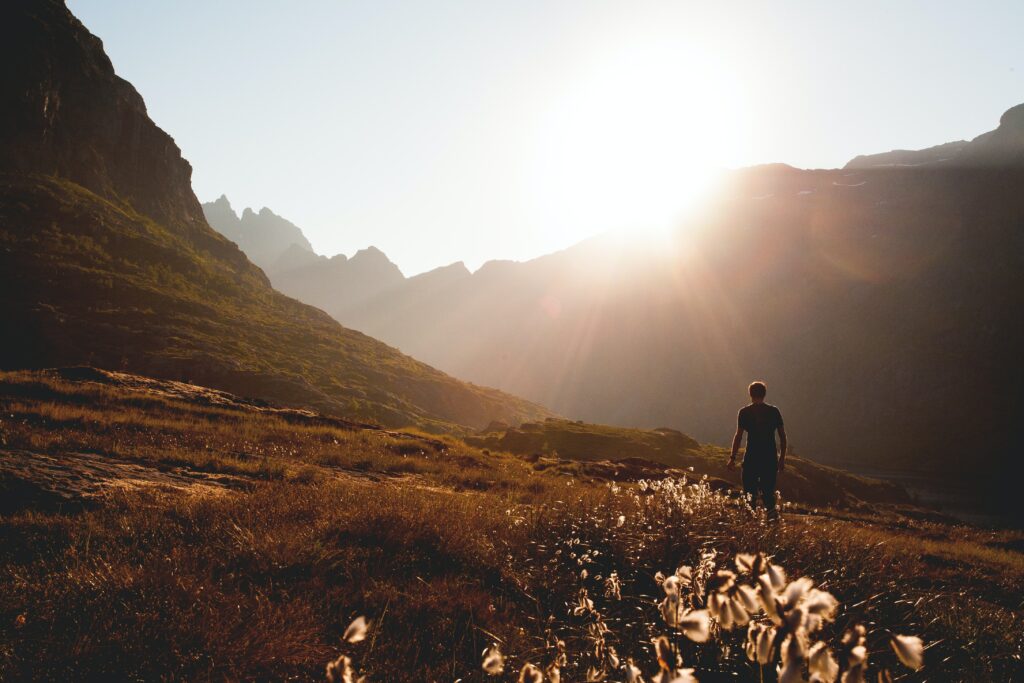
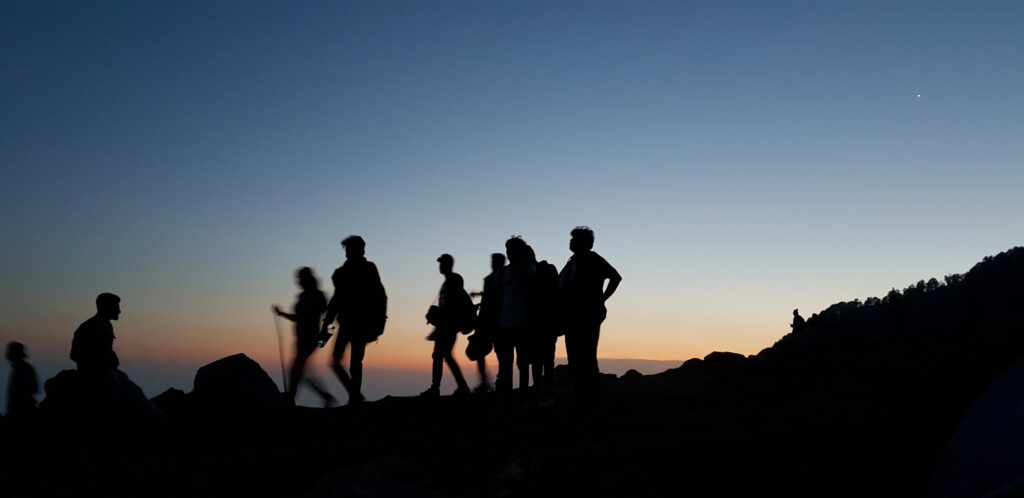
Start Early: Afternoon thunderstorms are common in the mountains. Plan to be off the summit or highest points by early afternoon.
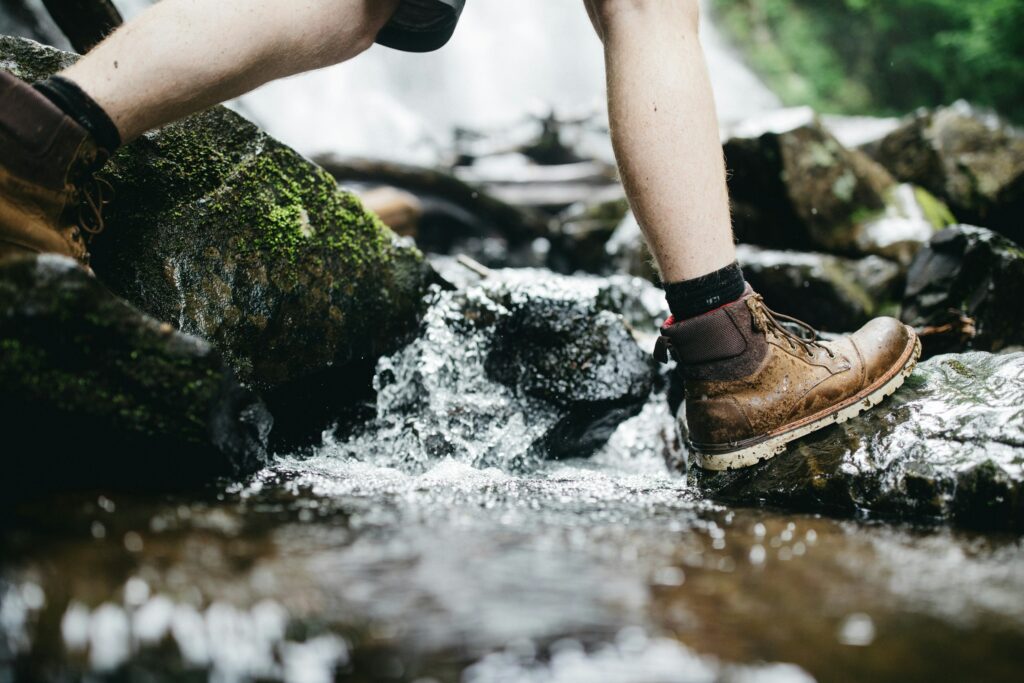
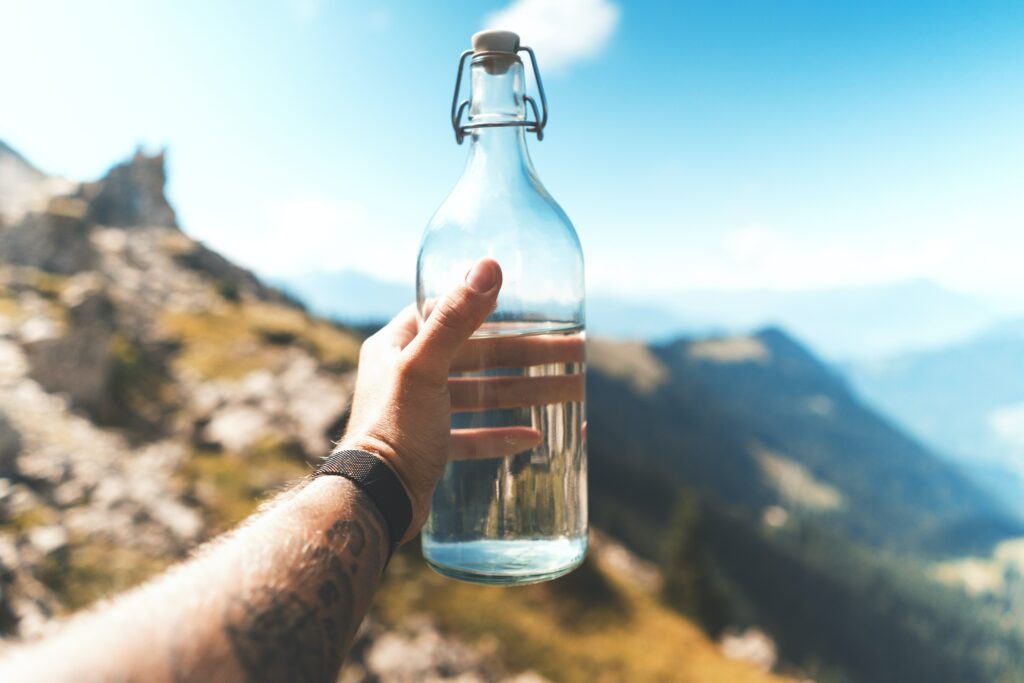
Hydrate More Than Usual: Higher elevation means thinner air and more rapid dehydration. Bring plenty of water—and drink it.
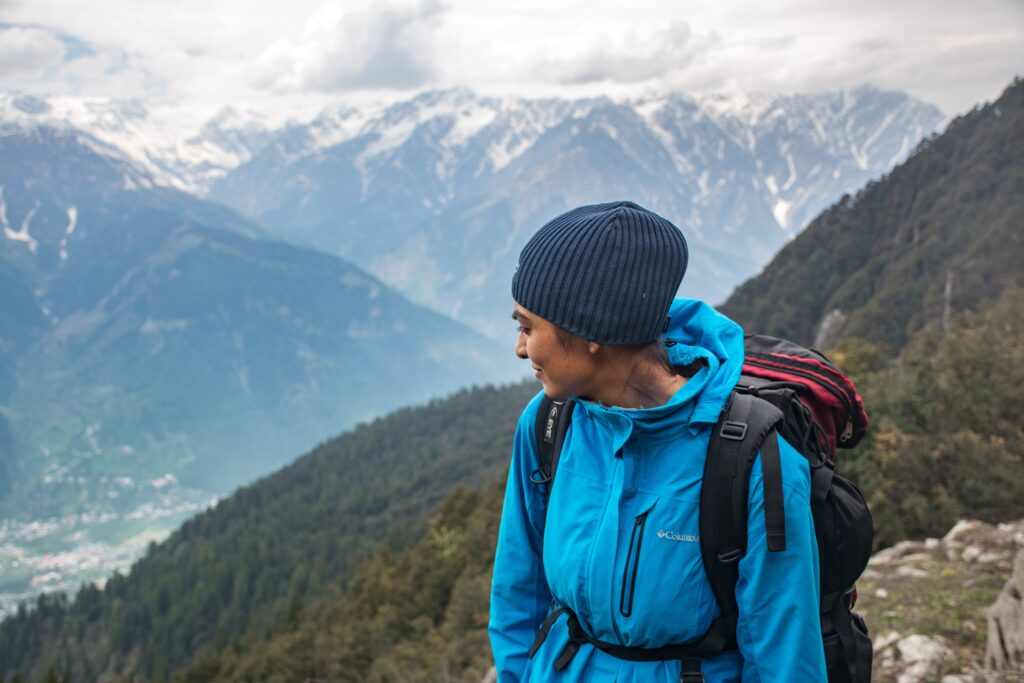
Bring Layers: Even on sunny days, temps can shift quickly. A lightweight windbreaker or fleece is a smart addition.
Watch for Altitude Sickness: If you’re coming from lower elevations, take time to acclimate before attempting high hikes above 10,000 feet.
Top High Altitude Hikes Near Colorado Springs
1. Pikes Peak Summit via Crags Trail
- Trailhead Elevation: ~10,000 feet
- Summit Elevation: 14,115 feet
- Distance: 13 miles round trip
- Difficulty: Hard
- More Info: CLICK HERE
This less-crowded alternative to Barr Trail starts near Divide and follows a scenic, forested route to the summit of Pikes Peak. You’ll pass rock formations, wind-sculpted trees, and eventually climb above treeline for jaw-dropping views of the entire Front Range.
Why it’s cool (literally): Much of this trail stays above 10,000 feet, offering natural A/C the entire way.
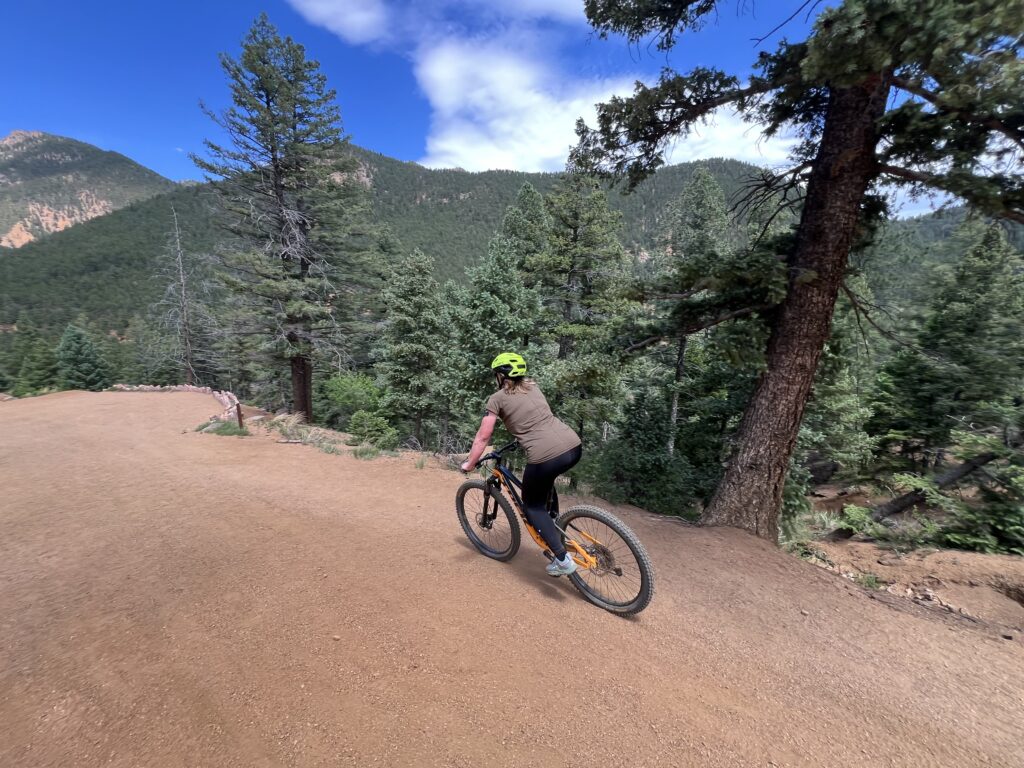
2. Gold Camp Road Mountain Bike Tour (with Broadmoor Outfitters)
- Elevation Range: ~7,500 to 8,500 feet
- Distance: Varies by tour
- Difficulty: Easy to Moderate
Okay, technically not a “hike,” but this guided mountain bike tour explores the historic Gold Camp Road, offering cool breezes, shady pine forest, and incredible views of the Pikes Peak region—all without breaking too much of a sweat.
👉 Check out the Gold Camp Mountain Bike Tour HERE.
3. Mount Rosa
- Trailhead Elevation: ~9,200 feet
- Summit Elevation: 11,500 feet
- Distance: ~7 miles round trip
- Difficulty: Moderate to Hard
- More Info: CLICK HERE
Mount Rosa may be lesser-known than Pikes Peak, but this summit hike offers epic views without the crowds. On clear days, you’ll see the Sangre de Cristo range to the south and Colorado Springs sprawling far below.
Fun Fact: Zebulon Pike reportedly climbed Mount Rosa while scouting what would later be named Pikes Peak.
4. Horsethief Park to Pancake Rocks
- Trailhead Elevation: ~9,700 feet
- Highest Point: ~11,000 feet
- Distance: ~6 miles round trip
- Difficulty: Moderate
Located near Divide, this scenic trail passes through fields of summer wildflowers and ends at a set of unusual rock formations known as Pancake Rocks. The high-elevation trail stays cool and shaded in the morning and offers fantastic photo opportunities.
Pro Tip: Go early to beat both the crowds and the afternoon storms.
5. Seven Bridges Trail + Jones Park Extension
- Trailhead Elevation: ~7,000 feet
- Highest Point: ~9,000 feet (with extension)
- Distance: 3.8 miles base trail, 8+ miles with extension
- Difficulty: Moderate
- More Info: CLICK HERE
Tucked into North Cheyenne Cañon, this shaded trail follows a cool mountain stream and crosses seven rustic bridges. Continue into Jones Park for higher elevation and quieter trails with thick pine forest and cooler temps.
Local Tip: This is one of the most refreshing hikes on a hot summer day thanks to the creek and canopy.
6. Guided Mountain Biking Tour (Broadmoor Outfitters)
- Elevation Range: Varies based on tour
- Difficulty: Easy to Advanced
- Length: Customizable
Our guided mountain biking tours take you into cooler elevations and hidden backcountry trails that are often missed by casual visitors. Whether you’re a beginner or a seasoned rider, this is a fantastic way to explore high-altitude terrain while staying cool and active.
👉 Learn more about Guided Mountain Biking Tours HERE.
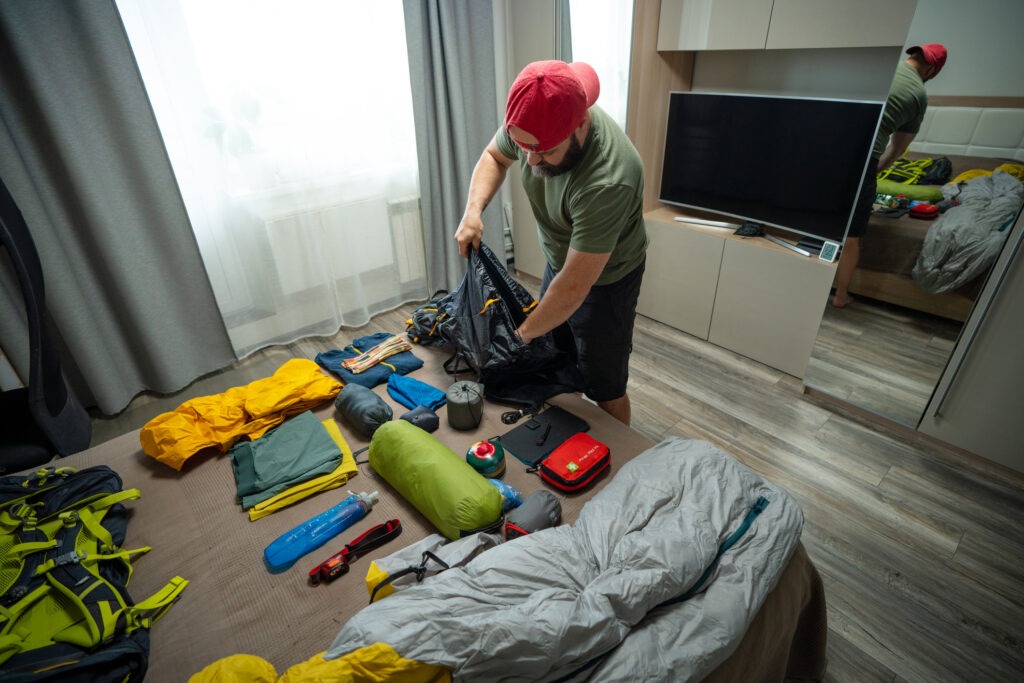
What to Pack for High Altitude Hikes
- Plenty of water (minimum 2 liters)
- Snacks high in carbs and protein
- Lightweight jacket or fleece
- Hat and sunscreen (UV is stronger at altitude)
- Trail map or GPS app
- Rain jacket or poncho (just in case)
- Trekking poles (helpful for steep or rocky terrain)
Stay Cool and Adventure On
Colorado Springs is surrounded by high-country terrain that’s tailor-made for summer hiking. While others are sweating it out in town or on lower trails, you can be strolling through alpine meadows, climbing toward cooler air, or biking through breezy mountain passes.
Whether you prefer a quiet solo summit, a family-friendly trail, or a guided outdoor experience, high-altitude hikes to beat the heat offer the perfect combination of comfort and adventure.