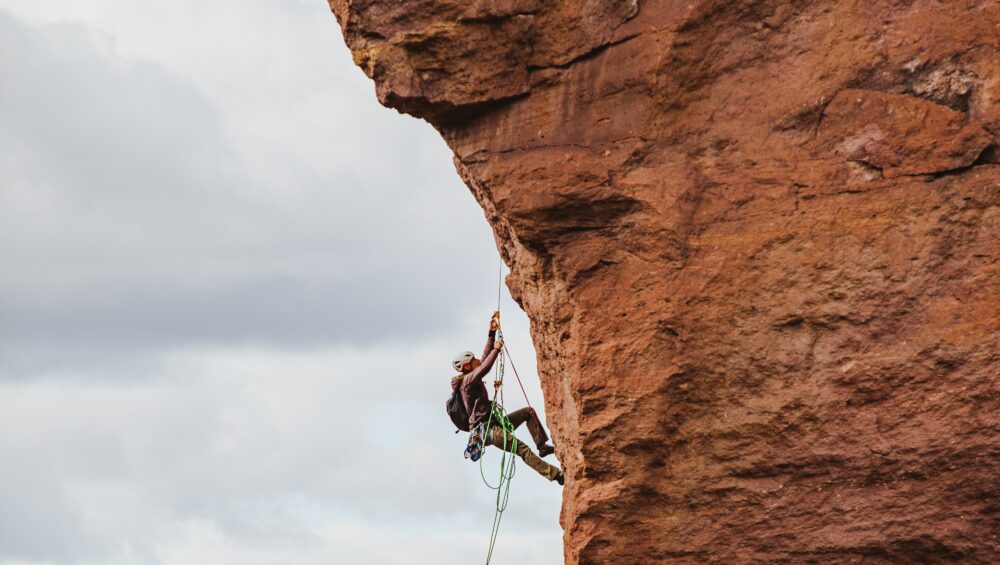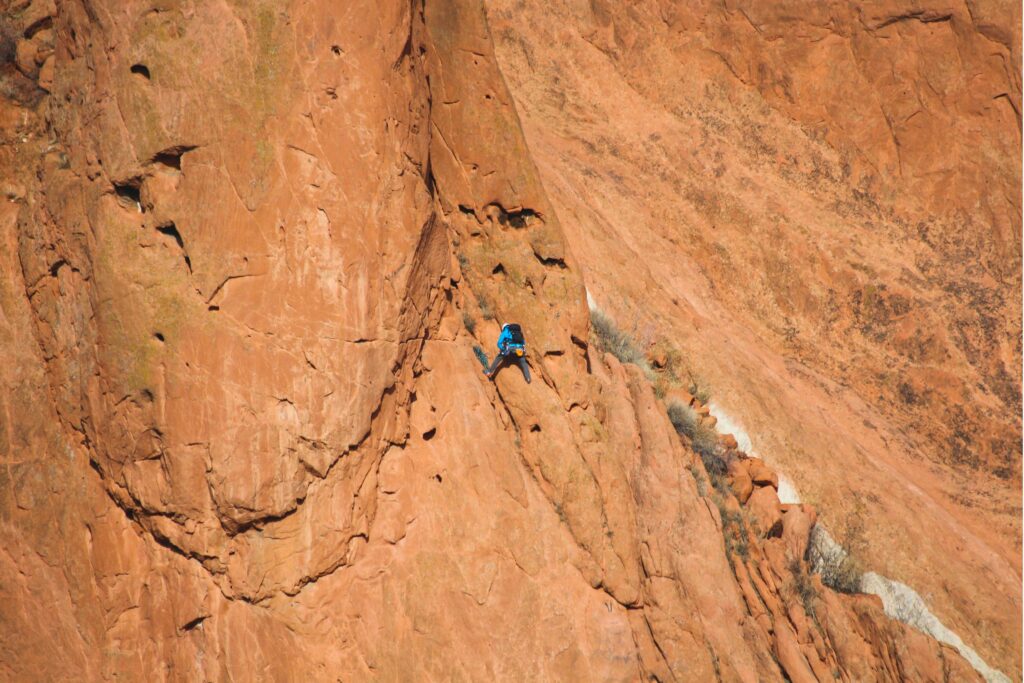
Rock climbing in Colorado Springs offers an unforgettable outdoor experience for adventurers of all levels. Whether you’re tackling iconic formations like Garden of the Gods or joining a guided rock climbing tour near Cheyenne Canyon, there’s no shortage of scenic routes and technical challenges. However, safety should always come first.
Understanding and practicing rock climbing safety in Colorado Springs ensures that your trip is not only thrilling, but also secure, sustainable, and enjoyable from start to finish.
In this guide, we’ll cover everything you need to know to climb safely in the Pikes Peak region, including preparation, gear, climbing ethics, weather awareness, and expert guidance options.
Why Safety is Essential in Colorado Springs Rock Climbing
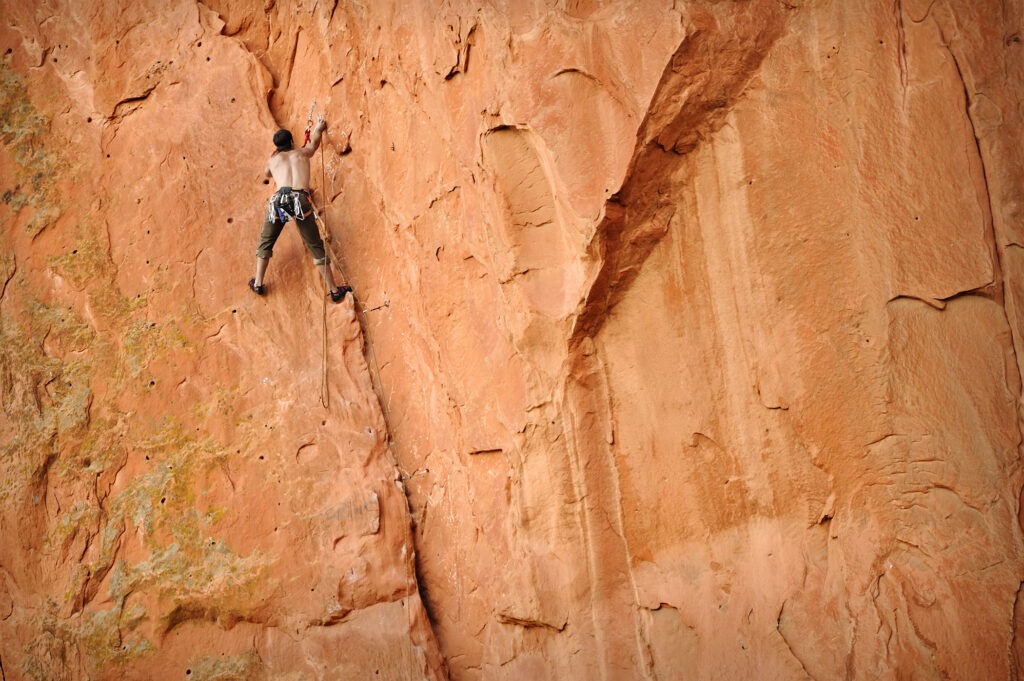
Colorado Springs is a rock climber’s paradise, with routes ranging from beginner-friendly sandstone slabs to advanced trad climbs in the foothills. With natural beauty comes real risk. Changing weather, wildlife, brittle rock, and altitude all add layers of complexity.
As a result, safety isn’t just about gear. It’s also about knowledge, preparation, and respect for the environment.
Know Before You Go: Research and Route Planning
Before lacing up your climbing shoes, take time to research your chosen area. Some climbing zones in Colorado Springs, such as Garden of the Gods or Red Rock Canyon Open Space, require permits or have specific regulations.
Key points to research include:
- Access and parking rules
- Climbing route difficulty
- Rock type and stability
- Specific gear that may be required
- Anchoring and protection options
- Emergency services availability
Additionally, climbers should always bring a printed or downloaded map. While GPS can be helpful, cell reception is often spotty, especially in deeper canyons or mountainous terrain. Check out Mountain Hardwear’s tips for finding a route.
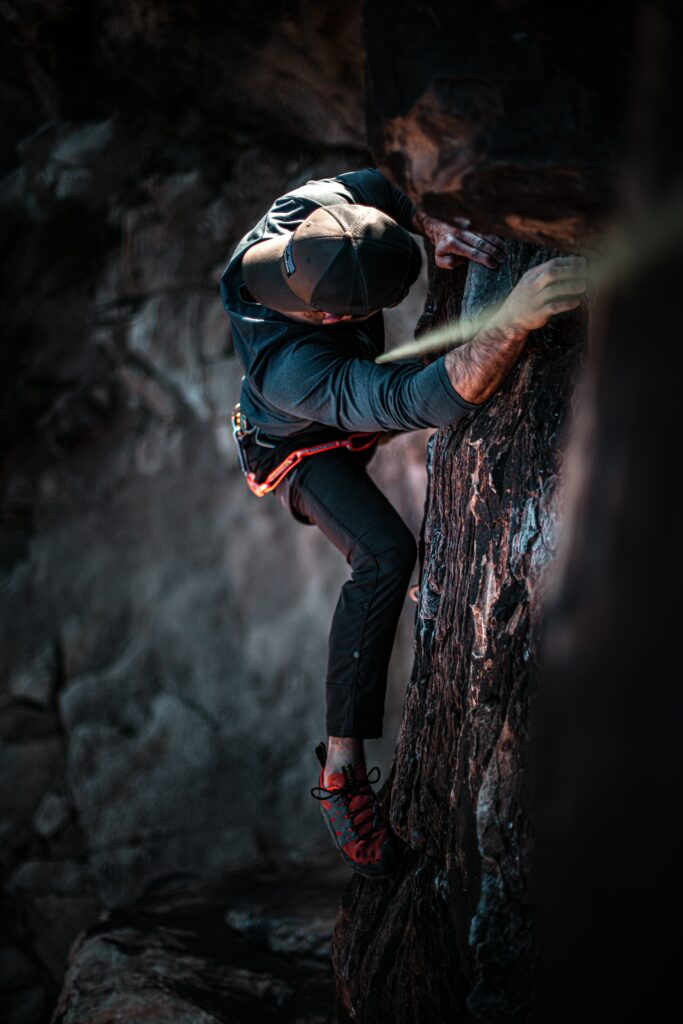
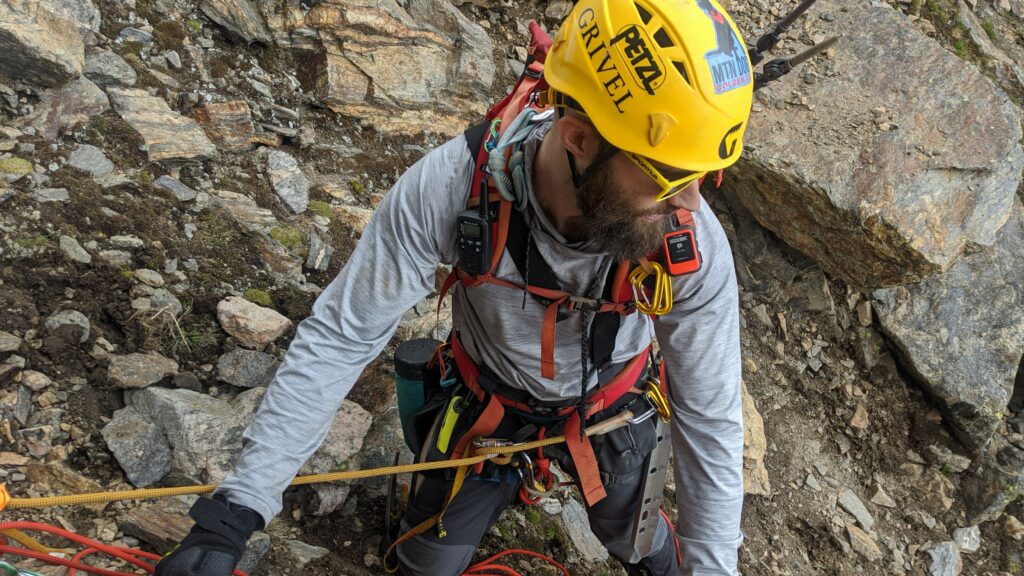
Choose the Right Gear for Colorado Springs Conditions
Gear choices are vital to rock climbing safety in Colorado Springs. The right equipment not only protects you but also ensures you’re climbing efficiently and responsibly.
Basic climbing gear should include:
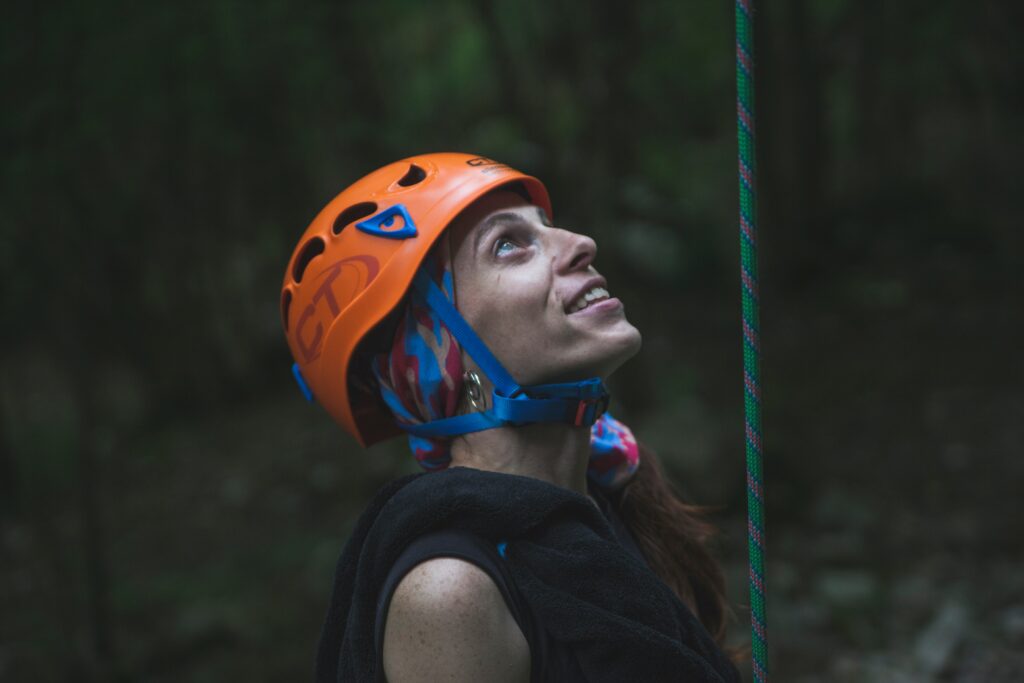
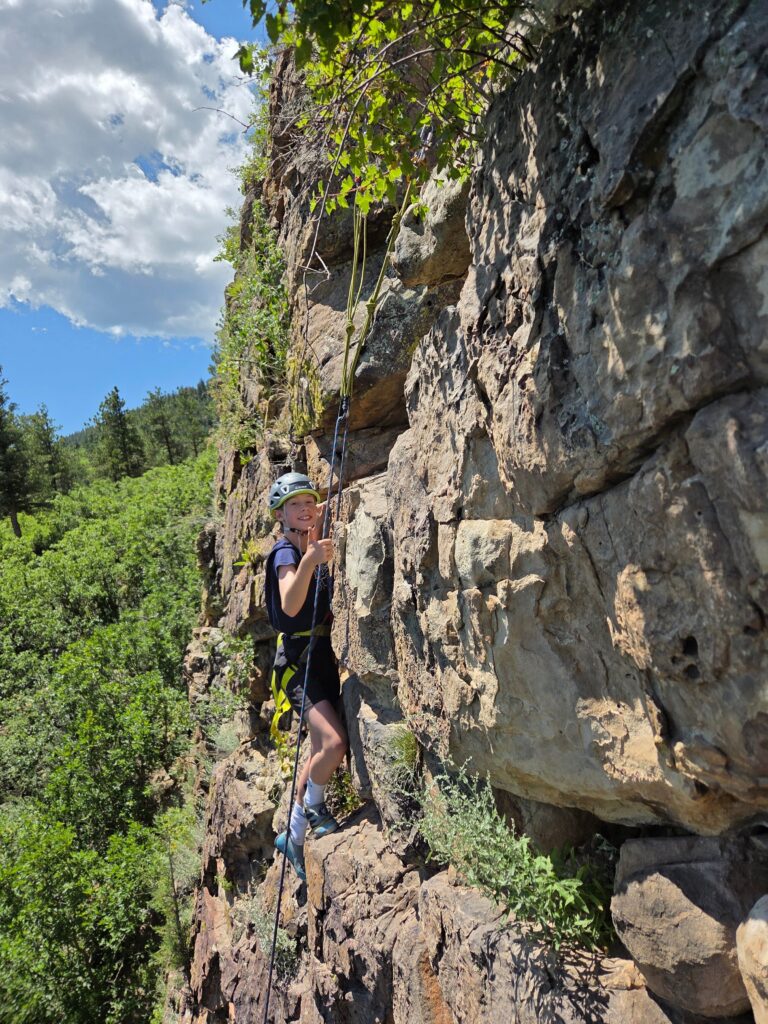
- Helmet (always wear one—rockfall is real)
- Harness
- Climbing shoes
- Belay device
- Locking carabiners
- Chalk and chalk bag (check to make sure you are using the right color chalk!)
- Appropriate ropes and protection (trad, sport, or top rope gear)
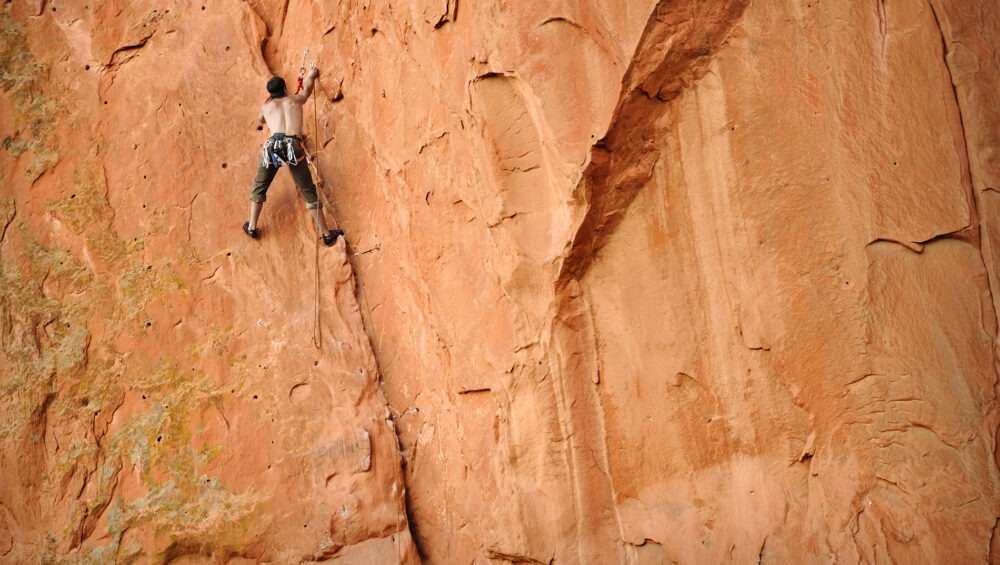
Because many routes in Colorado Springs involve sandstone or granite, make sure your gear is suited for those rock types. For example, in softer sandstone areas like Garden of the Gods, removable gear must be placed carefully to avoid damaging the rock. Additionally, red chalk must be used in the Garden of the Gods.
Click here to learn more about how to choose the appropriate climbing gear.
Dress for the Conditions and the Altitude
Colorado weather can change quickly. Mornings might be sunny, but afternoons often bring wind, rain, or even lightning. Additionally, many climbing areas in Colorado Springs sit at elevations between 6,000 and 9,000 feet.
To stay safe and comfortable:
- Dress in moisture-wicking layers
- Pack a light rain jacket
- Bring sunscreen and sunglasses
- Stay hydrated (carry 2+ liters of water per person)
Altitude sickness can affect climbers who aren’t acclimated. Take your time, rest often, and descend if you experience headaches, dizziness, or nausea. Check out these tips to prepare for the altitude in Colorado Springs.
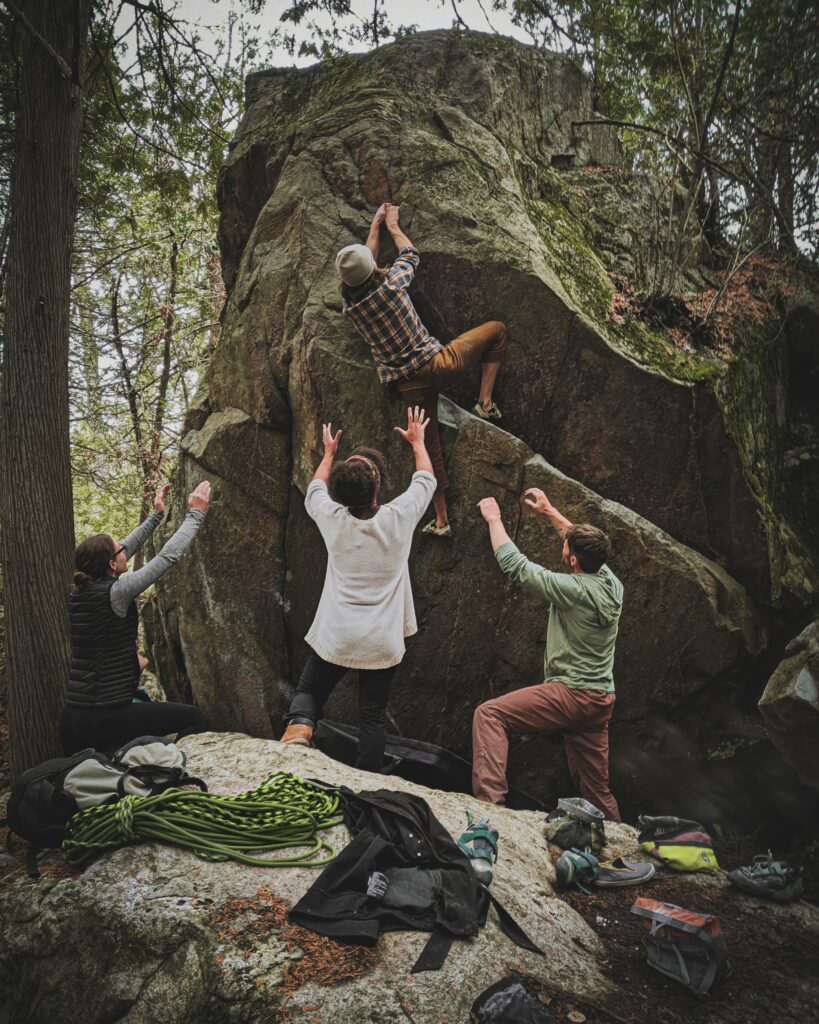
Practice Smart Belaying and Communication
Miscommunication is one of the leading causes of climbing accidents. Whether you’re belaying a partner or climbing with a guide, clear and consistent communication is crucial.
Use standardized calls such as:
- “On belay?”
- “Belay on.”
- “Climbing.”
- “Climb on.”
Additionally, double-check knots, harnesses, and belay setups before every climb. This “partner check” takes less than a minute and can prevent life-threatening mistakes.
Understand Local Ethics and Environmental Practices
Preserving Colorado Springs’ natural rock formations is just as important as climbing them. Always follow Leave No Trace principles, and be aware of local climbing ethics.
Key considerations:
- Stay on established trails to prevent erosion
- Use existing anchors and bolts
- Never chip or alter the rock
- Pack out trash and gear
- Be respectful of wildlife and other climbers
- Do not climb on wet sandstone
Some areas, such as Garden of the Gods, have unique climbing regulations. For example, the use of chalk is discouraged in certain zones due to its visual impact. Always check for signs or visit local websites for updated rules. Additionally, do not climb on wet sandstone. Doing so can cause extreme damage that cannot be fixed!
Refresh yourself on the Leave No Trace Climbing Ethics HERE!
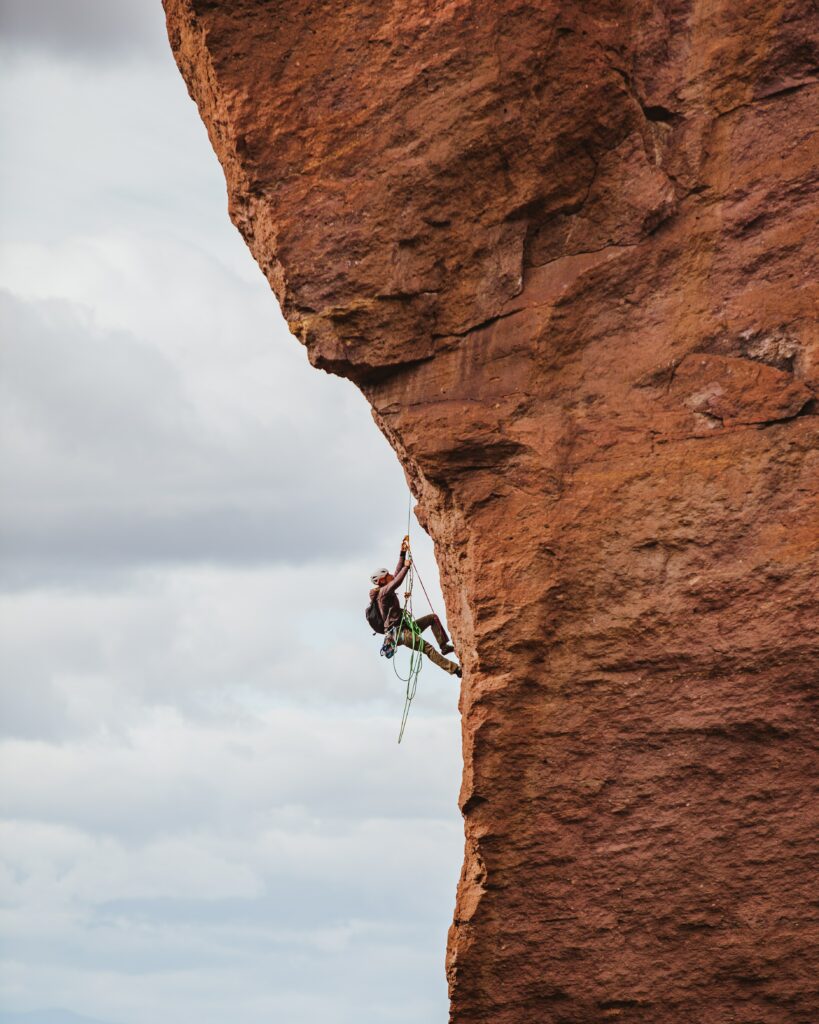
Be Weather-Wise and Storm-Savvy
Colorado’s dramatic skies can turn quickly. Afternoon thunderstorms are common, especially in summer. Lightning is a serious threat—particularly for climbers exposed on walls or ridgelines.
To stay safe:
- Start early in the day
- Check the weather forecast before leaving
- Watch for dark clouds, sudden wind changes, or dropping temperatures
- If thunder or lightning is within 10 miles, descend immediately
Even if storms seem far away, wet rock becomes slick and dangerous. Postpone your climb if conditions are poor.
Go with a Guide, Especially if You’re New
Even experienced gym climbers can be caught off guard by outdoor conditions. Going with a professional guide is one of the best ways to ensure safety while rock climbing in Colorado Springs.
Guides provide:
- Technical instruction
- Route knowledge
- Gear and logistics
- Emergency preparedness
- Local climbing etiquette
Additionally, guided rock climbing is an excellent choice for families, team-building groups, or anyone looking to try the sport in a structured, safe environment.
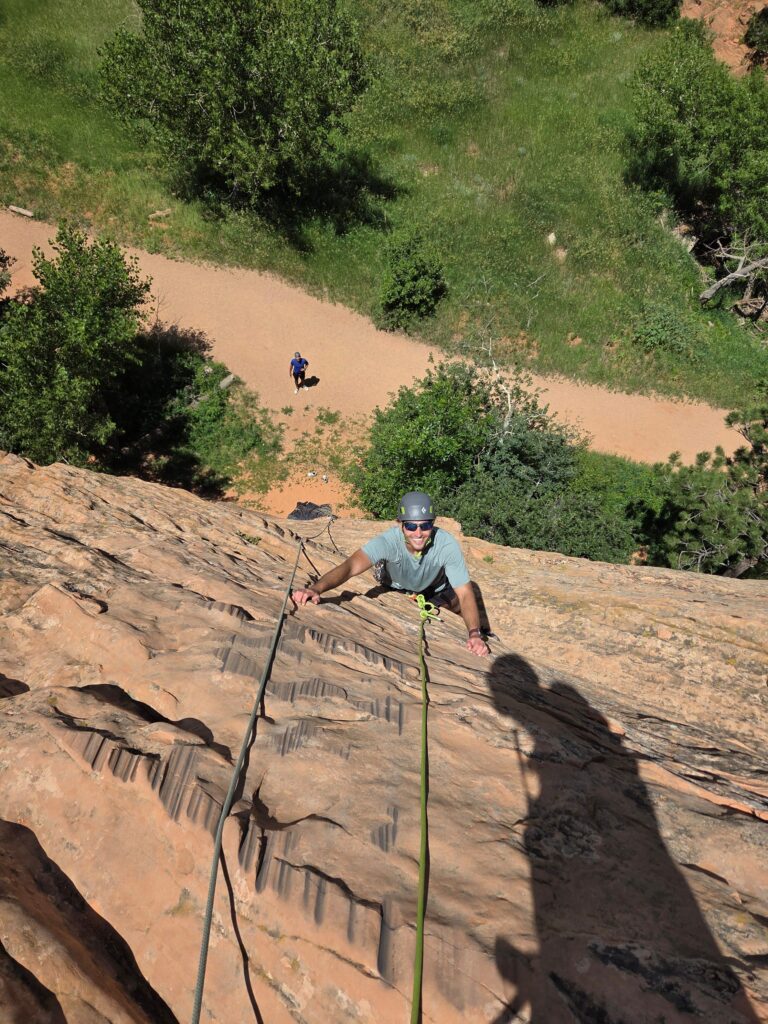
Broadmoor Outfitters Rock Climbing Tours
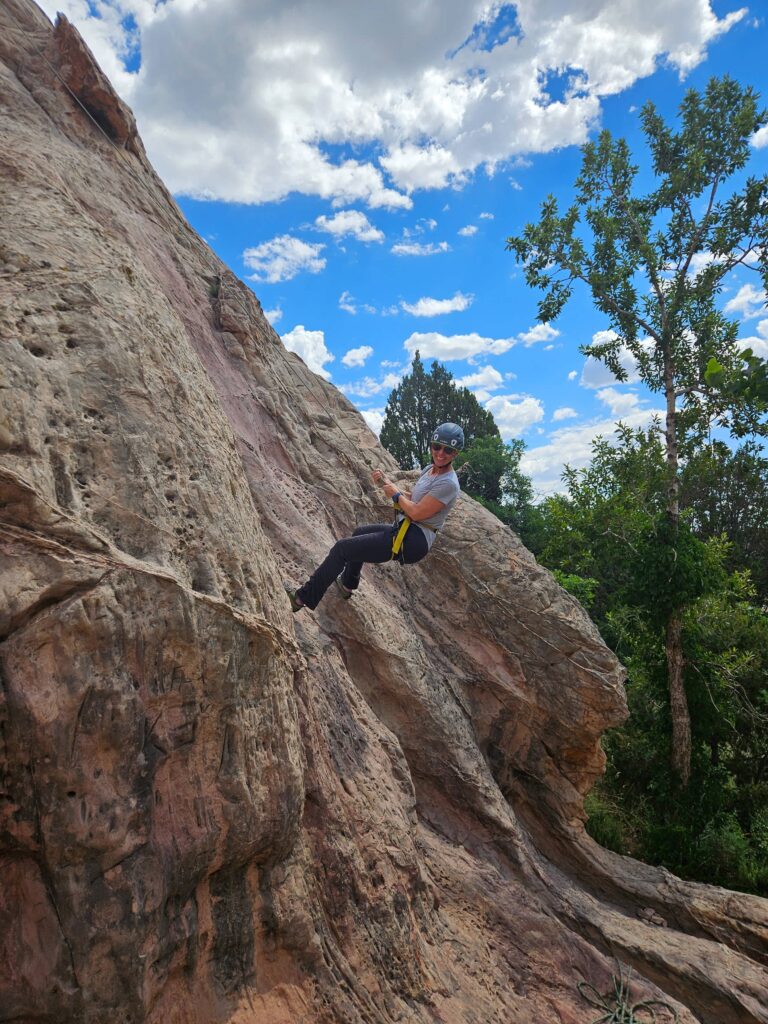
At Broadmoor Outfitters, we specialize in guided rock climbing adventures throughout Colorado Springs. Our trained and certified guides take care of all the gear and instruction, so you can focus on the climb.
We welcome all skill levels—from complete beginners to seasoned climbers looking for local insight. Our routes are carefully chosen for safety, scenery, and challenge.
Interested in trying rock climbing or looking to improve your skills? Learn more about our Guided Rock Climbing Tours here.
Emergency Preparedness: Always Plan for the Unexpected
Even when every precaution is taken, emergencies can happen. It’s essential to have a plan and know how to respond.
Bring along:
- A small first aid kit
- Emergency whistle
- Fully charged phone or satellite communicator
- Knowledge of the nearest hospital or ranger station
Always tell someone where you’re going and when you expect to return. In case of injury or being overdue, this simple step can make all the difference.
Best Climbing Spots in Colorado Springs
If you’re just getting into the sport, consider starting at these locations:
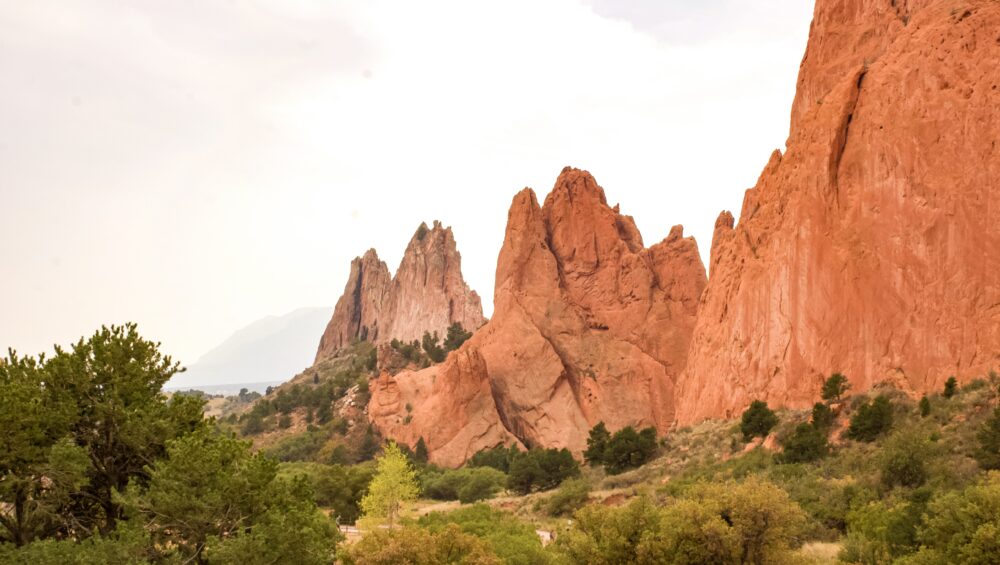
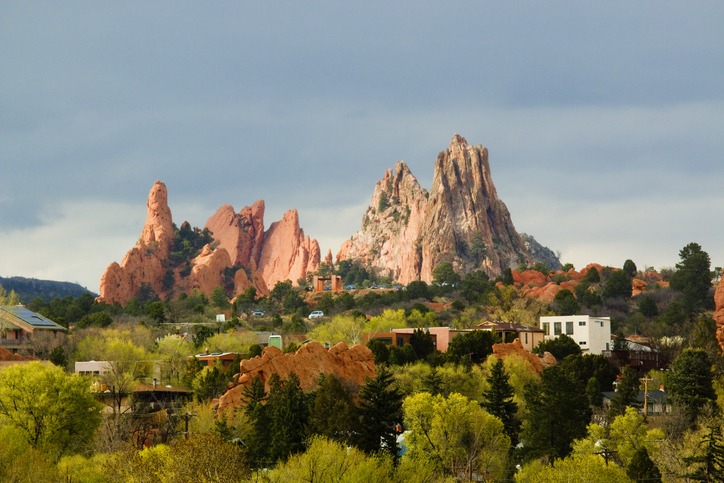
Garden of the Gods
- Sandstone spires
- Great for trad and top rope
- Permit required
Red Rock Canyon Open Space
- Variety of bolted sport climbs
- Easy access and multiple difficulty levels
North Cheyenne Cañon
- Shady, granite routes
- Quiet, scenic environment
Each of these areas offers something unique, but all share one thing in common—stunning natural beauty and excellent climbing opportunities.
Climb Smart, Stay Safe, and Have Fun
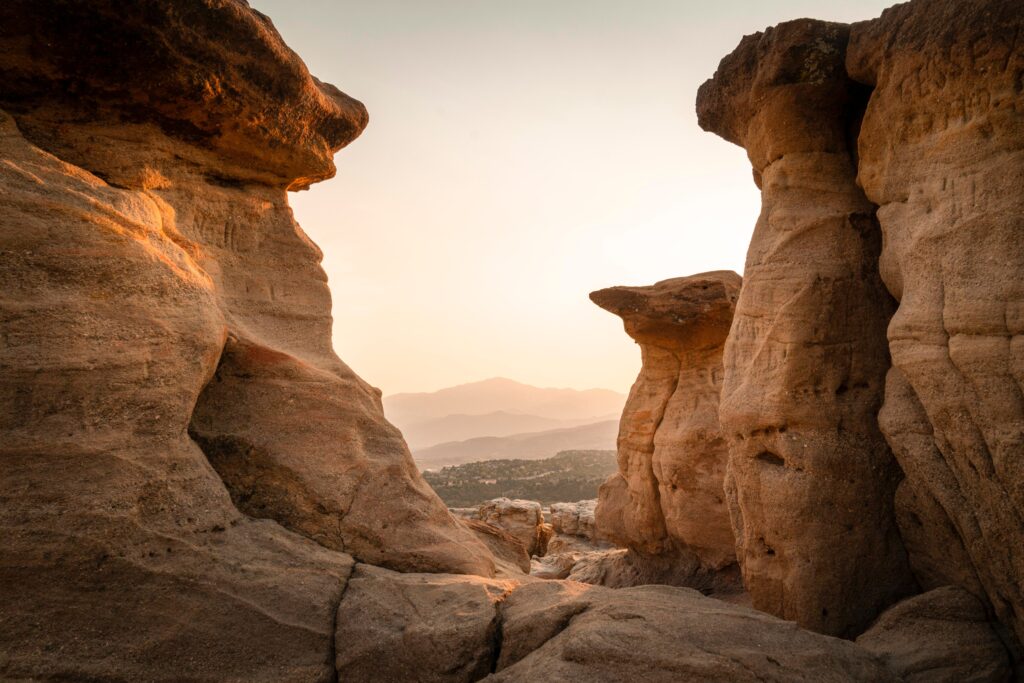
Rock climbing in Colorado Springs is more than just a sport—it’s a way to connect with nature, challenge yourself, and experience the breathtaking geology of the Front Range. When done safely, it can be one of the most rewarding activities Colorado has to offer.
By preparing properly, respecting the environment, and considering a guided experience, you’ll be set up for success on the wall.