How to Train for a Bike Tour

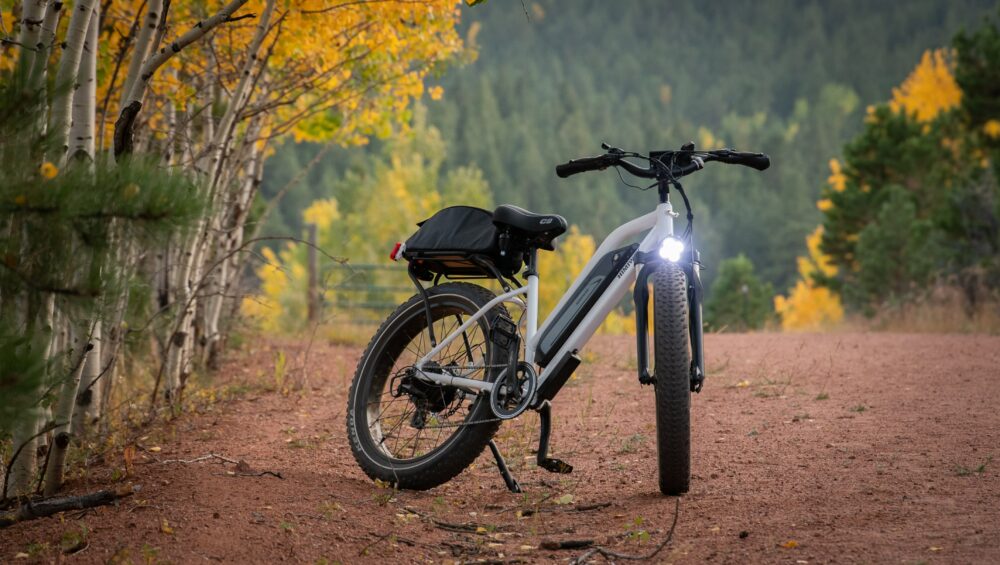
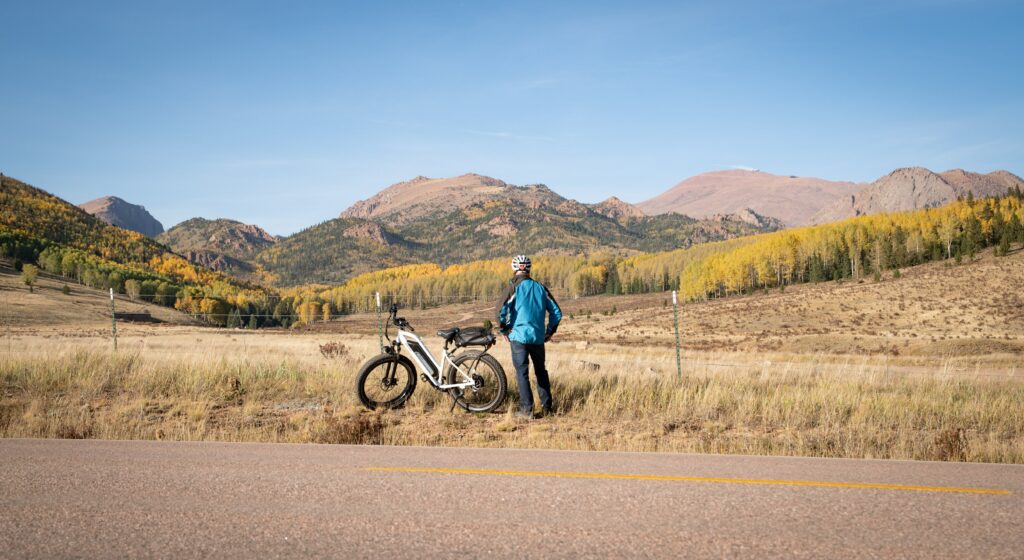
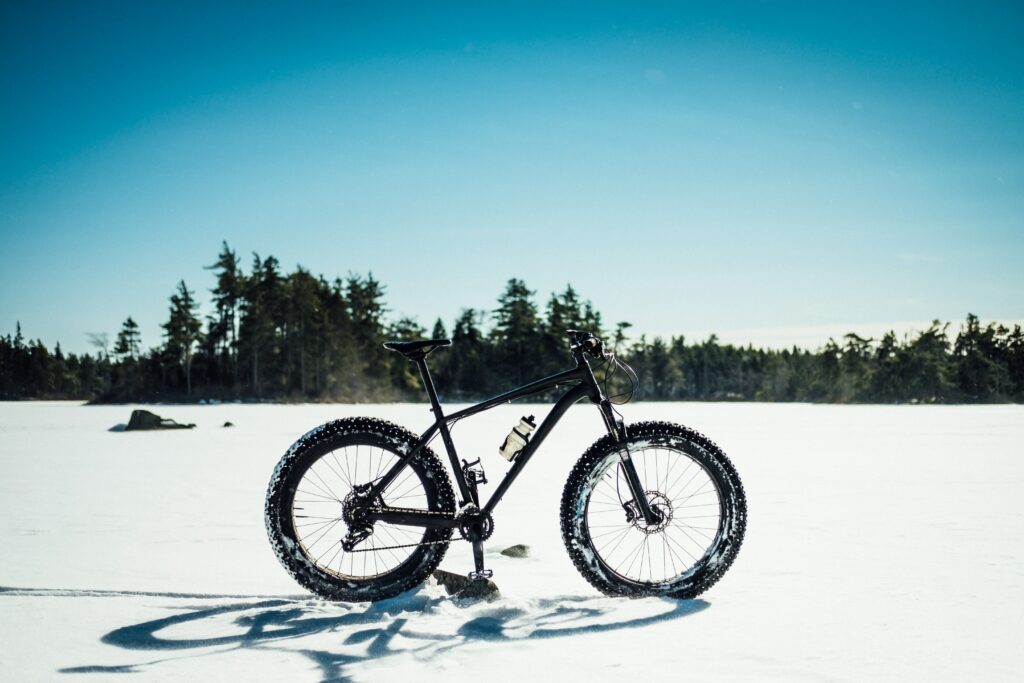
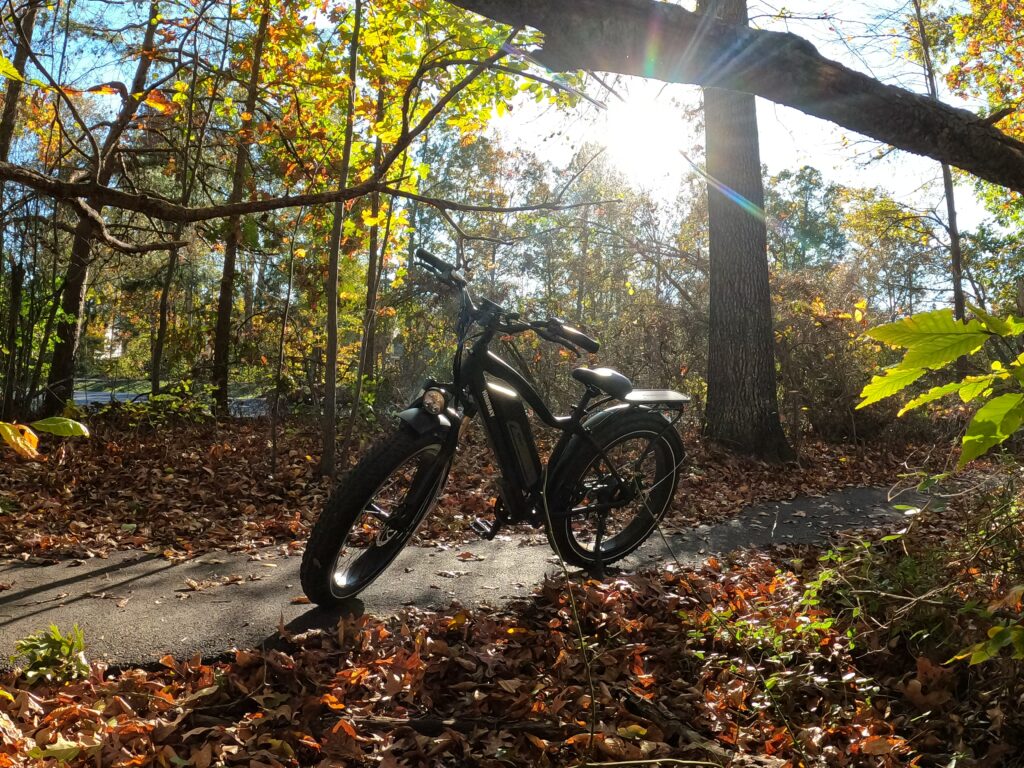
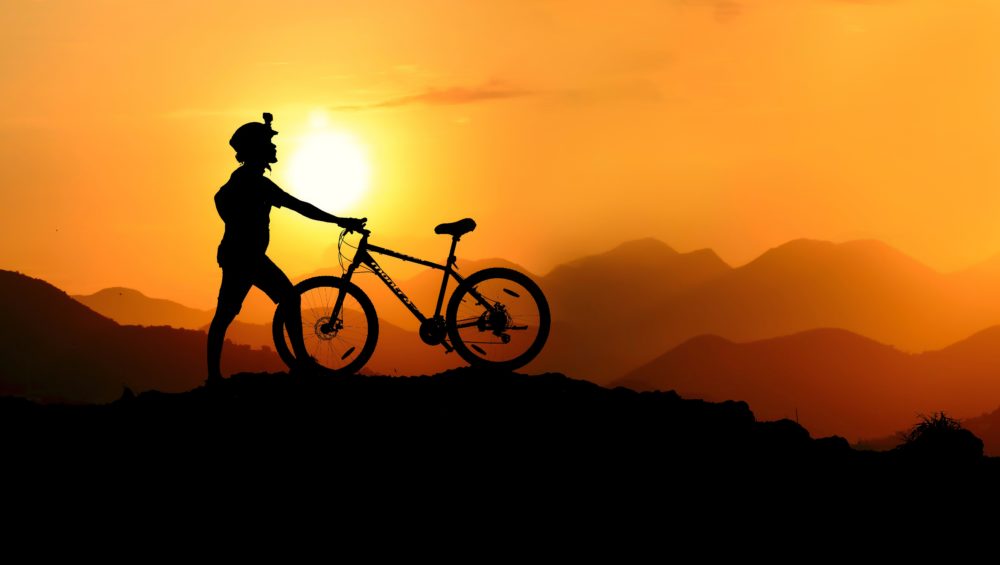
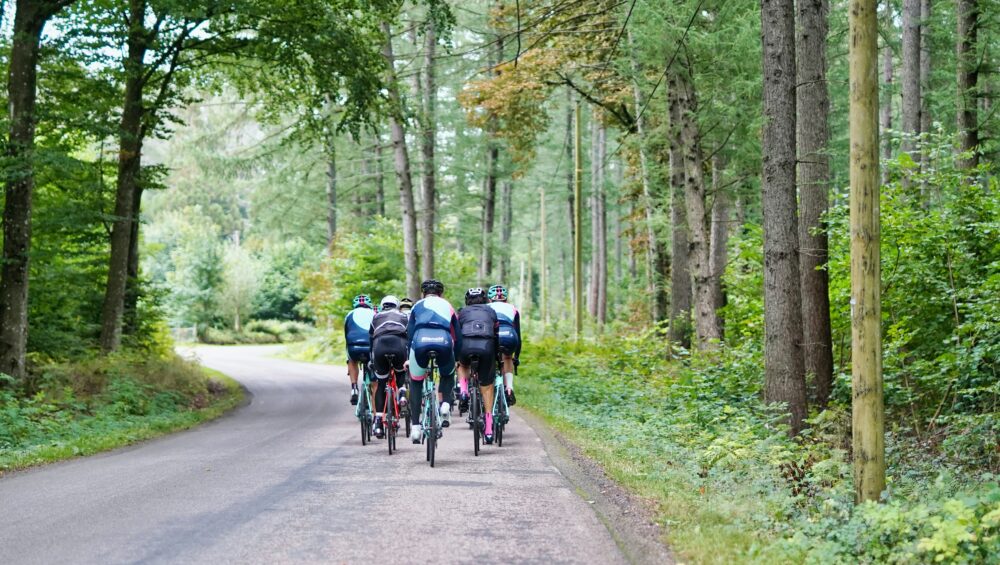
Are you wishing you could go on an epic bike tour of Colorado Springs’ best attractions? Or maybe you want to prepare for one of Colorado’s annual cycling events. It doesn’t take much to train for a bike tour. With just a little preparation, you can feel confident in your riding abilities and enjoy your time in the saddle exploring the sites.

Training for a bike tour consists mainly of cardio workouts and strengthening for the legs, back, and core. You should also include flexibility training to ensure your muscles do not tighten in response to the strength training. We’ll go over what a typical week of bike training looks like so you can get riding in no time.

Strength Training for a Bike Tour

If you’re not used to riding a bicycle, your legs will struggle to keep up on a bike tour. Strengthening your leg muscles, back, and core will keep you comfortable as you sit and work your leg muscles for hours on end on a bike tour. 

Leg Workouts for Biking

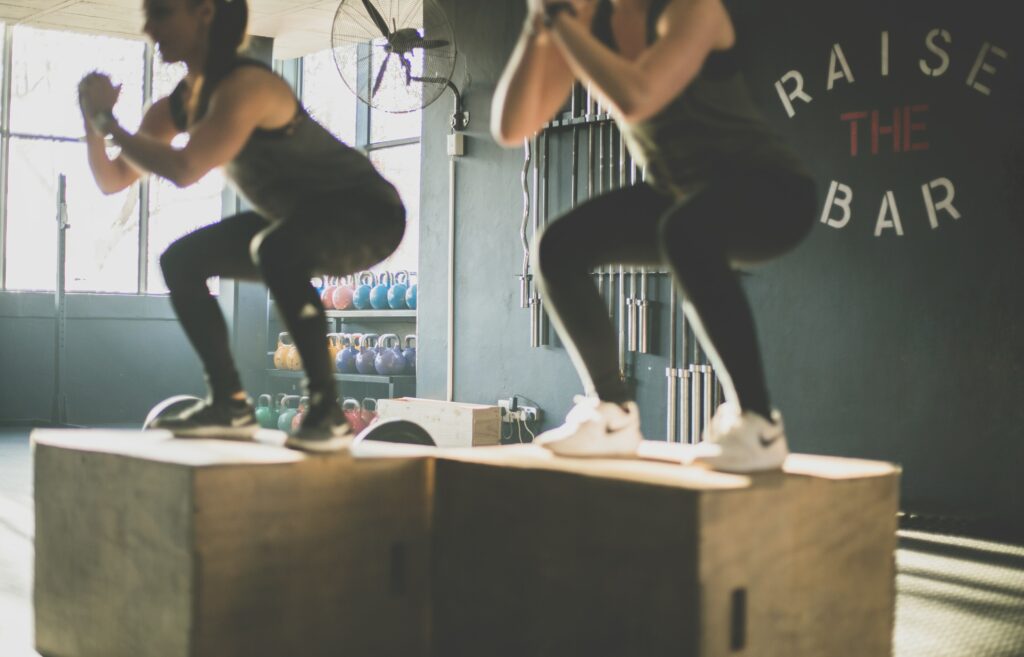
To prepare for a bike tour, you will need to build strength in the quadriceps, hamstring, and gluteus muscles. You can do goblet squats and lunges (or split squats which are static). Start with no weight and progress to doing them with a dumbbell. These will help strengthen the leg muscles that interact with the knee and keep your knees happy and healthy during your bike tour. 

Glute bridges are a great way to work out the butt muscles and the hip flexors making sure that you will be able to tolerate so much leg exercise in the sitting position. If you are not used to biking, you will notice your quads and hips getting tired first. That is why exercises like these are key for improving bicycle endurance.

Other leg exercises for biking include calf raises for the lower legs and side kicks for the outer quad muscles. Finally, you can use a stationary bike to practice one-leg pedaling. This is a strenuous but effective exercise because it forces your hips to work harder. When you pedal with both legs, it is common to push down more than pull up, so one-leg pedaling strengthens those pulling-up muscles. 

Back and Core Strength Training for a Bike Tour

Moving up the body, back and core workouts are also crucial to get you in bike-tour shape. Legs are not the only muscles that you will use when spending a day or more in the saddle. You also need to strengthen the muscles that keep you sitting upright on the bike. Romanian deadlifts are one of the best exercises to train the lower back. These exercises will help prevent discomfort when sitting for long periods of time. Unlike traditional deadlifts, Romanian deadlifts work the core more than the legs because you do not lower the weight to the ground and squat. When doing these, be sure to have the proper form and avoid rounding your back.

While deadlifts work the lower back and core muscles, you will also need to strengthen the erector spinae muscles, which travel the length of your back from the neck to the pelvis on either side of the spine. These muscles are important for posture and keeping upright on the bicycle. One great exercise for these back muscles is a quadruped, or bird dog, exercise. Start with your hands and knees on the ground and raise one arm and the opposite leg while keeping your core tight. This is a great way to strengthen your core for bicycling.

One final muscle group not to forget is the arm muscles. It is easy to overlook upper body workouts when thinking about bike riding, but you would be surprised at how tired your arms can get. When you think about the proper positioning on a bicycle, you actually use your arms a lot. Typically, bicyclists push against the handlebars for leverage, especially when biking uphill. And boy, are there a lot of hills involved in a Colorado Springs bike tour. Training your arms for a bike tour might consist of push-ups, planks, and side planks.

Cardio Training for Endurance Biking

You do not need to bike every day to train for biking. In fact, your cardio workouts can be anything. You can cross-train on a treadmill, with a HIIT (high-intensity interval training) workout, in a pool, or on a rowing machine. You can go jogging or hiking, or play a cardio-heavy sport like soccer or boxing. Cross-training is a great way to keep your schedule exciting and work out different muscle groups at the same time.

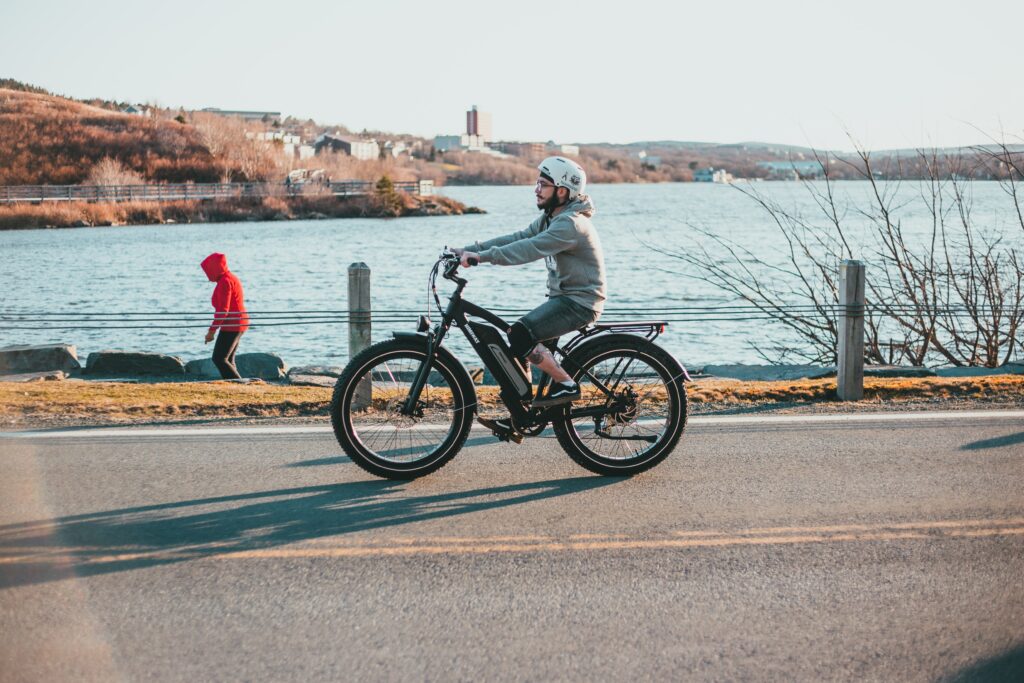
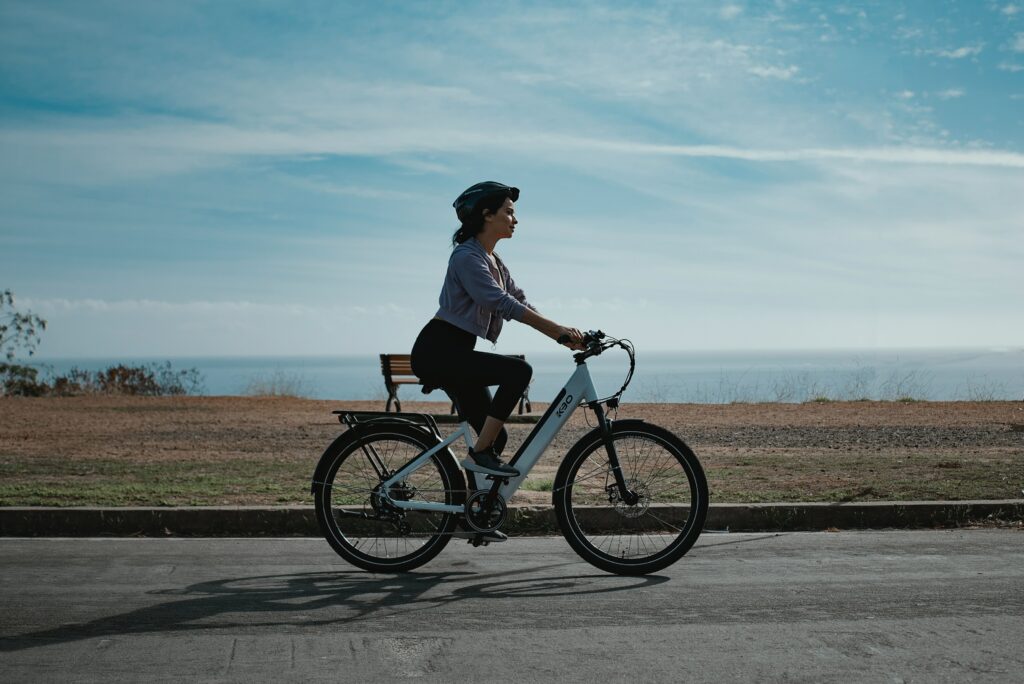
An ideal schedule for training for a bike tour is five or six days a week, alternating cardio and strength training days. You can plan to include one or two cross-training days per week, and make sure you are getting on the bike twice a week. Due to time constraints, you may plan a shorter ride of an hour during the week and a longer endurance ride for the weekend. You can plan for a two or three-hour weekend ride to start, and one great option is a guided bike tour. The distance you plan to achieve will determine the endurance rides. You can build up to it gradually over a few months or longer.

Pack Training for a Bike Tour

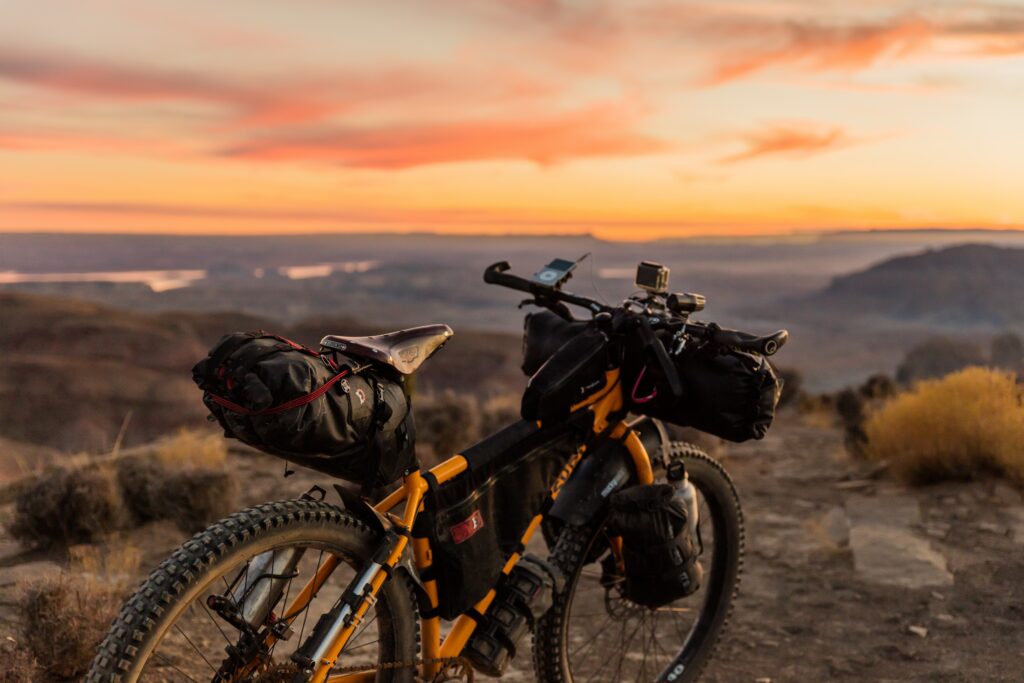
One essential step of training for a bike tour is pack training. Do not forget that a multi-day bike tour will necessarily include you carrying a backpack on your back or at least on the bike. This added weight will be quite a shock when you start if you have not introduced it during training. You can build up to it by starting with no weight and adding five pounds at a time. Once you have completed a month of training, including core and back exercises, you will find this added weight is no problem.

Best Stretches for Bicycling

Anytime you work out, either strength training or cardio, you need to stretch, too. Bicycling can easily cause joint pain and sore muscles if you are tight. Flexibility is essential for comfort and muscle endurance. That is why you should stretch every day, even on off days. 

Focusing on leg stretches, you will want to include hamstring (touch your toes), IT band and hip (figure 4), groin (butterfly), and quad (bring your foot to your butt). Key hip flexor and core stretches include reaching for the ceiling and the yoga cobra pose. Finally, keep your spine muscles flexible with neck and back stretches.

Final Thoughts

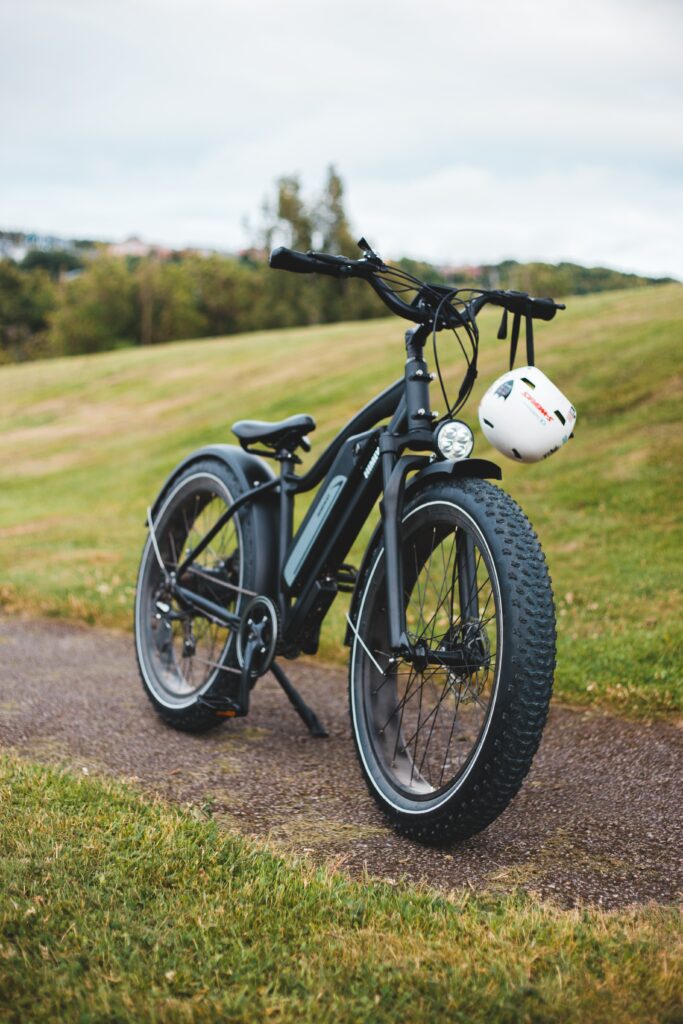
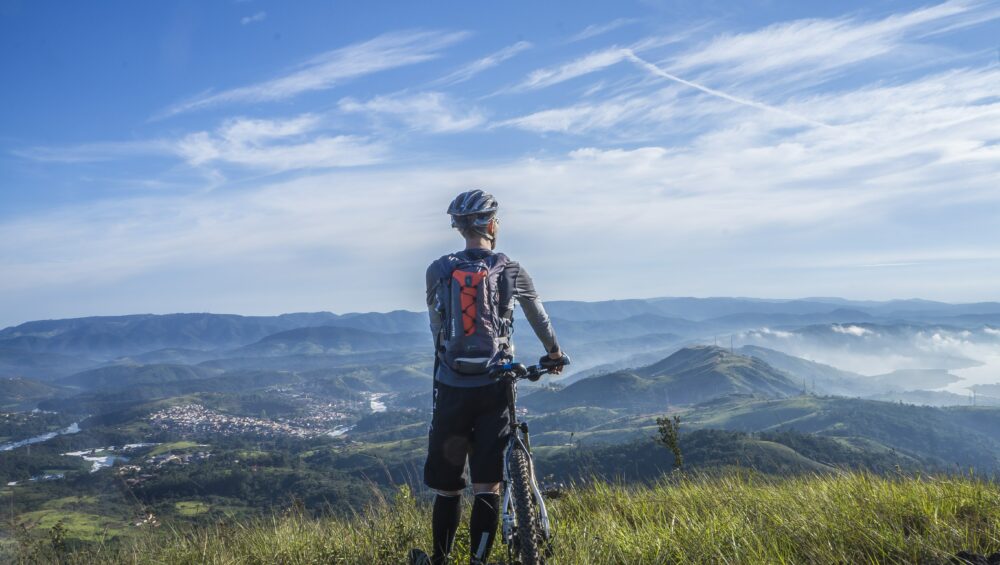
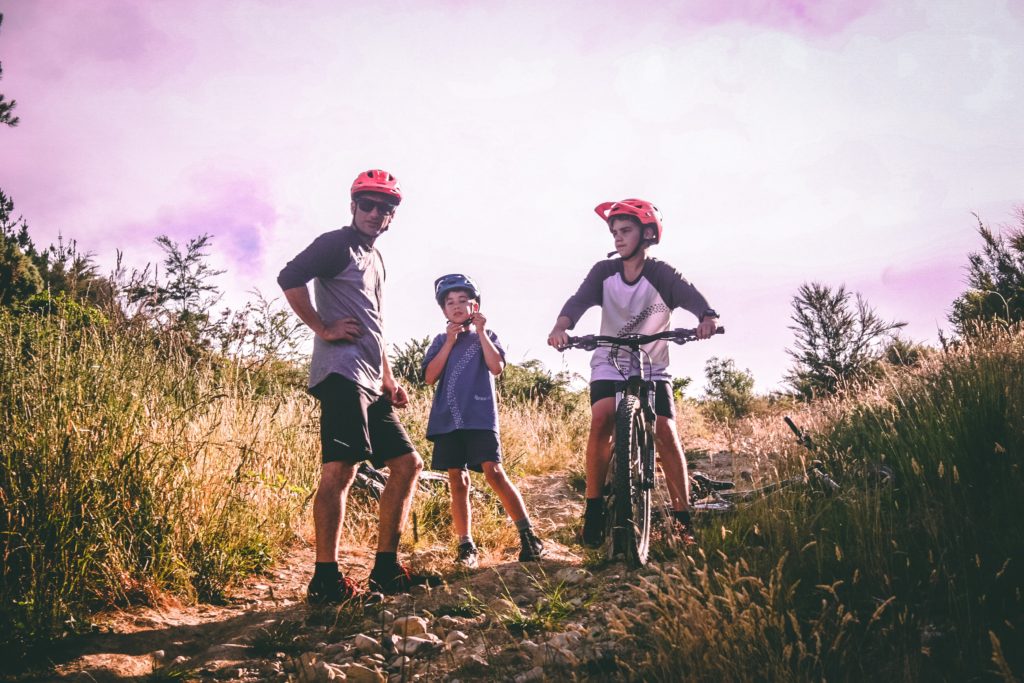
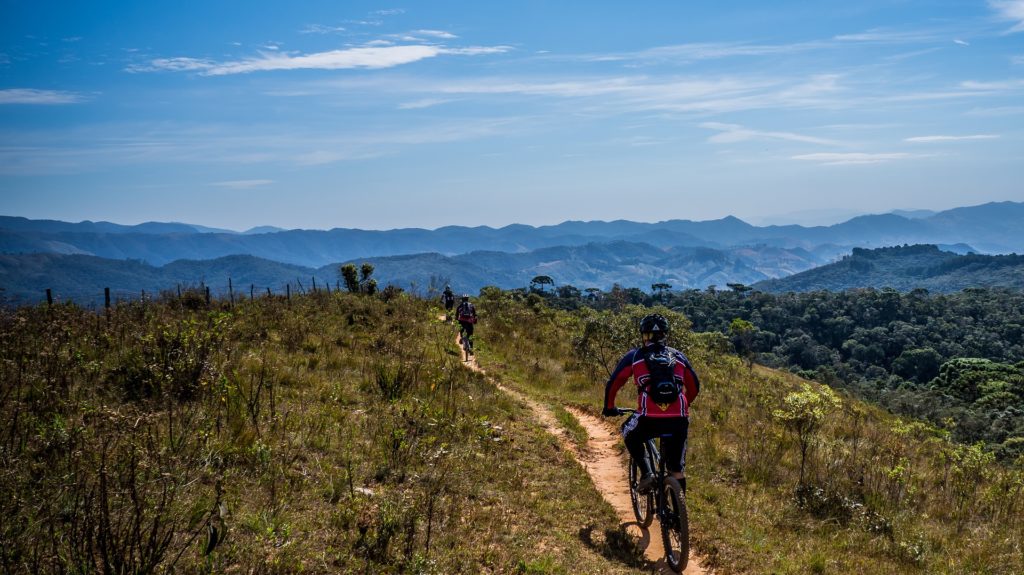
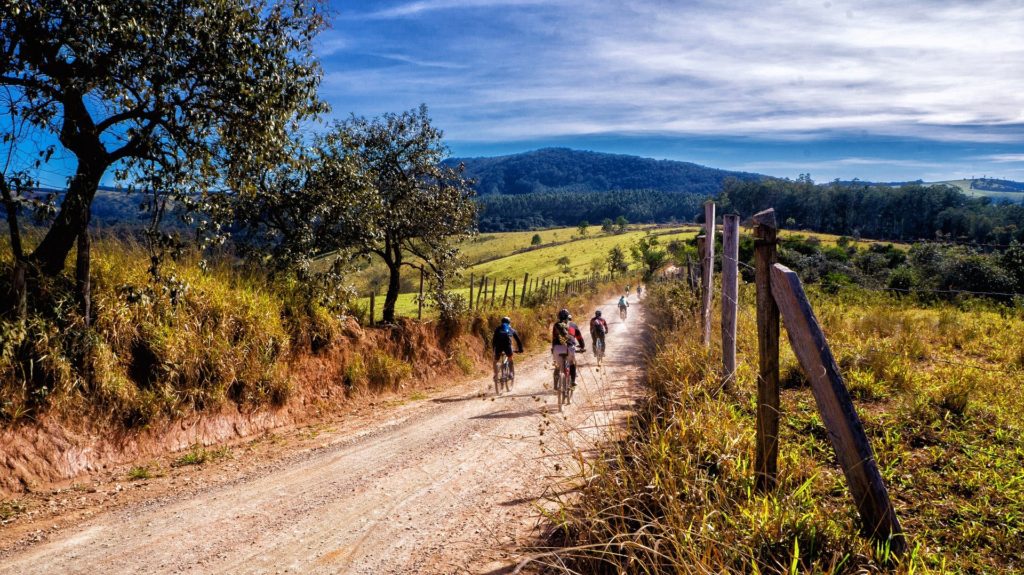
Training for a bike tour is a fantastic goal to keep you motivated to work out every day. You can also see some beautiful places in Colorado Springs as you train for the big event. Choose one of these six best mountain biking spots for an endurance ride, and you will surely come to love your biking training. Please always wear a helmet, follow bike safety guidelines, and have fun. Happy riding!

E-Bike Classes – What to Know

Did you know that there are different laws that apply to the various classes of electric bikes? Did you know that e-bikes are now grouped into three classes? Depending on what state you live in and what type of e-bike you have, you may have to follow one rule or another in order to avoid a citation. We’ll help you figure out your e-bike’s class and understand what important rules apply to your riding.

What’s Going on with E-Bike Classes?

When e-bikes first became popular, there were no laws governing how they could be used. What speed limit should apply? Can you ride an e-bike in designated bike-only spaces? Some states applied laws to e-bikes as if they were mopeds or other motor vehicles, enacting confusing licensing and equipment regulations that made no sense.


In 2015, California adopted a 3-Class approach to regulating e-bike use, where different laws apply based on the type of e-bike. So far 35 other states have followed suit with this standardized PeopleForBikes model law. The remaining states have laws regulating e-bikes as well, with some considering e-bikes to be motor vehicles and some regulating them as bicycles.

Photo by Himiway Bikes on Unsplash

A Primer on E-Bike Mechanics

Before we get into the specific classes of e-bikes, there are a couple of quick details about e-bikes you need to know. The point of an electric bicycle is that it uses a motor to turn the bike wheels so you don’t have to pedal, either as hard or at all. There are two ways that e-bikes can achieve this: pedal assistance and throttle. 

Pedal assistance means that the bike monitors the level of work you are putting in and responds in kind by providing power to the motor. This allows you to get further and go faster without as much work as a traditional bicycle. However, the motor will not turn on or stay on if you are not pedaling. 

In contrast, a throttle allows the e-bike motor to turn on even if you are not pedaling. Typically located on the handlebar, this device is similar to an electric scooter or a motorcycle. This distinction is important for the different classes of e-bikes, and you will see why below.  

What Are the Three E-Bike Classes?

The three classes of e-bikes are very straightforward, and it will not be hard for you to figure out which type of e-bike you own. You can either review these descriptions or do a quick search in your e-bike’s user manual. 

Class 1

Class 1 e-bikes provide only pedal assistance. This assistance stops once the bike has reached 20 miles per hour (mph). These are most likely to be regulated like traditional bicycles, as they have the lowest capability. Without a throttle, the user must keep pedaling in order to activate the motor and continue getting assistance. Keep in mind, though, as with all classes of e-bikes, it is possible to exceed the 20 mph limit by pedaling or when going down a hill.

Class 2

Class 2 e-bikes have a throttle-operated motor. This makes it possible to ride without pedaling at all. Similar to Class 1 e-bikes, the motor stops providing assistance at 20 mph; however, you can still pedal to achieve higher speeds.

Class 3

Similar to Class 1 e-bikes, Class 3 e-bikes provide pedal assistance. But unlike other classes, they have a pedal assistance limit of 28 mph. Depending on the state, some Class 3 e-bikes also are allowed to have a throttle (usable up to 20 mph), whereas some states ban Class 3 throttles altogether. 

If you are not sure which class your e-bike fits in, you can easily find out with a quick Google search of your e-bike brand and model or by reading over your bike’s user manual. Once you know what type of e-bike you have, you can move on to learning more about the specific rules governing your e-bike usage.

Photo by Himiway Bikes on Unsplash

What Are the Rules for the Three E-bike Classes?

We will go over the model laws provided by PeopleForBikes since this has been widely accepted and applies to two-thirds of states. However, these will only give you an idea of the main regulations since many states have additional laws on top of these. Therefore, regardless of where you live, double-check your state and local laws. Also keep an eye out for additional regulations for, say, biking in your neighborhood parks. 

The major issues that the e-bike regulations cover relate to access (to bike lanes, parks, etc) and usage (wearing helmets, age restrictions, etc). Some states have further restrictions on the classes of e-bikes. For example, California does not allow Class 3 e-bikes to have throttles. Meanwhile, Colorado and Washington do not allow e-bikes to have electric motors above 750 watts, effectively limiting speed. You should learn more about the restrictions in your state before investing in an e-bike of your own.

Class 1

Generally closest to traditional bicycles, Class 1 e-bikes have the fewest restrictions. They typically can be ridden wherever traditional bikes are allowed. This includes bike lanes on roads and bike paths in parks. Most states do not have regulations for Class 1 riders specifically, though people under 16 are required in many states to wear helmets while riding any class of bicycle or electric bike.

Class 2

Class 2 e-bikes are typically regulated the same as Class 1 e-bikes. However, some states have more regulations because of the addition of the throttle. This is a safety issue because the throttle can continue to power the motor without user input, making it more dangerous for riders and passersby alike. Regarding usage on mountain biking trails, for example, Class 2 e-bikes may be banned altogether from singletrack and downhill-only mountain biking trails. 

Class 3

The most highly regulated, Class 3 e-bikes are generally not allowed on bike trails or multi-use trails. This is another safety concern because of the maximum pedal assistance speed of 28 mph, which has been deemed too fast for multi-use trails in many states. Most states do allow Class 3 e-bikes to be used on roads and trails open to motorized public use (for ATVs and other off-road vehicles). 

Photo by Himiway Bikes on Unsplash

State-Specific Restrictions

Some states also restrict Class 3 e-bike riders to people over 16 years old and require all users, regardless of age, to wear helmets on these e-bikes. You should consult your state and local laws to make sure you do not unknowingly break any that apply to your class of e-bike.

You can find your state’s guidelines by searching your state government website for e-bike regulations. Keep in mind that almost every state gives local governments the authority to add restrictions if they want. So don’t forget to check the guidelines for your city or town. Finally, if you are planning an e-biking trip to a park or forest, you should look up the trail guidelines before you go. 

Rules of the Road

No matter what state you live in or what class of e-bike you have, there are certain common courtesies and best practices you should follow. First and foremost, please always wear a helmet when riding a bicycle or e-bike of any class. Even if it is not a legal requirement, it is a minimal effort that can save your life in the event of a crash. 

E-bike riders should also keep in mind that speed limits and other driving laws still apply to them. If you are riding on a road, say in a residential area, there is a good chance your e-bike has the ability to exceed the posted speed limit. Despite being on an electric bicycle, it is possible to get a speeding ticket, citation, or fine, so obey the law. 

The Sidewalk Question

Bicyclists should avoid biking on sidewalks, as it is dangerous to pedestrians. Instead, use designated bike lanes where available or share the road with cars where legal. When riding an e-bike on a road, be sure to behave like a car and follow the rules of traffic. Stop at stop signs and red lights, and always give pedestrians in the crosswalk the right of way. This is especially true for e-bikes as they can go faster than traditional bicycles and therefore cause more potential injury in a collision.

Right of way is an important rule to know as an e-bike rider. What’s more, this rule applies to both the road and the trail. On multi-use trails, bicyclists must yield to hikers and people on horseback. As horses and other pack animals can get startled by the noises e-bikes make, it is important to give them space and let them pass you before continuing your ride. Finally, downhill riders should yield to uphill riders (since pedaling uphill is obviously harder).

Final Thoughts

Once you know all the state and local rules for your particular e-bike class, you can enjoy your ride, and rest assured that you will not violate any obscure laws. E-biking is a fun and effective way to commute to work, conquer a longer ride, or summit a steeper trail. If you are considering buying an e-bike and wondering if e-bikes are worth it, there are certainly many advantages to consider. You can also take a test ride on an exciting e-bike tour near Colorado Springs to learn more about the techniques and rules for riding an electric bike.

Bike Maintenance Basics – How to Clean Your Bike

When you think about hitting the trails with a mountain bike or e-bike, maintenance is never top of mind. However, bike maintenance is a very important part of any ride, and in fact, every ride. Skipping the bike maintenance basics not only leads to more wear and tear, but it can even be dangerous to you as the rider. 

That’s why we’re here to discuss bike maintenance basics to make sure you keep your gear in peak condition. It might seem hard, but taking a little time to learn how to clean your bike and how to complete a pre-ride inspection will save you a lot of hassle down the line. So let’s get to it.

Don’t want to worry about bike maintenance? Join our Cog Up/Bike Down Pikes Peak experience or a guided mountain bike tour in Colorado Springs to reap the benefits of our perfectly maintained bikes and expert guides. Or alternatively, utilize our bike rentals in Colorado Springs to use for your own adventure.

Photo by Tim Foster on Unsplash

How to Do a Pre-Ride Bike Inspection 

A quick check before each ride is essential bike maintenance to keep you safe and keep your bike functioning optimally. Many people call this the ABCs of bike maintenance. If you remember that, you’ll be able to keep track of these critical steps of the pre-ride inspection.

Air in the Tires 

Look closely at the sidewall of your bike tires, and you will find a range of recommended tire pressures (PSI). There are a lot of factors that go into deciding what pressure within this range you want. You can begin at a pressure in the middle of the specified range to start, and learn your preferred tire pressure by feel as you get more experience. But in short, a more inflated tire will have less resistance and allow you to go faster (best for road cyclists), while a less inflated tire will absorb more shock (best for trail riders) and achieve better grip (safest for riding in wet conditions).

While you are inflating your bike tires to the desired pressure, be sure to inspect the tires for damage or deformities, and make sure the quick release lever or thru-axle (depending on your bike) are securely tightened. Finally, don’t forget to bring your pump and tire repair kit or patch kit on the ride with you in case of emergencies.

Brake Check

Your bike’s manufacturer can tell you how often you need to replace your brake pads and rotors, but it is also important to use your own judgment and look for excessive wear. In addition to a visual check, be sure to spin the tires and apply the brake mechanisms. 

Here, you want to make sure they move smoothly, don’t get stuck anywhere, and clamp down strong on the tires. If you feel a hitch or resistance, you may need to lubricate the parts. These cables and assemblies need lubrication to function correctly, and that’s ongoing maintenance we’ll discuss in the post-ride section covering how to clean your bike.

Chain Inspection

Bike chains are one of the most important pieces on the entire bike, and unfortunately, they’re also one of the most fragile. Before every ride, you should turn the pedals slowly and examine every chain link. 

Check to make sure the bike chain is not dirty or rusted, that there is no gunk or other impediment, and that the chain moves smoothly. Also, check the gears and the drivetrain, making sure the bike shifts without a hitch. 

The Nuts and Bolts of Bike Maintenance Basics

The last thing to do pre-ride is to ensure that the bike’s many nuts and bolts are tight and secure. Especially with mountain biking, it is normal for these to loosen over time as you maneuver the bike over obstacles and force different stressors on it. 

With hex keys and a Torx wrench, a decent bike tool will allow you to tighten all these pieces and make sure your bike is ready for the next adventure. This multi-tool is a great piece to bring with you on the ride, too, in case something loosens mid-ride. Loosening parts are all potential sources of problems that you do not want to learn about while on the trail, so invest a few minutes pre-ride in this important bike inspection.

Photo by Anastasia Shuraeva from Pexels

How to Clean Your Bike Post-Ride

After every ride, it pays to give your bike a quick wash. Especially if you have been hitting trails on a mountain biking tour, you don’t want to leave your bike dirty. Over time, dirt and grime accumulate and impact the smooth functioning of the bike’s fragile mechanisms. It causes rust and leads pieces to break earlier than they would otherwise.

Rinse and Dry

So, one of the most critical bike maintenance basics is also the easiest. Using good old soap and water (or bike wash cleaner), carefully wipe down the bike frame, handlebars, seat post, and brake mechanisms. You want to be gentle with these sensitive pieces, so don’t use a pressure washer. 

It’s also harmful to get soap on the brake pads themselves. Instead, use rubbing alcohol or rotor cleaner to degrease the rotors and brake pads. As noted above, you do not want to leave the bike to air dry as that can cause rusting, so use clean rags to get the bike nice and dry. 

Degreasing

For the chain and drivetrain, you want to really get in there and clean out any debris and grease. Especially for mountain bikes, these parts can get very dirty quickly, and you will find debris stuck in hard-to-reach areas. Cleaning out these parts is essential bike maintenance for preventing your bike from wearing out too rapidly and also ensuring future rides will be smooth and safe. 

You can clean the drivetrain with a rag and degreaser if it is not too dirty, or use a toothbrush to scrub off built-up grime. A bike chain cleaner is a good investment for thoroughly cleaning your chain without making a mess. Be sure to go through a couple of full rotations of the chain and shift gears a couple of times to make sure no dirt or grease remains. You can then use a clean rag to wipe away any leftover muck and clean the degreaser from the bike.

Lubrication

Once your bike is clean and dry, it is time to apply lubrication. You should lubricate your bike after cleanings, anytime it starts to squeak, and after wet rides to prevent rust. Keeping all these parts well lubricated will ensure a smooth and safe ride and keep the bike from unnecessary wear and tear. Depending on how frequently you ride, you might end up doing this weekly or more, but it is an essential step of bike maintenance and well worth the effort. 

Lubricate the drivetrain, chain, brake cables, and assemblies. When you lubricate your bike, you really only need a few drops for each component. Give the lubrication a few minutes to soak in and work it around by turning the pedals and moving the mechanisms. Then, be sure to use a clean rag to wipe away the excess. After it has soaked in, wipe down the parts gently, so it is not dripping with lubricant. Overlubricating your bike can actually hurt it, as dirt and debris are attracted to and accumulate in the excess lubrication.

Storage

Now that we’ve covered how to clean your bike, you’re ready to store your bike until the next ride. You might not have considered it, but there are actually better and worse ways to store a bike. First, don’t store a bike outdoors where it will be exposed to the elements. This will increase rust and corrosion, not to mention the fading of the paint job and increased risk of theft! 

Regarding positioning, storing a bike by hanging it with hooks or a wall mount is the best way to keep your bike in peak condition. If you are storing your bike upright, be sure to put rugs under the wheels and make sure to keep the tires inflated. Otherwise, you could find the tires have bulged or cracked over long periods of disuse.

Photo by Jan Kopřiva on Unsplash

Extra Notes for Electric Bike Maintenance Basics

On top of everything we’ve covered, e-bikes have some extra maintenance steps. Once you understand how electric bikes work, these extra maintenance requirements make sense since there are additional parts to consider. Specifically, we’re concerned about the e-bike’s battery and motor. 

E-Bike Battery Maintenance

Just like any battery, good maintenance procedures help extend the battery’s lifespan and optimize its capacity. First, top off your electric bike’s battery after every ride. It’s not good for batteries to sit empty for extended periods. However, it is equally bad for a battery to sit fully charged for too long as it puts excessive stress on the battery’s components. 

Therefore, if you don’t plan to ride for a while, put your electric bike’s battery in storage, so to speak, by unplugging the battery and hooking it up to a charge tender. Battery tenders allow batteries to naturally discharge and then recharge in a cycle. This keeps the battery in optimal condition no matter how long you leave it. 

E-Bike Component Maintenance

The other main consideration with e-bikes is the extra wear and tear on the drivetrains and chains. Because of this, it is important to clean, dry, and relubricate your electric bike more frequently than you would a non-electric model. 

When cleaning, be sure to avoid using high-pressure water to rinse off your e-bike. While the batteries and electrical components are sealed and waterproofed against rain, pressurized water can prove too much and cause damage. 

Final Thoughts

With a little investment in time spent cleaning and lubricating your bike, you can rest assured that it will last longer and give you a smooth, safe ride. If you struggle with any of these bike maintenance basics or feel like your bike is still not riding right, be sure to bring it to a bike repair shop for more expert repair. Also, if you are thinking about switching to an e-bike, check out e-bike guided tours in the Colorado Springs area. Finally, don’t forget that our bike rentals in Colorado Springs and mountain bike tours in CO Springs are both fantastic avenues to ride a clean and perfectly maintained bike. Happy riding!

How Do Electric Bikes Work?

If you are interested in taking a biking trip but not sure you have the strength or endurance for a longer ride, e-bikes might be for you. In the past few years, electric bikes have become very popular among trail riders and commuters alike, and it is easy to see why. They have the power to assist riders on harder sections of a bike route while still leaving room for riders to get in a quality cardio workout. But how do electric bikes work? Let’s get into it. 

Photo by Himiway Bikes on Unsplash

The Mechanics of an Electric Bike

E-bikes differ from standard bicycles in two important ways: the battery and the motor. Powered by the batteries, electric bike motors provide pedal assistance, meaning that they work with you to deliver increased power and speed with your pedaling. They differ in this way from, say, a motorcycle, which is powered solely by the throttle and does not require an input of physical exertion.

The Battery

Strapped to the down tube of a bicycle’s frame, the battery is the main reason e-bikes are much heavier than traditional bicycles. They are generally easy to tell apart from other bikes because of this battery bank. The battery may also include a power button and an LED screen to show the battery’s charge. The battery is responsible for generating power for the bike, and its capacity will limit how fast you can accelerate and how long you can ride. 

Conveniently, electric bike batteries can be recharged with standard electric outlets, and most e-bike batteries last between thirty and seventy miles on a single charge. Unless you are a marathon cyclist, this will be enough capacity to get you through a day’s ride. Keep in mind that most e-bikes do not recharge the battery as you pedal or coast down a hill.

Photo by KBO Bike on Unsplash

The Motor

The e-bike motor is usually attached either to the back wheel’s cassette, encased in a hub, or to the chain ring where the pedal cranks are attached. The motor converts stored energy from the battery to kinetic energy and helps you turn the pedals via the crank rings. 

With an e-bike’s pedal assistance, you do not exert as much energy per cycle as with a standard bicycle. This difference can be felt most in the initial acceleration and on inclined ascents. Therefore, it makes e-bikes great for people with long commutes or tough trails. Beginners who are training their legs and lungs for harder rides also benefit enormously from e-bikes.

The Speed Sensor

One other important feature of an e-bike that you may not see is the speed sensor. Electric bikes are designed with a maximum speed to protect the user. This means that the motor will kick on, assist up to this speed, and then stop. Once you are there, you can coast at this speed and maintain it with pedal assistance, but you will not be able to achieve a higher speed unless you are going down a hill. The specific speed limit depends on the bike’s manufacturer and your state laws. But most e-bikes are limited to somewhere between twenty and thirty miles per hour.

The Benefits of an Electric Bike

Now that you know how e-bikes work by providing pedal assistance, you can better gauge if an electric bike is a good fit for your cycling interests. Even though it is counterintuitive, e-bikes can actually give you a better workout because you can ride more miles, climb steeper hills, and get over harder obstacles.

However, electric bikes are more expensive and heavier than traditional bikes, but you may find the pros outweigh the cons. There are many more factors to consider, which we already dive into in a different article. Be sure to check it out if you are asking yourself, are e-bikes worth it?

The Best Uses of an Electric Bike

Another essential consideration for cycling with an e-bike is whether you might want to ride without assistance. While it is possible to use an electric bike like a traditional bike (with the motor assistance turned off), it is not the most feasible option. Since e-bikes are bulkier and heavier due to the extra features, your ride will suffer if you try to use an e-bike without the pedal assist.

So when should you use an e-bike? There are tons of great reasons that people are turning to electric bicycles for daily use. One is commuting to work, where e-bikes give riders the opportunity to traverse longer distances in less time. A second is mountain biking. What’s more, biking in Colorado Springs is an especially good cause for trying out an electric bike.

Photo by KBO Bike on Unsplash

Biking in Colorado Springs

There are tons of beautiful and scenic trails in and near Colorado Springs. While many are accessible for hikers, longer trails are also available to cater to Colorado’s active mountain biking community. If you have ever wanted to try mountain biking, an electric bike is a great first step. 

Electric bikes provide pedal assistance so first-timers can enjoy longer trails without running out of energy. They also offer more stability since they are heavier and have a lower center of gravity than standard mountain bikes. This combination makes e-bikes ideal for beginner mountain bikers looking to explore Colorado Springs.

If this sounds like something you want to try, there are two ways you can hit the trails and enjoy a great day trip. First, e-bike rentals give you the space to experience an electric bike for yourself. You can explore nearby trails at your own pace and difficulty. Or you can ride through town and see if commuting with an e-bike is a good fit for you.

The second way to get on an electric bike is with guided e-bike tours. Join a professional guide on a tour around the Garden of the Gods Park, a stunning National Natural Landmark everyone should see. This gorgeous park has views of Pikes Peak, and the five-mile ride is perfectly suited for beginner cyclists. If you are looking to try out an electric bike, these are great opportunities to enjoy the beauty that Colorado Springs offers and better understand how e-bikes work.

Can You Mountain Bike in the Snow?

The appearance of snow on the ground often covers the dirt tracks that we live to ride during the rest of the year. The disappearing trails will move most to put their mountain bikes away for the season and pull out skis or snowboards as a replacement. What many people can often look past is the joy of mountain biking in the snow and how it brings an entirely different level of enjoyment to the sport. 

Winter mountain biking can be challenging for those who struggle with the cold. Many recent trends point towards needing a fat tire bike to go out biking in the snow. Fortunately, you don’t need to make a considerable purchase to go out riding all winter long. With the right precautions and winter biking tips, you can spend beautiful snowy and bluebird days on your bike doing what you love most. 

Photo by Tim Foster on Unsplash

Keep a good attitude

First and foremost, keep your spirits high. Of all the winter biking tips you read, keeping a smile on your face and a resilient attitude will be the most important.

Your winter ride will be slower and most likely filled with a fair number of falls and slides that will get you cold and wet. Regardless, this can be the most fun you’ll have all winter if you remember to keep smiling and focus on the positive.

Lower your tire pressure

If you’re feeling strapped for cash or want to try mountain biking in the snow without spending a huge amount of money on a fat tire bike, you can start by letting some air out of your tires. Take a look at the sidewall of your tires and find the lower number on the pressure range, then drain the tires to that level.

You’re going for more surface area and contact between your tires and the ground. One great way to do this is to lower your tire pressure and let the tires sag a bit more, and hug the ground. 

The biggest thing to look out for when flattening your tires is pinch flats. A great way to avoid this easy problem is to go tubeless. Tubeless tires are relatively new, and replacing the tube with a sealant makes getting a flat much harder. Not only is that great for lower tire pressure, it means you’re much less likely to get stranded on a snowy trail in the middle of winter!

Widen your tires

Winter mountain biking may be your next big sport, and you may feel that it’s worth it to invest. In that case, buying a fat tire bike is the best way to truly enjoy the snowy drifts that the winter months have to offer.

The wide tires on these rigs allow for more surface contact between the bike and the snow. That way, you’re able to float on deeper powder and slide less. It’s pretty much guaranteed that you’ll slide around a bit while biking in the snow, but this way, you can control it some more. 

That being said, fat-tire bikes are expensive. They aren’t totally necessary, and you can bike without them. They’re also incredibly fun to ride and shift the experience to a much easier ride. 

Photo by Tim Foster on Unsplash

Opt for flat pedals

Clip-in pedals aren’t the best option for cruising on slippery trails. You’re going to do some sliding, which means you’ll need the option of throwing a foot down for stability much more often and faster than normal. With flat pedals, you can get a foot in position quickly and keep yourself upright.

Steel-pin flat pedals allow for the extra grip that is mighty helpful in the slick and icy winter. They’ll give you plenty of traction and the ability to dismount. They also allow for a lot more space, which means the potential for bigger, warmer boots is there. Even riding at your hardest, it’s likely to result in cold extremities if you’re tackling trails in the dead of winter. 

Pay attention to trail conditions

One of the most important parts of riding in the snow is getting to know what you’re riding. True, you can go out and check the trail conditions firsthand, but you may want to save yourself some time and choose the right trail from the start. 

With winter mountain biking being one of the most popular winter activities in Colorado Springs, you’ll be able to find loads of trail information on the web. Mountain biking forums and Facebook groups will certainly have someone on them that has checked out the trail before you have. Use their experience to your advantage and look around before throwing your bike on the car and heading out. 

What you’re looking for is a beautiful snowpack that either allows easier access to the ground or a hard pack of snow. In the middle of winter, you’ll be more likely to find the latter. 

Two to three inches of powder is ideal for biking in the snow. It gives you a nice layer of snow to cruise through but allows some interaction with the ground. As it starts to warm up or the snow gets too soft, you may spend more time picking yourself up than biking. The softer the snow, the more your bike turns into a sled.

Trails that take you on a cruise and slightly hilly rides are much better than those that demand steep climbs and fast, aggressive descents. You’ll find your tires slipping as you push to climb, and the moment you hit an icy patch on the descent will be the end of your riding for the day. Choose a moderate trail that will let you stay on flatter terrain. 

Are E-Bikes Worth It?

Electric mountain bikes are taking the trail riding world by storm. These popular bikes provide incredible power and speed and allow longer rides, harder workouts, and greener commutes.

However, the high cost compared to analog bikes has many riders wondering if electric mountain bikes are really worth it.

Here are the pros and cons of electric bikes so you can decide for yourself.

Advantages of e-bikes

For Speed Lovers

The most obvious advantage of an electric mountain bike is the power that doesn’t come from your legs. Unlike analog mountain bikes, e-bikes boost your riding to give you more speed. This can reduce the time it takes to get uphill and increase your speed on the trail. If you are an adrenaline junkie or love trying tricks, this extra speed can be a game-changer. 

Explore New Trails

The other benefit of more speed is that you can go further. With less work for more range, you can enjoy a longer ride to places you couldn’t previously visit. The added power will also help you through tough sections that used to require a dismount. If you want to unlock more trails and explore new territory, an e-bike is a great way to get there.

A Sturdy Ride

The power output of the electric mountain bike is also helpful for stability and capability. With added weight from batteries and more, e-bikes are significantly heavier than standard mountain bikes. This weight is located near the bottom of the bike’s frame, creating a low center of gravity that you’ll love. With added stability, you can enjoy easier and more predictable handling from your bike. This can bring a sense of safety for newer riders, which will give you more confidence to explore and enjoy the ride.

In addition to feeling more comfortable on the bike, you can also expect to be more capable on the trail. There are certain obstacles and maneuvers that not even the best mountain bikers can manage. With an electric mountain bike, though, you can have more power to clear some of those tough technical problems. It still might be hard, but at least an e-bike can keep you on the pedals. On the other hand, the heavier the bike, the tougher sharp turns will be. However, this isn’t necessarily a downside because there are lightweight e-bikes you should check out if you want to stay flexible on the trail.

An Endurance Workout

If you are afraid that you’ll get a worse workout from an electric bike, remember that you’ll go further. Yes, if you were to do the same route and use an e-bike, you would be working out less. But that’s not a fair comparison. With an e-bike, you’ll bike further, climb higher, and go faster. The result is that you will need less strength and more endurance. This provides a different workout, one that you can mix into your current routine. Plus, if you still want that leg burn, you can always minimize the power assist from the e-bike. 

A Better Commute

One of the biggest advantages of e-bikes is how versatile they are. The bike’s assistance can make a ten-mile ride feel like five. This means that the bike commute to work you could never manage is suddenly within reach. If you’ve been looking to ditch your car for errands and local trips, an electric bike is a perfect way to do so.

Not only are they easier to park, but e-bikes take less than a dollar a day to charge. That’s substantially cheaper than gas and better for the planet, too. When you consider the cost of an e-bike, you have to factor in this amazing versatility. It is more expensive than an analog bike but so much cheaper than a car. Using an e-bike for your commute will keep you active and help save the planet.

Potential downsides of e-bikes

You may find that you enjoy the difficulty of mountain biking and the effort required to get uphill. E-bikes are a great way to minimize the uphill effort and get you to the fun parts faster. But if you love that struggle, you may not find electric mountain bikes worth it. 

There is an additional cost to going electric, both because e-bikes are more expensive upfront and because their maintenance is more expensive than analog mountain bikes. More parts mean more opportunity for something to break or get damaged on the trail. You also need to charge the bike, but these costs are very low.

If you think you might use your e-bike for commuting or enjoying longer rides, these costs are definitely worth it. The initial expense will be mitigated by what you will save on gas money, and you will get extra hours of entertainment compared to riding your old mountain bike.

The Best Ways to Test Ride

If you’re not sure if an electric mountain bike is right for you, the best thing to do is try one out in real life. Rentals and tours are great ways to accomplish this. With a day rental, you can explore on your own, visit trails you know and love, and have the opportunity to try an e-bike before you buy one.

For those of you who need a little more guidance, a tour is the perfect way to discover if an electric mountain bike is right for you. An e-bike tour allows you to learn from professionals, get advice on your technique, and build confidence in your riding ability. You’ll understand how e-bikes differ from standard mountain bikes and how to best take advantage of their power. Look no further than Colorado Springs e-bike tours for your chance to check out an e-bike while enjoying the beauty of The Springs!

So, Is It Worth It?

Whether an e-bike is worth the cost depends on your values. If you particularly enjoy the challenge of biking uphill, an e-bike might not appeal to you. For the rest of us, electric mountain bikes are exciting additions to the world of trail riding. E-bikes offer riders more speed, more power, and more adventure. Plus, people looking for an eco-friendly daily commute can certainly enjoy the investment of an e-bike. Check one out for yourself on a tour and experience the thrill of electric mountain biking!

How to Start Mountain Biking

Are you looking to add some excitement to your cycling? Mountain biking is an awesome exercise, adventure, and challenge all in one. The trail can be intimidating to beginners, but you’ve come to the right place to learn how to start mountain biking. If you know how to ride a bike, you’ve got all the fundamentals you need.

In this beginner’s guide to mountain biking, we’ve got everything else you should know before hitting the trail.

Photo by Joanne Reed from Pexels

What is Mountain Biking?

First and foremost, you should know some fundamental differences between road cycling and mountain biking. This is because mountain biking involves biking over uneven terrain, like rocks and tree roots, creating a need for a very different type of bike than those used for road cycling.

Unlike road bikes, mountain bikes have wider tires with improved grip and suspension frames to provide a smoother ride over bumpy terrain. You can imagine how a rigid frame wouldn’t fare well on a mountain biking trail, so the suspension is key to a comfortable ride. Mountain biking frames also allow riders to sit taller to have better visibility of the trail. 

Finally, it’s best to use platform pedals on a mountain bike, which means you don’t clip in. Most important for beginners, you should be prepared to fall or jump off the bike at any time when going down a trail for the first time as you can pick up speed incredibly fast. Strapping into your pedals can actually be more dangerous on a mountain bike.

Gear Needed for Mountain Biking

The Essentials

Obviously, you’ll need a mountain bike. As noted above, you should make sure your bike has partial or full suspension for the most comfortable ride. Some mountain bikers use rigid bikes, as they use less energy for climbing the mountain. However, this beginner’s guide to mountain biking recommends at least partial suspension to absorb some of those bumps on the trail. This will keep you safer and more comfortable as you get used to the difference between road cycling and mountain biking.

The other essential items for getting started mountain biking are protective equipment. As a beginner, you should expect to fall, and protecting yourself will save you from a rough descent that ends early and in pain. A helmet is an absolute must while mountain biking, as there are plenty of hazards, you could hit your head on if you fall. Unlike road biking, mountain biking helmets are full face, with visors to protect your eyes from tree branches and debris. Elbow and knee pads are other important pieces of gear to keep you safe on the trail.

What to Wear on a Mountain Biking Trail

Dress according to the weather to stay comfortable and safe on the trail. It’s best to wear a dry-fit shirt that will wick away moisture and keep you dry. Mountain biking shorts with chamois padding (aka butt pads) are key for absorbing some bumps and reducing saddle fatigue.

Similarly, gloves are essential for keeping your hands and wrists comfortable all day long. Mountain biking with bare hands can cause blisters, and when you fall, you could cut yourself. Gloves will protect your palms and offer a little padding and warmth. 

Finally, a comfortable pair of light boots are the best alternative to mountain biking shoes if you’re learning how to start mountain biking. You want something with a stiff sole for stronger pedaling, breathable material to keep your feet dry, and a grippy textured bottom for good contact with the pedals. Another alternative is skate shoes, though these tend to be less breathable. High-rise shoes are also helpful to protect your feet and ankles in the event of a fall.

Packing Smart for a Mountain Biking Trip

There are many things you should pack on a mountain biking trip, and this is where there is a big difference between mountain bike rentals vs tours for beginners. When you rent a bike, you’ll just get a mountain bike and a helmet. On a mountain biking tour for beginners, you’ll have a guide who will pack all the essential gear and help ensure you have a great day.

The most important bit of gear is a map! If you’re heading out without a guide, please don’t forget a hard copy of your directions. It’s important to not rely on electronics on the trail: there likely won’t be cell service, your battery could die on an unexpectedly long day, or a hard fall could break your phone. Know the trail and the day’s plan before heading out, and always bring emergency gear in case you get lost. 

Next, a small first aid kit is essential for a beginner mountain biking trip since we all fall when we’re learning. As far as getting your bike back in shape after a crash, there are a few things you’ll need. You should always carry a spare tube or two and a bike pump. Unlike biking on the road, potential tire busters are all around on a mountain biking trail. Knowing how to replace a tire and having the gear you need will keep you prepared and safe on the trail.

A bike multi-tool is another must, especially for longer rides. Even with suspension frames, mountain biking is a bumpy ride, and it’s normal to need to make small adjustments or fixes over the course of the day. A bike multi-tool with the right size hex wrenches for your bike will make a huge difference in your trip’s success.

Finally, when you pack food and water for your day on the trail, go ahead and pack extra. It’s easy to get a little lost or delayed due to a mechanical issue. Expect a mountain biking trip to last longer than an equivalent road cycling trip, and pack accordingly. If you have one, a hydration pack is a great way to make sure you’ve got enough water for a long day. We promise: it’s worth the extra weight to have the energy and hydration needed to finish strong.

Photo by Chris Henry on Unsplash

Mountain Biking Tips and Techniques

Get a guide

Finding a tour that specifically offers mountain biking for beginners is a great first step. You’ll get in-person professional advice on how to start mountain biking, and you’ll start down an easier trail that is suitable for beginners.

Stretch Well and Don’t Tense Up

When going over obstacles on the trail, it’s important to stay loose and let the bike ride free. Hover your butt over the seat, so you don’t feel every bump, and keep your elbows high and your knees out so you can go with the flow.

Stay Balanced 

A big difference between road and mountain biking is the need to shift your weight around to stay on the bike. On a flat road, you can pretty much sit back and relax. On a mountain bike, you need to make constant small adjustments – side to side and front to back – to maintain your center of gravity and not tip over. It’s sort of like riding a bull, hopefully with less bucking.

Keep a Steady Pace

One thing that will help you manage rough terrain is maintaining an even speed with your brakes and gears. Big obstacles are frightening, and it makes sense that you’ll want to slam on the brakes sometimes. But that’s a good way to go over the handlebars (via the front brakes) or fishtail and skid out (on the back brake). 

Gentle use of the brakes will help you keep an even speed and give your bike the momentum it needs to get over bumps without too much work on your part. You can also move between gears in response to terrain changes that you see down the line. Paying attention and shifting early will make your life easier and help you keep your momentum. 

Chin Up, Eyes Down

Paying attention while on the trail is key. Road cycling offers consistent, smooth terrain, and you have time to look around, enjoy the scenery, and even change the song on your phone. As a beginner mountain biker, you need to stay vigilant by watching the trail in front of you. Look past obstacles and focus your eyes on where you want the bike to go. This will help you naturally bike around danger without needing to think too much about it. 

Proper biking posture will also keep you focused and safe. Mountain bike frames keep riders in a more upward stance for a reason. You want to keep your head up, looking down the trail at future terrain. This will give you time to prepare and react to potential obstacles. Just like driving, focus your attention a few seconds down the trail and use both your central and peripheral vision. This way, you can see the whole trail, including problem areas and safer alternate routes.

Have Fun!

Now that you know what to wear and pack and how to start mountain biking, you’re ready for your first trail experience. We hope you are feeling confident and excited to explore this rugged alternative to road biking. Thanks for checking out this beginner’s guide to mountain biking.

Have a safe and amazing time on a mountain biking for beginners guided tour!

Should I Book a Mountain Bike Tour or Rent a Mountain Bike?

Headed out to Colorado Springs for a family vacation? Or are you traveling solo and looking to pack as much outdoor activity into your trip as possible? Perhaps you’re a nature lover and want to spend some time leisurely exploring the Garden of the Gods, Red Rock Canyon, or Ute Valley Springs. No matter where you fall in these categories, mountain biking is a fantastic way to make the most of your time in world-renowned Colorado Springs! 

Now, your adventure boils down to two options:

A mountain biking tour in Colorado Springs

Or, 

A mountain bike rental in Colorado Springs 

On a bike tour, you’ll have various trails to choose from and get to do your exploring with a knowledgeable guide. On the other hand, if you rent a bike, you’ll have free reign over your trip length and can hit the trail without a guide. 

At Broadmoor Outfitters, you’ve got both options! The main points to consider when deciding are skill level, budget, and interests. This article will help you decide which route to choose so your mountain biking in adventure in Colorado Springs is a wonderful experience.

So, let’s dive into what to consider when deciding on a mountain bike tour vs. mountain bike rental.

Skill Level

For people who can ride a bike but aren’t super skilled at navigating curves and rocks, a mountain bike tour in Colorado Springs, CO is definitely the way to go. 

Did a young family member recently ditch their training wheels? Our bike tour is perfect for families with children. Our tour guides are happy to speak with you about your comfort on a bicycle in order to fine-tune the tour to suit everyone’s unique needs. Your guide will also factor in how long you want to ride, and they’ll be able to navigate you back to “base” easily if anyone decides they’re done with the ride early.

Photo by Darcy Lawrey from Pexels

For athletic or even semi-athletic folks who are looking to pack in as much scenery as possible or can comfortably work up a sweat, a mountain bike rental might be the way to go. 

The rental option can also be ideal for families who have children that are close in age and riding level. It can be a fun and unique bonding experience for families to decide which trails to explore, navigate the trails together, and even choose when to take breaks for water and snacks.

Cost

Mountain biking in Colorado Springs is something anyone can enjoy on any budget. No matter how much you’re able to spend, there’s an experience for you. Here are some items to keep in mind as you consider your budget.

 How much time do you want to spend mountain biking? If it’s just one item on a long list of adventures you’re preparing to go on at Broadmoor Outfitters, you should go with a mountain bike tour.

Image by Fabricio Macedo FGMsp from Pixabay

Seeing as you’ll have lots to do and only want to spend a few hours on a bike, a guided tour is a cost-effective way to optimize your time. You pay for a few hours of riding versus renting a bike for an entire day when you plan to use it only for a short time. Your guide will help you make the most out of your trip. Then, you’ll have plenty of time left in the day for other activities. 

If mountain biking is your thing and you want to dedicate a day – or even more – to biking, then consider mountain bike rentals in Colorado Springs, CO. When renting, you’ll have a whole day or more to ride your bike to multiple areas of your choosing. You won’t pay for a guide, and you’ll have total freedom to make it an epic and unforgettable ride.

Interests

What do you want out of your trip and, specifically, this mountain bike ride?

If the purpose of your trip is to spend some solo time in nature, and you enjoy looking at trail maps and selecting your route, you’ll enjoy mountain bike rentals in Colorado Springs, CO. Just make sure you’re comfortable with navigating the area and, of course, follow all safety protocols. 


If your goal is to relax and let someone else do the planning, consider mountain bike tours in Colorado Springs, CO. We’ll take all the fuss out of figuring out which trail is perfect for you and your family. That way, all you’ll have to do is show up and enjoy the ride!

Image by Fabricio Macedo FGMsp from Pixabay

Bringing it Together 

Mountain Bike Tour in Colorado Springs

Pros

  • Efficient method to see the beautiful sights.
  • Stress-free! It’s already planned out.
  • There’s a guide with you – you won’t get lost, and you’ll have someone who knows the area in case of an emergency.
  • The trail is well-maintained. 

Cons:

  • The tour may not cover the area you want to see. 
  • Can only ride for a few hours or the duration of the tour

Mountain Bike Rental in Colorado Springs

Pros: 

  • Total control over where to ride. 
  • You can rent the bike for a whole day or more. 
  • Great for people looking to ride for exercise. 

Cons: 

  • It may be difficult to transport bike(s) depending on where you plan to ride. 
  • The trail may not be maintained/easily navigable. 

Still not sure? Don’t worry; you can’t choose wrong! The main characteristic that both mountain bike tours and mountain bike rentals have in common is that they’re a great way to experience nature and make memories that’ll last a lifetime. Have any questions before making your decision? Feel free to contact us and we’ll help you pick the perfect activity for your trip.