If you are excited about the coming of spring, you’ll surely want to know how to ring in the season. One great way is to get out and enjoy the blooming Colorado wildflowers. There are so many amazing colors that you can find on the side of hiking trails near Colorado Springs. We are going to go over some of Colorado’s most common wildflowers, what they look like, and where to find them. Wildflower identification can be difficult, but it makes for a great pastime as you enjoy the many hiking trails near Colorado Springs.
Colorado Blue Columbine
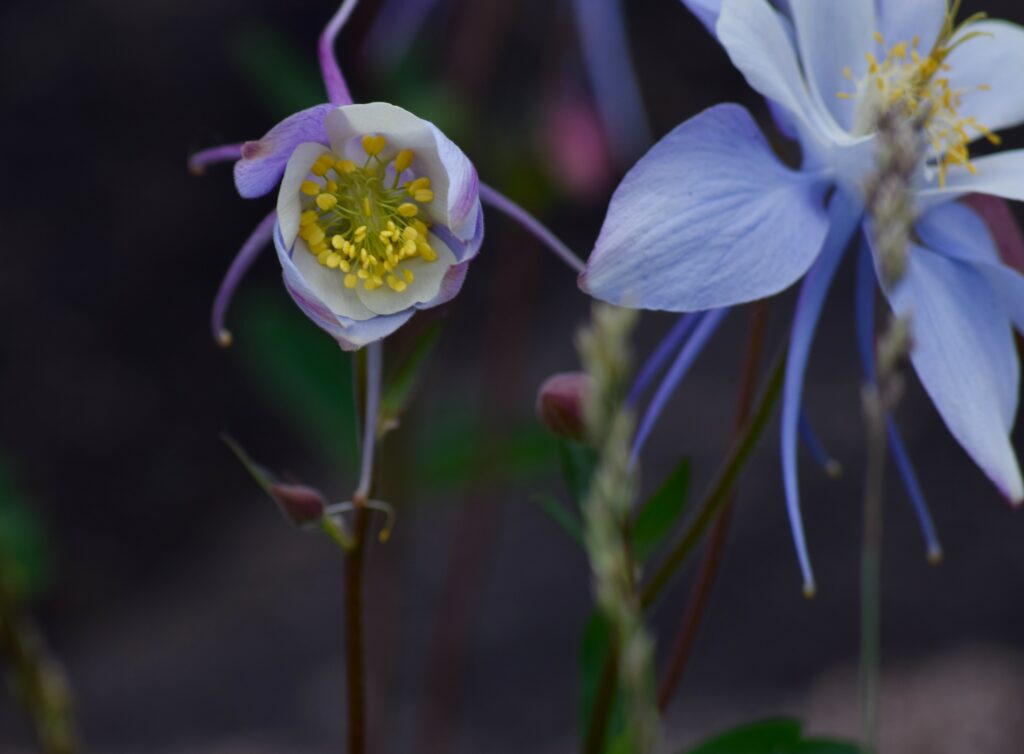
We have to start with the Colorado Blue Columbine. This wildflower is ubiquitous around the state, probably why it is the official state flower of Colorado. You may also have heard it called the Rocky Mountain Columbine for this reason. The name ‘blue’ can also be a misnomer, however, as the flowers turn to all white as the plant ages.
You can identify the Colorado Columbine by its star shape. It has five smaller white petals inside and five blue pointed petals underneath that give it that iconic overall star outline. It has a yellow center and can be found in alpine, subalpine, and wooded areas all over the state. Once you have more details on wildflower identification, you can hit the road in search of it all summer long. The best places to head would be Garden of the Gods Park, North Cheyenne Cañon Park, Cheyenne Mountain State Park, or Rocky Mountain National Park.
Bluebells
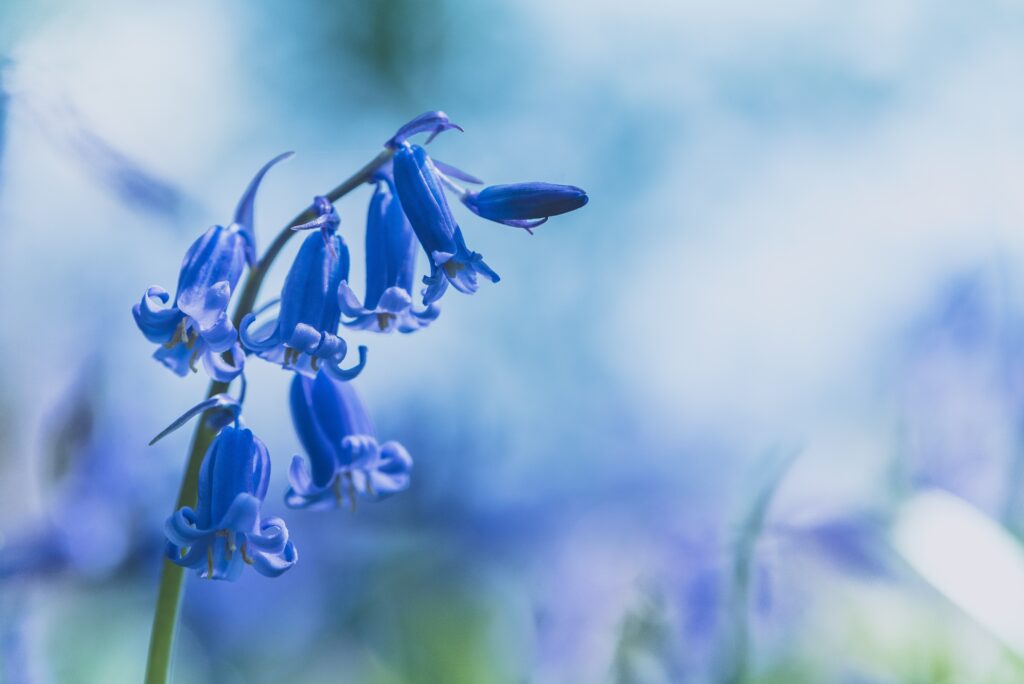
Continuing with blue wildflowers, the Bluebell is a beautiful Colorado wildflower that can be found in meadows and wooded areas and around streams. They grow in large clusters around the banks of streams, particularly out west in the San Juan Mountains. Wildflower identification for these is pretty straightforward, as they look like small bells hanging down from their stems.
There are multiple variations, with some known as “Short Style” and others that are “Tall.” Bluebells tend to grow low to the ground and will often be blue, light blue, white, or pink. You can find these attractive Colorado wildflowers on a hike near Pikes Peak or within the Garden of the Gods Park. Both locations, especially Pikes Peak, are beautiful colorful places year-round, with wildflowers in the spring and fall colors in autumn. One excellent place to discover Bluebells would be a day trip to Bluebell Mesa outside of Boulder. They tend to blossom in spring and stick around through summer, making them a long-lasting option for Colorado wildflower spotting throughout a good portion of the year.
Silvery Lupine
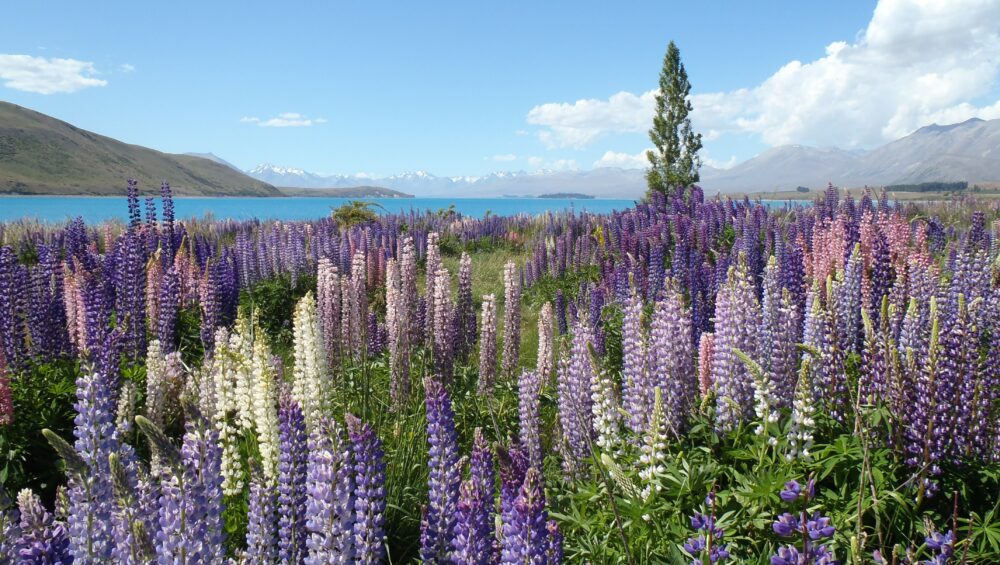
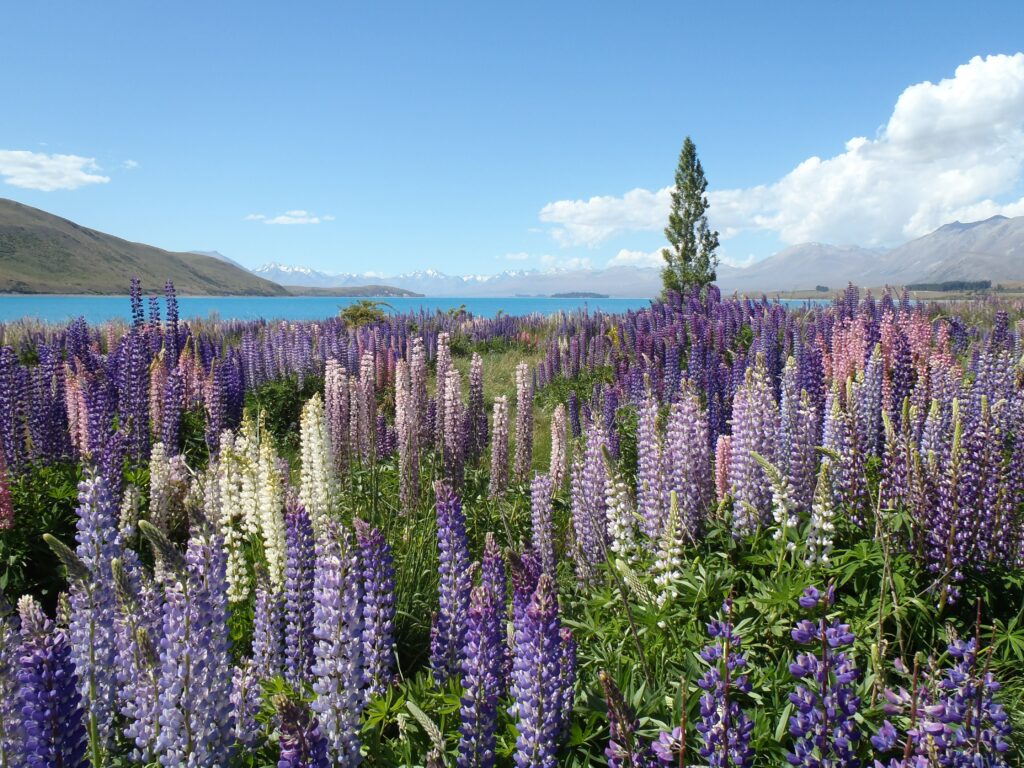
One personal favorite in this same color family is the Silvery Lupine. This Colorado wildflower is popular in open meadows and foothills, and you will be able to identify it by its tall blooms that grow out from the leafy bush. Its stems can reach up to three feet, and the compound leaves grow in sets of seven. The blooms of Silvery Lupine are beautiful and impossible to miss or misidentify.
It is possible to see the Silvery Lupine with more of a purple hue or a lighter, white tinge. They are in bloom all spring and summer long, giving you plenty of time to see them on the trail. They are very popular on the slopes of the Rockies and up north near Breckenridge.
Indian Paintbrush
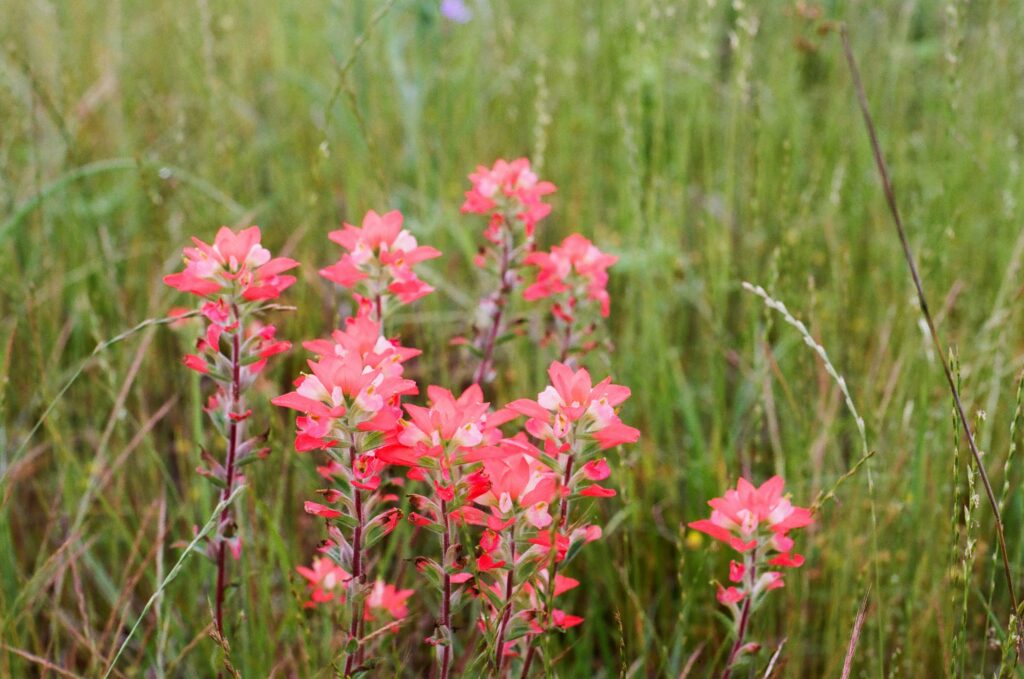
If you are looking to get into Colorado wildflowers, this is one you definitely need to know. This showy plant has unmistakable spiky clusters of vivid colors. You are most likely to see them in red or orange, and the shape makes it look like a paintbrush that has been dipped in paint. Because it creates hybrid plants with other wildflowers very easily, it is found in hundreds of different varieties and colors.
The Indian Paintbrush is best viewed in the summer, and it is easy to find across Colorado and the Western United States in general. One variety, the Desert Paintbrush, is the state flower of Wyoming. Two great places to find this Colorado wildflower are Red Rock Canyon Open Space and Pikes Peak.
Rocky Mountain Bee Plant
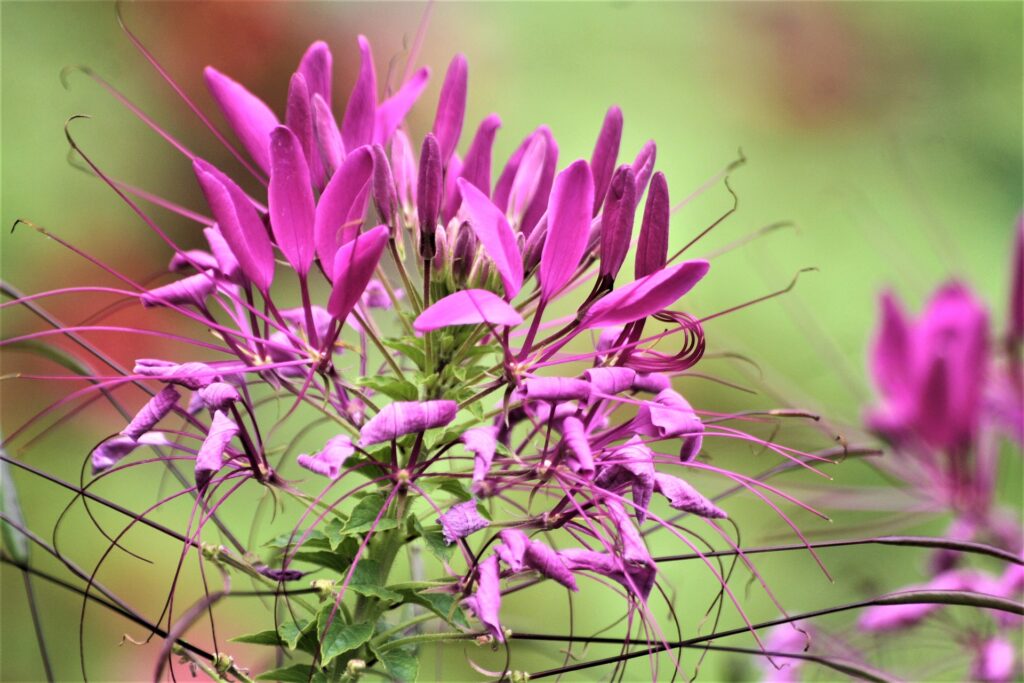
This unique Colorado wildflower is another of my favorites. It grows up to four feet tall before forming beautiful pink flower clusters. Each cluster has four flowers and six very long stamens to attract insects. The blooms can appear almost spherical depending on how they bloom. It is a popular plant among insects, including bees, hence the name. Attracting bees and many other pollinators means it helps pollinate nearby flowers, too. One downside is that it is a great attractor by having an unpleasant smell. For this reason, it is also sometimes called stinkweed.
Wildflower identification of this plant depends on how it blooms between spring and late summer. Studies have found that it is actually closely related to the Mustard plant. To find the Rocky Mountain Bee Plant, you should head to Red Rock Canyon Open Space. The plant also grows often on roadsides and other sunny, open areas.
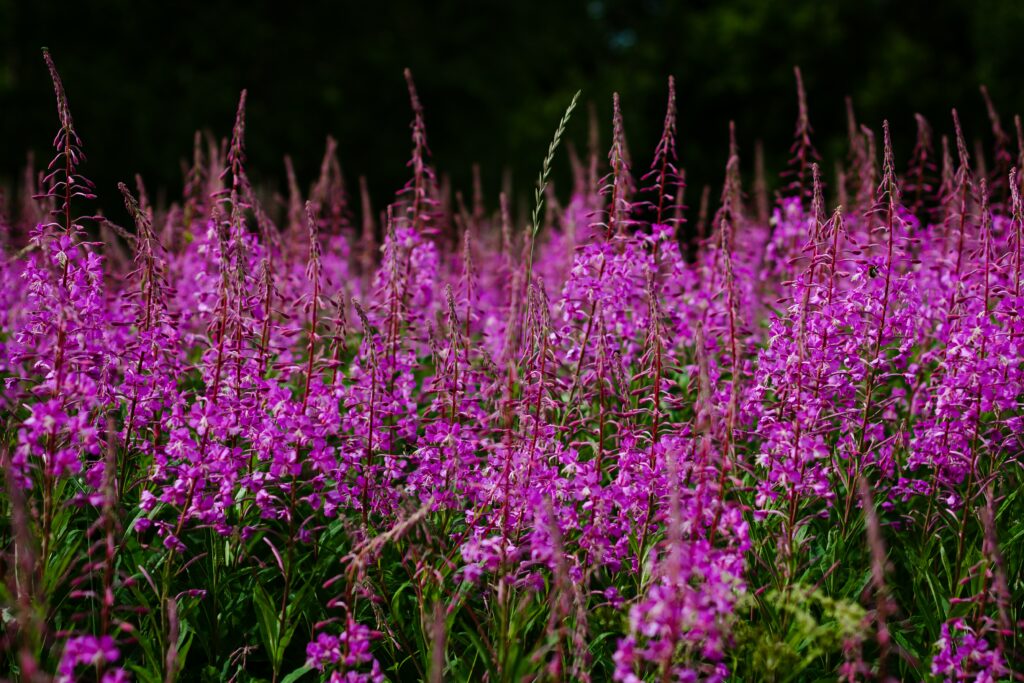
Fireweed
The Fireweed plant is a vibrant pink plant that grows up to six feet tall. This plant is most visible during summer and fall, and you can learn to identify it based on its four petals and white stamens. The plant grows easily in open spaces and is called Fireweed for its ability to grow quickly after a wildfire. It can also grow after landslides, avalanches, or other natural disasters, and its leaves were used by many native communities to make tea. Fireweed can survive in subalpine elevations, meaning that it is often spotted on hiking trails throughout the state. Some good places to find Fireweed include Indian Peaks Wilderness and Pikes Peak.
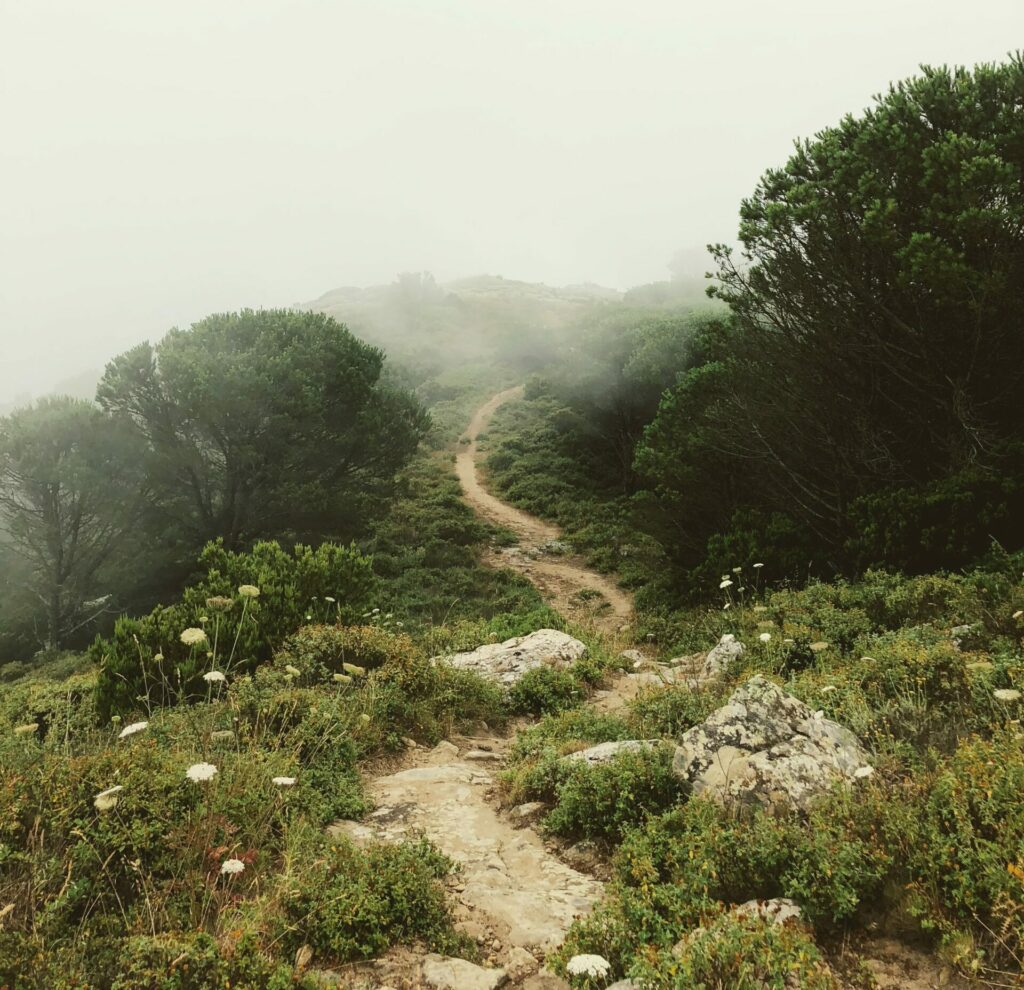
There are many great hikes to discover if you want to venture to an area where you can see wildflowers near Colorado Springs. There are even more opportunities for wildflower identification if you are willing to drive a bit. For a nearby day trip, consider surrounding areas like Rocky Mountain, San Juan Mountains, and Crested Butte, which is known as the Wildflower Capital of Colorado.