Many beginner hikers make the easy mistake of under-preparing for their journey. I have certainly heard, “If I can walk, I can hike.” But just going for walks around the neighborhood is not the best way to train for hiking. Long-distance hikes, multi-day hikes, and elevation hikes require a more focused training schedule.
If you are coming to Colorado Springs for a hiking vacation and wondering what you need to do to get ready, we’ve got you covered. We will go over all the essentials of how to train for backpacking – including cardio, strength, and flexibility training – so you can get the most out of your trip. Whether you are planning a solo adventure or scheduling a guided hike, this workout regimen will have you in tip-top shape for whatever part of the great outdoors you will conquer.
Endurance-Focused Cardio Training for Backpacking
At nearly 6,000 feet above sea level, Colorado Springs is even higher than Denver, which is commonly called the Mile High City for its 5,280-foot elevation. What this means for visiting backpackers is that you need to train for cardio even more. Depending on where you are coming from, your body will not be used to the lessened amount of oxygen in the air at this elevation.
Cardio exercises train your body to use oxygen more efficiently, which is key for hiking at elevation. This can help you prevent muscle cramps, keep you from fatiguing early, and even combat the symptoms of altitude sickness. The best way to train for this is by going on some day hikes near you and working up to higher elevations and longer mileage.
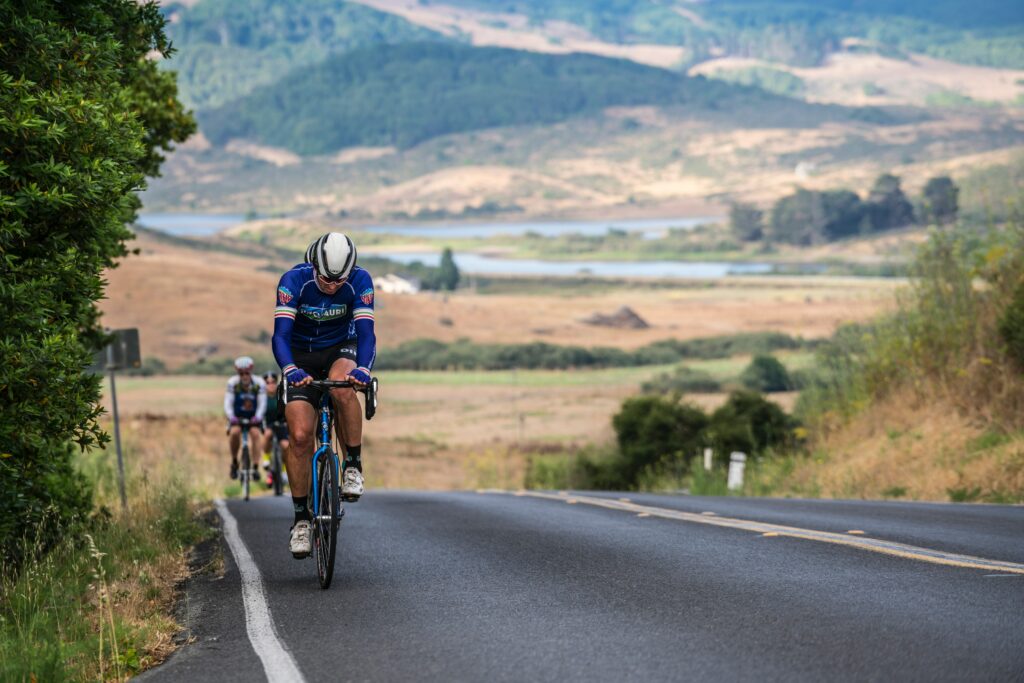
Endurance training for multi-day backpacking in Colorado Springs requires at least an hour of steady-state cardio every other day. Steady-state cardio involves breaking a sweat and maintaining the exercise with minimal rest. You can choose activities that suit you best while prioritizing low-impact exercise. Endurance training in the form of rowing, swimming, or biking will help protect your joints from overuse while giving your lungs the workout they need.
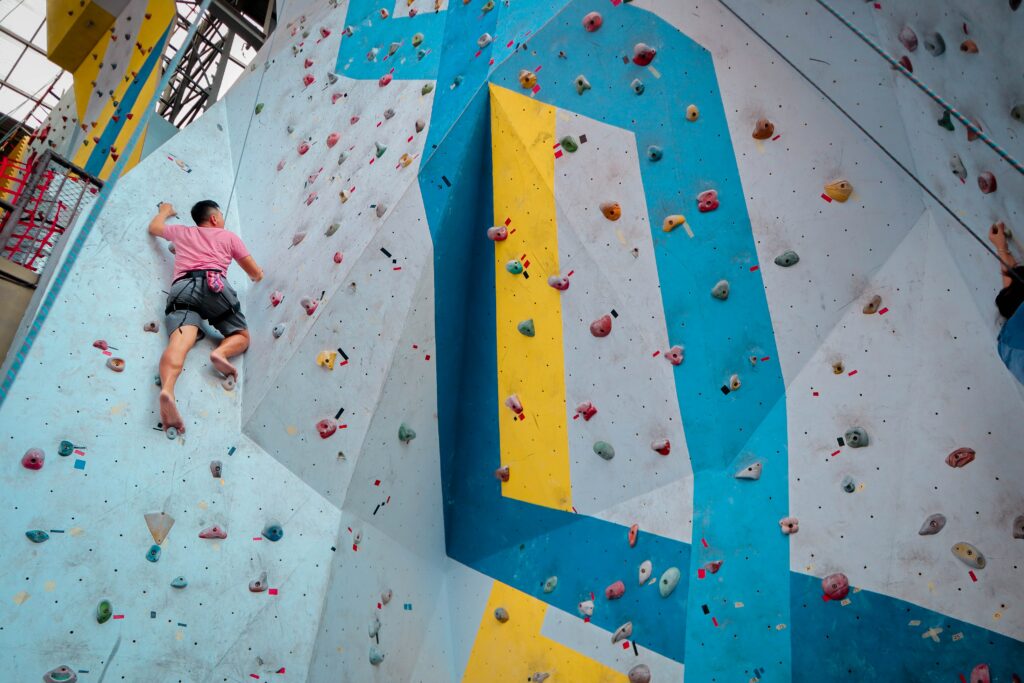
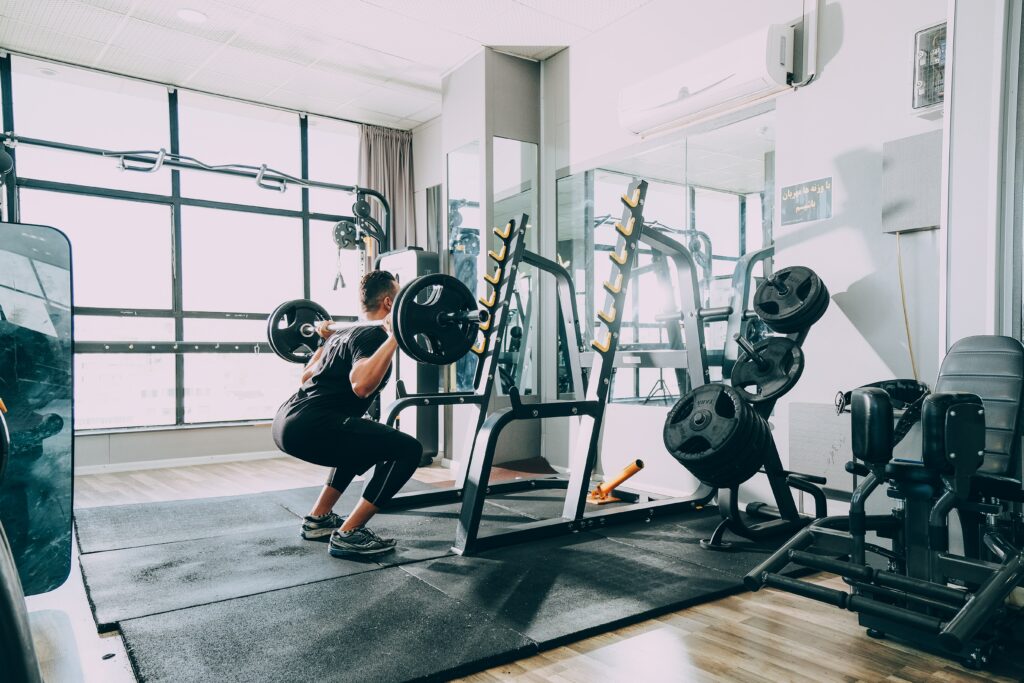
Strength Training for Multi-Day Hikes
Many people do not consider strength training a key part of preparing for backpacking, but it is. If your muscles are not strong enough for the pack you are carrying or the steep incline you are ascending, you will surely get burnt out more quickly. Weight training is a great way to build muscle endurance for multi-day backpacking trips.
There are two main groups to consider for strength training. The first is your legs for hiking, and the second is your core and upper body for carrying your backpack. Great lower body exercises will focus on stability for your ankles, knees, and hips. You can strengthen your feet with arch workouts like towel scrunches, your lower legs with heel raises, and your upper legs with squats and lunges. Don’t forget to include hip exercises like hip thrusts and deadlifts to build stability in your lower core. You can find more exercises in our guide on how to train to hike a Colorado Fourteener.

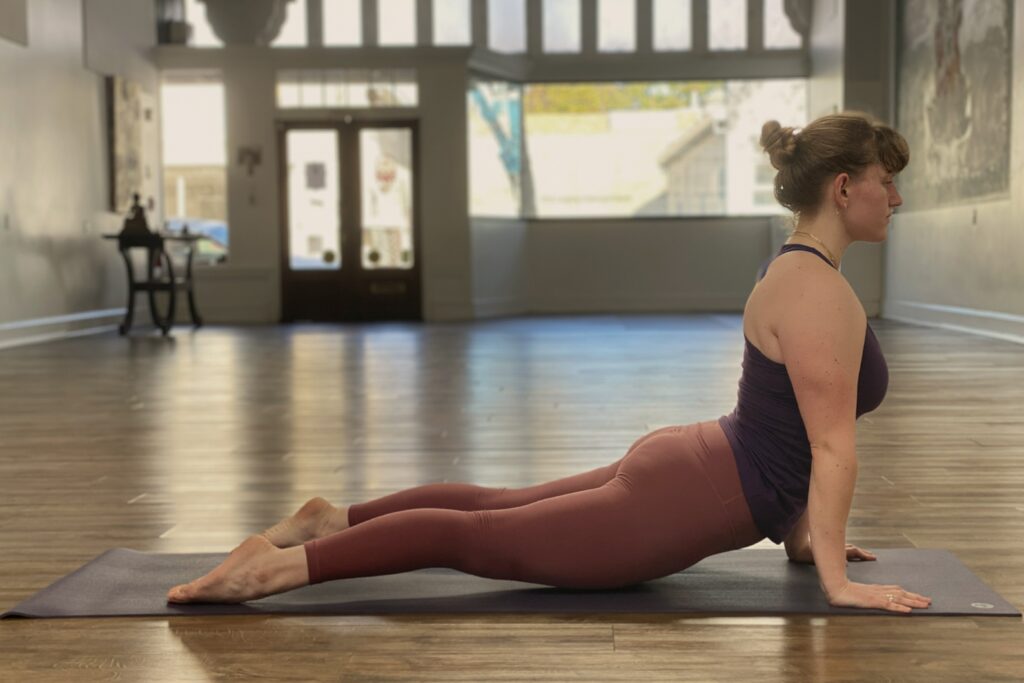
Core Exercises for Pack Training
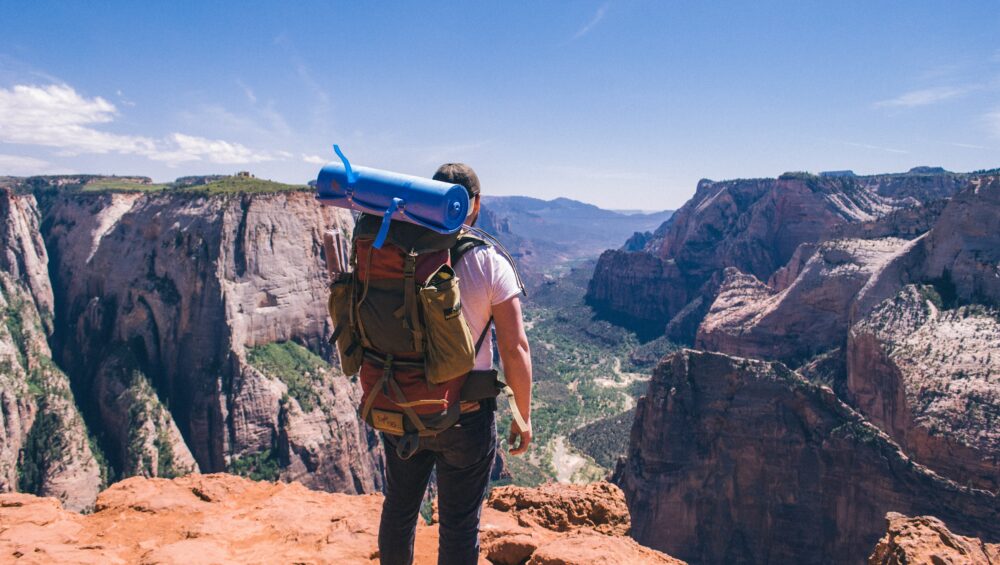
The second area to focus on for strength training is the upper body. When you go on your first multi-day backpacking trip, you will be surprised at the heft of your pack. Backpackers have to carry a lot of weight, including shelter, food, supplies, and more. Luckily, the pack will get lighter as you eat through your supplies.
To properly prepare for a backpacking journey, you should strengthen your core, shoulders, neck, and back muscles. Lower back exercises are important for preventing injury when carrying heavy loads. You can lie flat on your stomach and raise one arm and the opposite leg. Repeat this exercise from a tabletop position, resting on your hands and knees. Core strengthening like ab workouts and planks are also essential for building upper body stability.
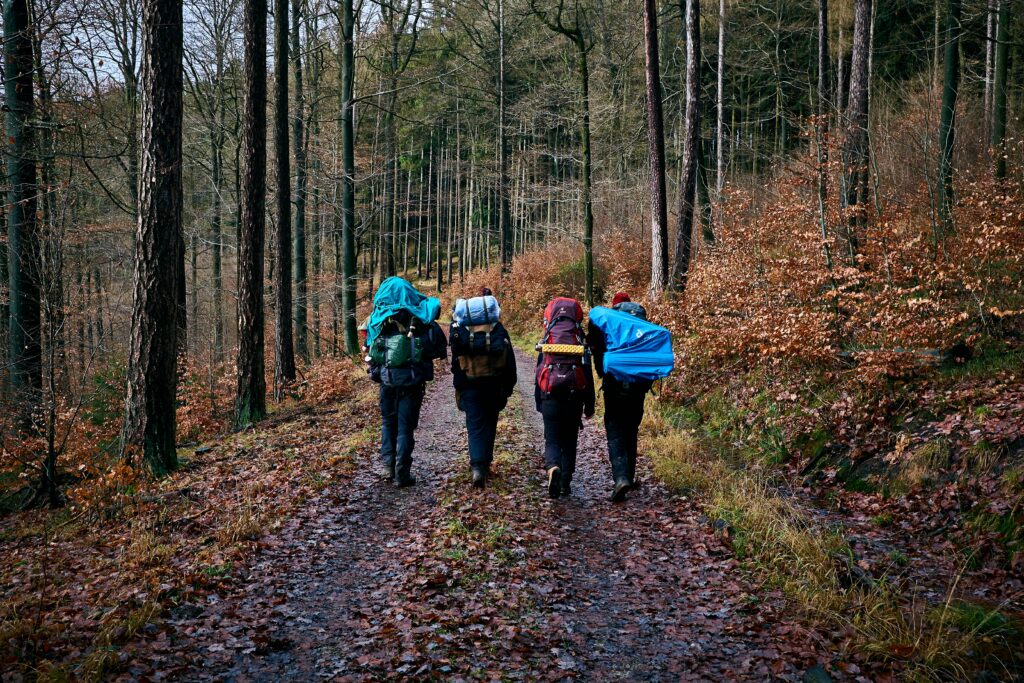
The best way to prepare to carry a pack is, simply, to carry one. Pack training involves venturing out on your training hikes with a pack stuffed full of weight. Depending on the length of your multi-day backpacking trip, your pack could be twenty to forty pounds. Keep in mind that it is not recommended to carry a pack of more than twenty percent of your body weight. With this in mind, you can load your backpack with some heavy household items and practice hiking with it. If you are training by yourself, be sure to follow the best practices for staying safe when hiking alone.
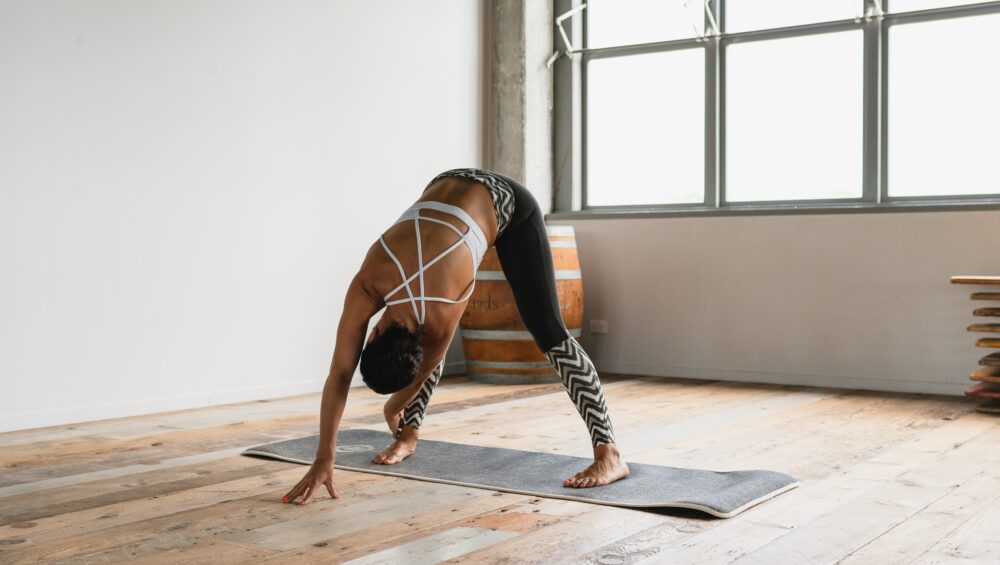
Flexibility Training for Hiking
The final, and arguably most important, part of backpacking training is stretching. While you should alternate cardio and strength training days, you should stretch daily after all of your workouts. You should also begin your workouts with some dynamic stretches but only after you have warmed up for five to ten minutes.
When working on flexibility for backpacking, it is important to focus on the legs and back. You will want to ensure that your legs stay as flexible as possible through miles and miles of hiking. Flexibility training is important for preventing joint injury. This is because when your muscles are overly tight, they pull on your joints and cause stress. Keeping your legs loose will protect your knees and ankles from feeling worn out on your hike.
In addition to the basic toe touches, you will want to stretch your calves, hamstrings, quads, IT bands, and hip flexors. Each stretch should last twenty seconds with a continual effort to reach your limit (without injuring yourself). If you have any previous injuries, be sure to give those areas some extra attention. Any foot pain or arch tightness will require you to stretch and strengthen in order to prepare for the innumerable steps you will take on your backpacking trip.
Final Thoughts
Our beautiful state of Colorful Colorado is one of the most scenic places to take a multi-day backpacking trip. Every beginner can learn how to train for hiking and prepare themselves for this adventure of a lifetime. With a couple of months of dedicated training, you will be ready to take on the elevation and mileage of a multi-day hike in Colorado. Happy hiking!