Cold Weather Injuries and Treatments

Social media and winter photography can make the winter seem like a wonderland filled with nothing but adventure and fun. The other side of the winter can be a dangerous trek for anyone who might not properly manage cold injuries. Knowing the signs of hypothermia and how to treat it are a small portion of the necessary skills to have under your belt before heading out into a snowy landscape. 

By the end of this, you may ask, “is it safe to hike in the winter?

We want to assure you that hiking in winter is a safe thing to do, so long as you come ready for the cold. Without this preparation, many cold weather injuries can get those who come ill-prepared. To ensure you don’t end up in a dangerous situation, here is a list of the most common cold weather injuries and how to treat them. 
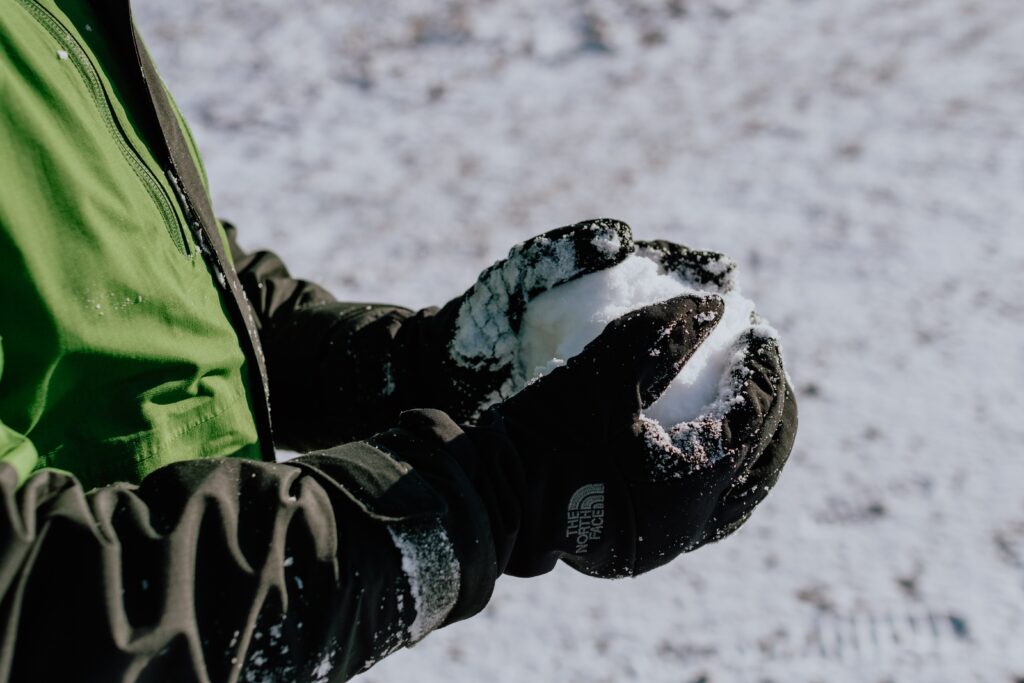
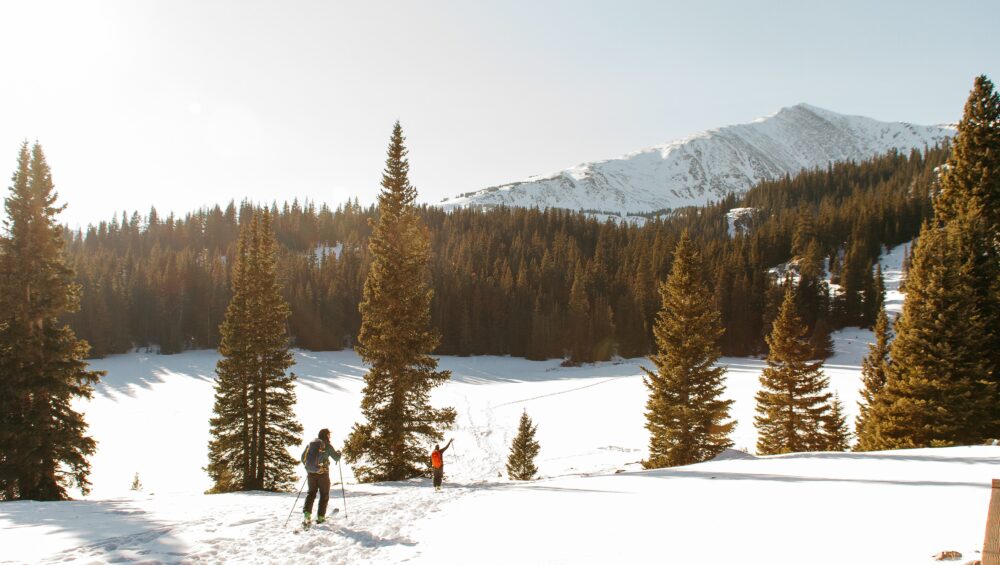
Photo by jasper guy on Unsplash

Hypothermia

The most commonly-known cold injury is likely to be hypothermia. We talk about it as a precautionary tale to anyone going out in the cold, but very few people are fully aware of what it is and what to do about it. 

The idea of hypothermia is simple. The prefix ‘hypo’ means less than normal or below. Thermia relates to temperature, and when applied to us, it’s our body temperature. Hypothermia then is having a body temperature that is lower than normal. This starts to happen in prolonged exposure to cold environments. Your body can’t make enough heat to make up for the heat loss, resulting in a decrease in overall temperature.

Once your body temperature reaches 95 degrees or below, you are considered hypothermic. Measures to prevent reaching this temperature should be taken beforehand, but once it’s reached, the job is focused on warming someone back up and preventing further heat loss. 

There are three main stages that hypothermia can be classified into. The first sign of hypothermia is what you can expect. There will be shivering and reduced circulation. In the second stage, there will be a general slowness that the body takes on. There is a slow pulse, slow movement, a state of confusion, and delayed thinking processes. The final stage is where one may lose consciousness and become unresponsive. 

Becoming hypothermic can threaten one to stay inside all winter long. Still, there are plenty of basic treatments that will allow you to travel around in the winter without ever feeling threatened. 

How to treat hypothermia:

  • Slowly rewarm with skin to skin contact
  • Learn how to make a hypo-wrap (like a warm person-burrito)
  • Take preventative measures to stay dry and warm
  • Use movement to warm up
  • Get to safety

Frostbite

Another one of the most common cold weather injuries is frostbite. This specific injury can range from frostnip to third-degree frostbite and limb loss. While most frostbite cases will fall closer to the frostnip side of things, it’s important to prevent any injuries before they happen. 

Frostbite can happen in surprisingly warm conditions. If it’s raining and your skin is exposed, it’s easy to grab a minor case of frostnip or frostbite in temperatures up to 50 degrees. Unless you’re drinking it, all water becomes your enemy at such low temperatures. Any tissue that reaches 28 to 30 degrees Fahrenheit will take on the symptoms of frostbite, but they can be observed earlier on as well. 

The first symptoms to look out for are numbness, tingling, and pain when rewarming the area. It’s common to get blisters when experiencing second-degree frostbite as well as a wooden or waxy feeling. Third-degree is a much more extreme scenario that often leads to loss of digits. 

Like hypothermia, the most important part of treating frostbite is preventing it. Wearing warm and dry gloves, scarves, and hats that cover the more commonly-exposed areas of the body is the best way to stop yourself from experiencing this injury. Bringing multiple sets on a long trip will help ensure that you stay dry and can switch out when necessary. 

After a cold weather injury like frostbite, you will likely have issues with that body part for the rest of your life. Because of this, we must repeat that prevention is the absolute best way to “treat” any of these injuries. 

How to treat frostbite:

  • Rewarm the area with skin to skin contact
  • Only thaw the area if there is no longer a risk of it re-freezing
  • Do not use excessive heat to rewarm
  • Keep all exposed skin covered and dry
  • Seek medical attention

Chilblains

For anyone that spends long periods in the wilderness, chilblains may be all-too-familiar. It may be a foreign concept for most, but it is still a risk. 

Chilblains are spots on the skin that result from extended periods of time with moisture and lower, non-freezing temperatures. The skin will develop small spots that are itchy, swollen, tender, and often painful. 

One of the best ways to diagnose this injury is rewarming and observing. While many of the symptoms are similar to frostnip or low-level frostbite, these symptoms aren’t resolved when rewarmed. 

The more often your skin develops Chilblains, the more likely it will happen in the future. 

How to treat Chilblains:

  • Rewarm the area and keep it dry
  • Prevention measures such as keeping dry and warm
Trench Foot

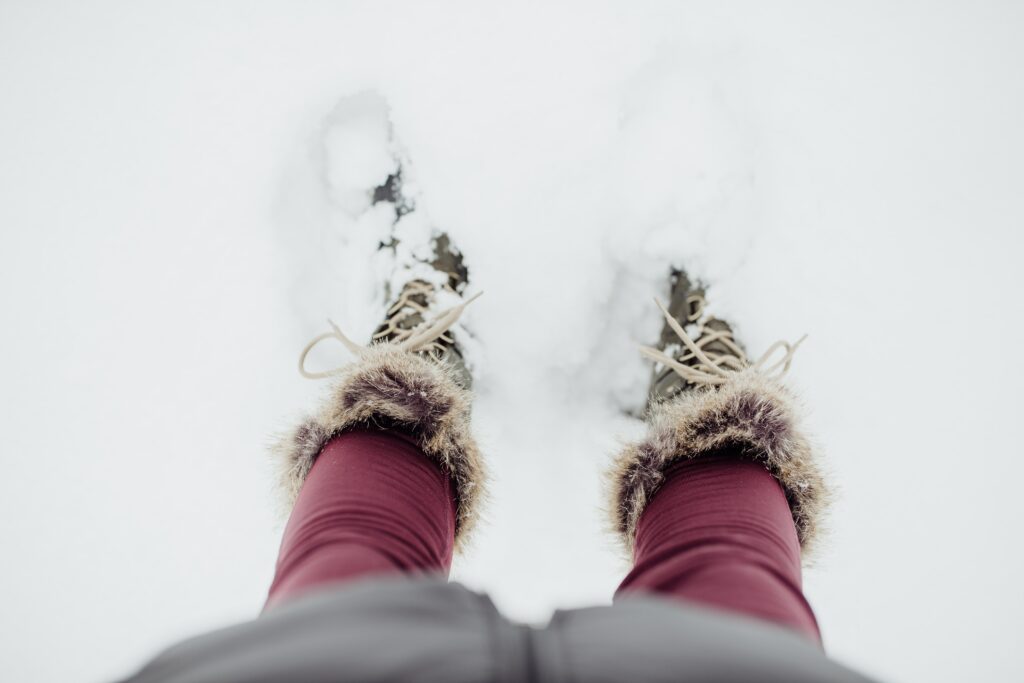
The final cold weather injury on our list is trench foot. This happens when feet are wet and cold for an extended period of time. They start to look like old raisins, full of deep wrinkles and crevasses that will be very painful. 

This can happen in the field for a variety of reasons. Anyone who gets their feet wet in the snow and fails to get dry quickly may experience low levels of trench foot. If it goes on all day, this can be a serious injury that isn’t comfortable or fun to even look at. 

How to treat trench foot:

  • Dry the feet and apply baby powder
  • Change socks often
  • Keep the feet clean
  • Stop hiking and go to an area to rest
Winter Sports to Try in the New Year

With a brand new year and a ground blanketed with snow, there’s no better time to get outside and try out some new winter sports. Staying inside and making your way through the Netflix queue is an easy way to try and make the dark winter days pass, but you quickly feel the physical and mental effects. 

Getting outside in the winter is one of the best ways to stay in shape, and more importantly, stay mentally healthy. Downhill skiing and extreme winter sports can seem intimidating for anyone who isn’t accustomed to playing around in the snow.

The good news is that there are plenty of other great winter sports for beginners and experts alike to try for the first time this year. 

Start Slow

Winter Hiking and Walking

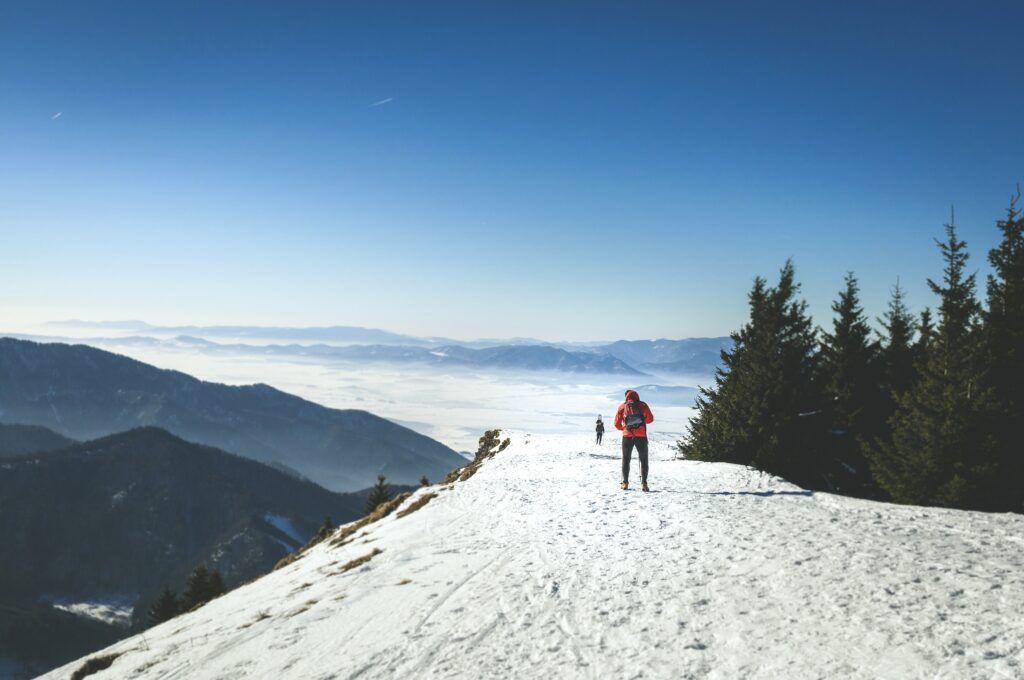
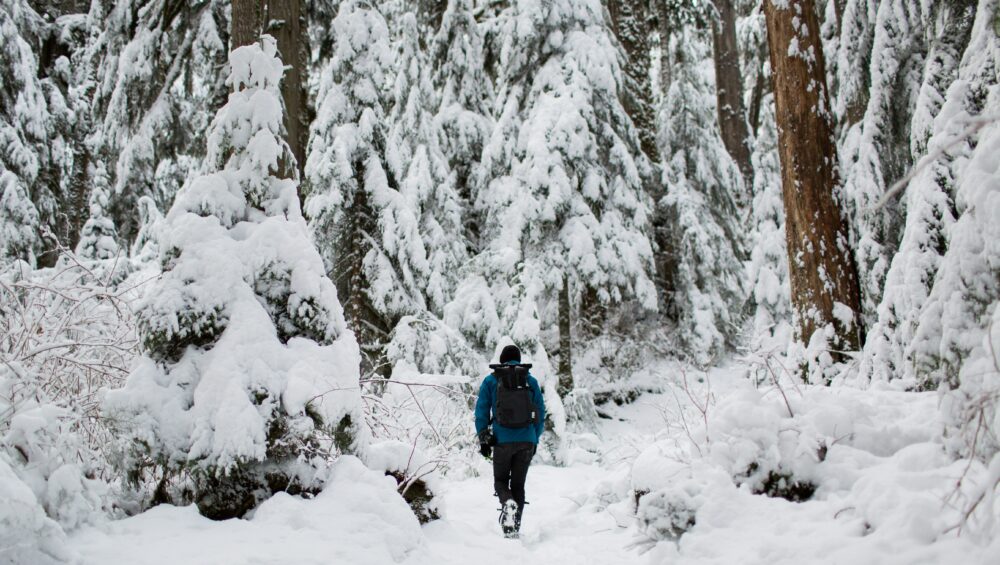
There’s no need to jump straight into bombing down the mountainside on a pair of skis or a snowboard. Simply getting outside to find a winter hike to try out is a great way to introduce yourself to a new winter snowscape. Get out on winter hikes with your friends and family, or even go solo in a well-maintained area to start. It’s great for all skill levels. 

A big part of starting new winter sports in the new year is learning to love the cold. You’ll often find yourself heating up as you start moving. Still, it’s an immense help if you can appreciate the ice-covered trees, frozen streams, and fluffy powder covering the ground—hiking and walking help get you in the right mindset for other winter sports. 

This is a great starter activity because all you need to do is learn how to dress for winter hiking, head to your closet, and straight out the door. There’s no complicated gear system or any technical skills you’ll need. Just stay in safe terrain on well-traveled trails, and you can start to challenge yourself from there. 

If you need a little extra traction as you hike, invest in traction aids like micro-spikes or yak tracks to give you more confidence on snow and ice-covered trails.

Snowshoeing

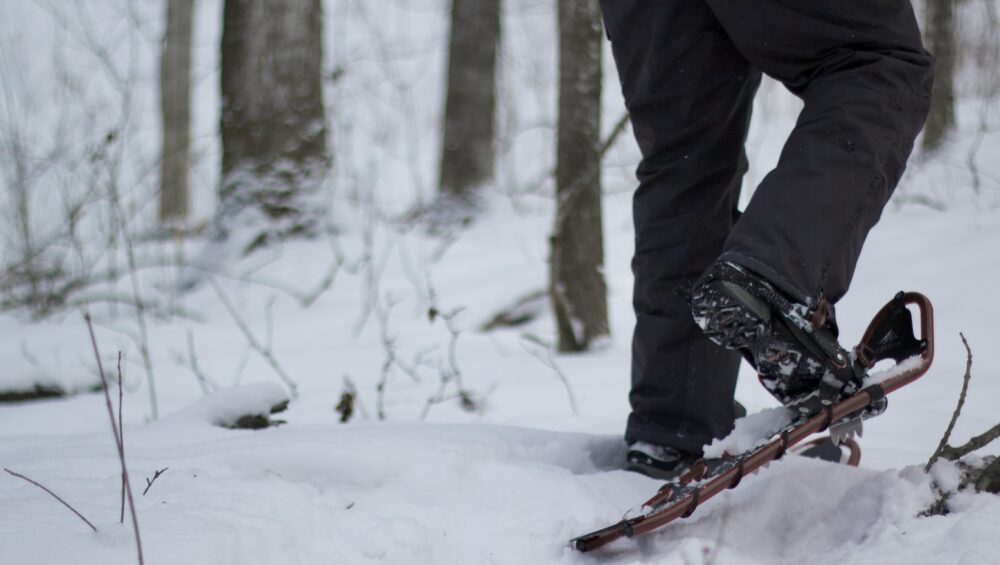
If you want to get deeper into the mountains, you may find that you start sinking in the snow. Flotation devices are common in the winter, and one of the most popular ways of staying above the snow is on a set of snowshoes.

Snowshoeing is an enjoyable choice with plenty of options of places to go. There are many winter activities in Colorado Springs, but with snowshoeing, you can explore the same trails you would in the summer but see them in a completely different light. 

Cross Country Skiing

Even if you have never been on skis before, you may find that you would love trying out cross country skiing. It can be a slow-paced sport, but it doesn’t have to be. This is one of the best winter sports for beginners because it keeps you warm and can be learned quickly. 

Once you start to feel more comfortable on classic skis, you can try out skate skiing. This is a much more active style of cross country skiing that will get you moving quickly and get a better aerobic workout than running in the summer. 

Photo by Tim Foster on Unsplash

Picking up the pace

Downhill Skiing and Snowboarding

Downhill skiing, or snowboarding, is a great winter activity that doesn’t need to be incredibly fast-paced. You can start slow, and Colorado Springs is a great place to start from. There are plenty of local areas where you can find lessons with affordable rentals. 

Fat Biking

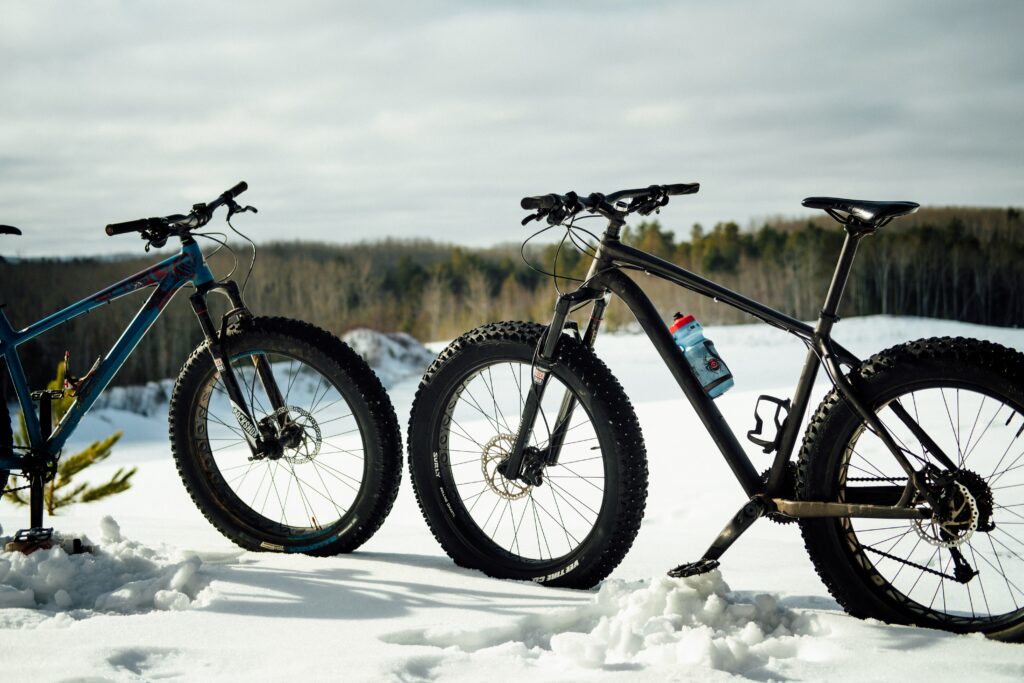
Fat biking has become widely popular as biking technology has moved forward over the last few years. These bikes are designed with huge, fat tires that help to keep you afloat on top of deeper powder. 

You can travel on typical mountain bike trails in the winter with a fat bike, but you can also set out and explore other areas that you may not be able to access on a mountain bike in the summer. Fat bikes are also available to rent out from several different gear shops, so you don’t even have to invest in buying one. 

Ice Skating

Whether it’s on a frozen rink in the city or on a high alpine mountain lake, ice skating is a classic winter sport to try out. If you’re a beginner, it will take a good level of humility to be okay with falling and still getting back up, but once you get the hang of it, it can be quite fun.

Just be careful on mountain lakes if you are a beginner. It can be challenging to recognize safe areas with thick enough ice. Only go if you have someone experienced that knows how to determine the safety of the ice. 

Dog Sledding

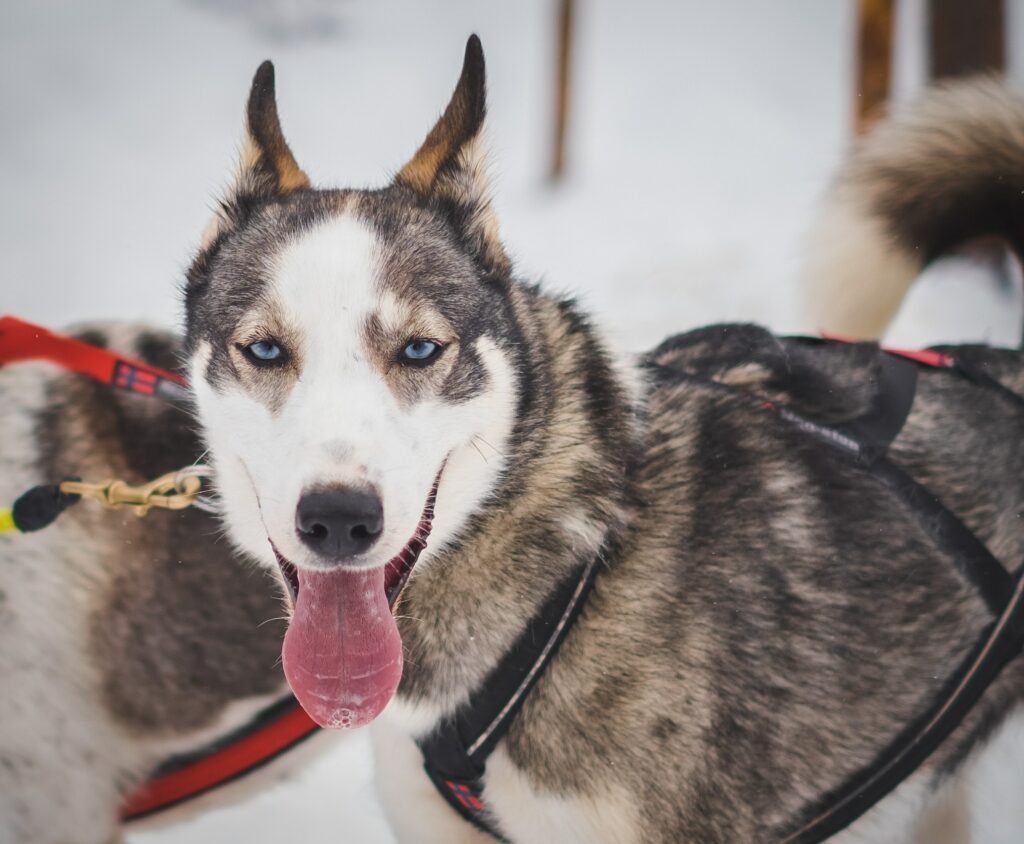
Dog sledding isn’t something that many people have access to where they live. Still, it can be an incredibly fun activity to try out if you find the right people to go with. Many professional dog sledders will offer lessons or rides at a price. If you love your furry friend as much as your human child, you’ll understand why this is such a popular winter sport. 

Skijoring

Speaking of your furry friends, skijoring is another fun winter sport to do with dogs, but it isn’t for beginners. Skijoring is a combination of dog sledding and cross country skiing. If you like skiing but hate doing all the work of moving yourself forward, your dog can help pull you forward. You do need a harness for you and your dog to get started, but if you already know how to cross country ski, and your dog loves snow, this can be a great new activity to try. 

Skijoring requires an active and enthusiastic dog who loves running and working hard in the snow. If your chihuahua hates to go out in the cold to use the bathroom, you may want to stick to classic cross country skiing this winter. 

Photo by Jérémy Stenuit on Unsplash

Full Speed Ahead

If you’re looking at this list and feel that you need more, check out the sports listed below. We would categorize these as being closer to the “extreme” (and maybe just bizarre) end of things.

  • Kite skiing
  • Ice yachting
  • Snow kayaking
  • Ice diving
  • Snow machining
  • Ice ballet

There’s something for everyone out there, as humans have become highly creative with what they can do when our world becomes blanketed in snow. 

5 Tips for Staying Warm on Any Winter Adventure

Hiking in winter can quickly turn south if you don’t head out prepared. Sometimes you feel warm and happy until you’re miles from your car and the deep, bone-crushing chill starts to settle down.

A successful winter camping trip, or any winter outdoor activities, rely upon staying warm. 

No matter the conditions, it’s possible to keep warm for a long time. You only need to know-how. Here are five time-proven tips for staying warm on any winter adventure. Happy snow days!

Get your body moving

One of the greatest fallacies of all time is that you can stay warm if you throw on the largest puffy jacket there is and sit still. The truth of the matter is that clothes don’t produce any level of heat. All they do is trap the heat your body produces.

The more you move, the more heat your body makes. 

During winter outdoor activities, your body becomes a furnace. You’re making the heat that will help to keep you warm. Plan a trip that will have your body constantly moving. You want to use all the energy you’ve stored over the holiday season and put it into productive, heat-blasting movement. 

The catch is, you must be careful with how intensely you move. Moving uphill quickly, or putting high cardio levels into your day, can soon lead to sweat. In the winter, sweat is no longer your friend; it is exactly the opposite. Getting wet will increase the speed at which your body enters hypothermia. So, keep your movement consistent, but pace yourself and stop before you start to break a sweat. 

“Be bold, start cold”

The way you dress is also incredibly important for winter hiking. It will always be tempting to start hiking in a puffy jacket and thick fleece pants.

Why not, right?

It’s cold out, so you may as well be warm. Unfortunately, this is one of the quickest paths towards making yourself drastically cold. 

Experienced hikers and winter campers like to say, “be bold, start cold.” What they mean is, if you start hiking with fewer layers, while a bit cold, you’ll quickly warm up and thank yourself for dealing with the cold for a short period. 

Starting cold will help you to manage the sweat situation. When you stop, remember that all of the heat will be quickly sucked from your body to the cold air around you. Have a jacket handy that can be tossed on as soon as you stop moving to help trap the heat. Before you get going again, throw that jacket back in your bag, and then can you start hiking again.

Eat… a lot

Every furnace needs a fuel source. The more you feed the furnace, the more heat it can produce. What we’re saying is, here is the perfect excuse to load up on as many calories as humanly possible while hiking. 

Foods with high fat and calorie counts are optimal for winter camping. Butter becomes your best friend. Extreme mountaineering trips rely on a hearty stash of butter worth every ounce that it adds to a pack. If you aren’t into eating butter without pause, try eating a spoonful of peanut butter before sleeping and reap the warmth and benefits. 

Do your best to take a break from any eating restrictions you may have while at home. Hiking in general demands that you eat far more than normal. Hiking in winter means doubling the daily calories, not worrying about sticking to your New Year’s resolution. This is where brownies become an acceptable and encouraged breakfast food.

Hydrate, hydrate, hydrate

The outdoors can quickly make you tired of hearing people tell you to drink water over and over. It seems to be the only solution to every problem you encounter. People are telling you to drink water to avoid overheating, drink water if you’re sick, drink water every time you breathe, and so on. That being said, if you want to stay warm, drink water.

The trickiest part of drinking water in the winter is wanting to. It seems counterintuitive to drink cold water while it’s cold outside and you want to stay warm. There are a couple of reasons why dehydration can be even more dangerous in the winter than normal temperatures. 

First, your blood relies on hydration to help move heat from your core out to your extremities. With less water in your system, it struggles to move heat around the body, resulting in cold fingers and toes that you may not even feel anymore. 

Not only do you need it to stay warm, but it’s also essential to drink water because you may not even realize that you’re getting dehydrated. Most people associate dehydration with sweating profusely. Contrary to popular belief, we lose most of the water in our bodies through breathing. In the winter, the steam that leaves your mouth is precious water quickly leaving the body.

One of the most helpful tricks to staying hydrated and warm is to bring a Thermos. It’s heavier, but it can often be a game-changer. Warm drinks like tea or hot chocolate will work to hydrate you and provide a separate heat source. It’s one of the few things that makes it easy to forget about weight. 

Bring extras

Extra socks, hats, and gloves should be in every winter camper’s backpack. These are some of the easiest pieces of gear to misplace or get wet. The moment your beanie is gone is the moment you start to lose a considerable percentage of heat. 

Having extras will allow you to keep warm and, more importantly, stay dry. If you get extremely cold feet, try changing socks halfway through the hike to get rid of all the sweat and cold that comes along with it. 

How to Set Up a Tent in the Snow

A winter camping trip brings about a massive list of perks and small adventures. A short, mile-long trek can quickly turn into hours of tromping through deep snow and laughing with each other as you posthole your way to camp. It’s a trip to be remembered, and if you want to remember it fondly, you need to come prepared. 

Your general skills and knowledge will go a long way when you try to get comfortable in a winter wonderland. If you’ve already figured out how to dress for winter hiking, it’s time to continue adding to your toolbox. 

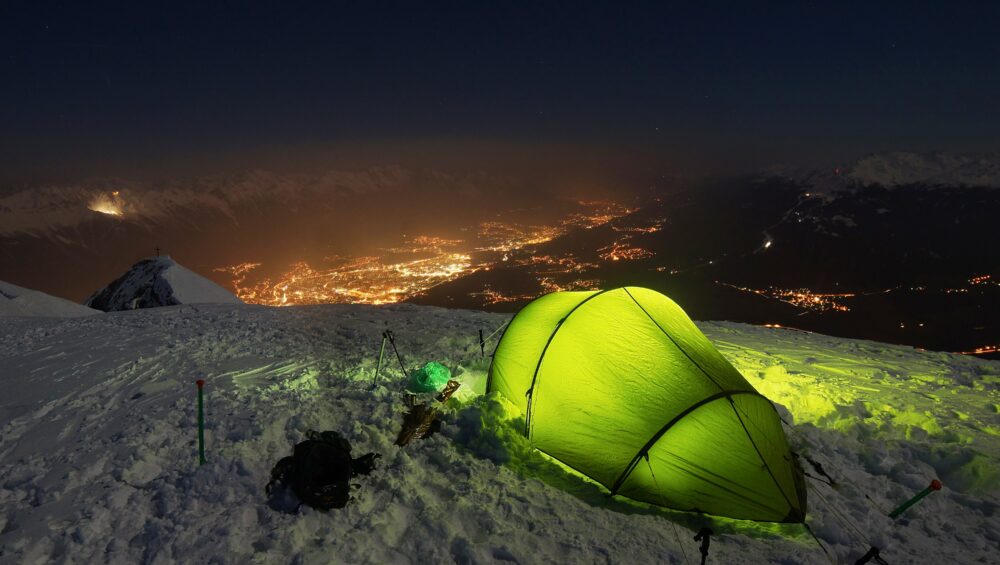
One of the first steps in the entire process is setting up a tent in the snow. It’s a task that becomes drastically different once the snow hits, and you’ll be developing a brand new set of skills than those you need in the summer. 

Site Selection

Once you’ve arrived at camp, it’s time to look around for the best tent site imaginable. The snow brings a lot of new elements you need to navigate to stay safe while asleep at night. In the summer, it’s watching out for bears or other critters, while in the winter, you’re watching for avalanches. 

Pick a site as far as possible from any slopes, and therefore any avalanche potential. Even a lower angle slope can be triggered at night, leaving you to wake up partially or fully buried. A safe winter camp is far away from any possible avalanche terrain. Even if you’re planning on going up the mountain in the morning, basecamp should be a safe distance from any potential slides. 

Another hazard you need to watch out for in the winter is snowfall from trees. If you’re below the treeline, pay even closer attention to what’s above you. Dead trees are less obvious to spot in the winter, and you now need to watch out for trees that may break under the weight of snow and ice. Even the snow sitting on those branches can be dangerous if it’s filled with ice. 

If you’re sleeping in an area with a large amount of snow, you’ll need to consider what’s underneath you. At higher altitudes, you’ll often be sleeping multiple feet above small trees and bushes that have been buried. The plethora of landscapes you can find below the snow can lead to one major issue.

Depending on how the snow has packed down, you may be on top of some voids that are waiting to collapse inward. If this happens while you’re sleeping, you’ll wake up a few feet lower than where you started and probably covered in a decent amount of snow. To avoid this nighttime disturbance, probe around and try to find a spot that seems like it’s above flat ground rather than rocky terrain. 

Pack it Down to Put it Up

Now that you’ve found a spot, it’s time to make the footprint. If you’ve been hiking in snowshoes, you’ve got the best tool for the job strapped onto your feet. Using the snowshoes, stomp around and flatten out the ground where you will soon put the tent. This will help create a more stable, flat surface where you can sleep. 

Expand the footprint out a bit past where the tent will go. This will give you some more stable ground to walk around on. Be careful when you get out of the tent at night for the bathroom, as it’s easy to forget you’re in the snow and will soon be up to your waist in it. 

The snow shouldn’t pack down any further when you start to walk around on it. Remember, this is where you’re sleeping. You don’t want to start sinking while you sleep. 

Once your area is fully packed down, you can set up your tent. 

Tent Setup

In general, a freestanding tent is better than relying on a staking system. With a freestanding design, you don’t need to worry about staking out the tent without access to solid ground to hammer a stake into. Snow can be tricky to work with, but it can also be incredibly useful. If you’re looking to use a tent that requires staking, look at snow tent stakes. 

These stakes are ingenious. First, you dig a small hole and place the stake horizontally in the snow. After you’ve attached your tent line, you will pack the snow down onto the stake firmly to cement it into place. 

The only drawback to this kind of stake is that they can be difficult to remove in the morning. If there has been any level of melting and freezing overnight, they may be inside a solid block of ice that you’ll need an ice ax to get through. 

Set up Your Dream Camp

According to Leave No Trace, snow is the most durable surface you can travel on. This is because it will melt and disappear without a trace of you present. This means that you can do just about anything with your camp in the snow, and you won’t be creating a huge impact. 

With enough snow, time, and shovels, you can create benches, tables, and full-blown snow castles to enjoy your time in. Whatever you can imagine, you can create. This is one of the best things about winter camping. You’re able to create an entire kingdom in the snow without needing to worry about ruining the campsite. It also makes winter camping a fun-filled activity to do with kids. They get to create their winter wonderland, where they can stay overnight.