

When you think about hitting the trails with a mountain bike or e-bike, maintenance is never top of mind. However, bike maintenance is a very important part of any ride, and in fact, every ride. Skipping the bike maintenance basics not only leads to more wear and tear, but it can even be dangerous to you as the rider.
That’s why we’re here to discuss bike maintenance basics to make sure you keep your gear in peak condition. It might seem hard, but taking a little time to learn how to clean your bike and how to complete a pre-ride inspection will save you a lot of hassle down the line. So let’s get to it.
Don’t want to worry about bike maintenance? Join our Cog Up/Bike Down Pikes Peak experience or a guided mountain bike tour in Colorado Springs to reap the benefits of our perfectly maintained bikes and expert guides. Or alternatively, utilize our bike rentals in Colorado Springs to use for your own adventure.
How to Do a Pre-Ride Bike Inspection
A quick check before each ride is essential bike maintenance to keep you safe and keep your bike functioning optimally. Many people call this the ABCs of bike maintenance. If you remember that, you’ll be able to keep track of these critical steps of the pre-ride inspection.
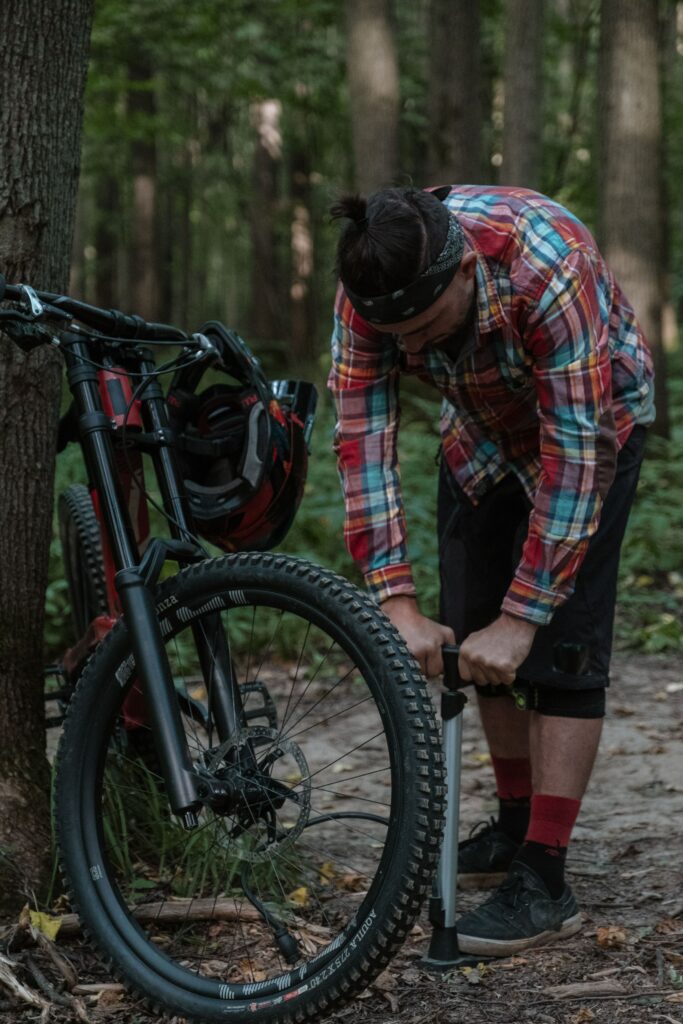
Air in the Tires
Look closely at the sidewall of your bike tires, and you will find a range of recommended tire pressures (PSI). There are a lot of factors that go into deciding what pressure within this range you want. You can begin at a pressure in the middle of the specified range to start, and learn your preferred tire pressure by feel as you get more experience. But in short, a more inflated tire will have less resistance and allow you to go faster (best for road cyclists), while a less inflated tire will absorb more shock (best for trail riders) and achieve better grip (safest for riding in wet conditions).
While you are inflating your bike tires to the desired pressure, be sure to inspect the tires for damage or deformities, and make sure the quick release lever or thru-axle (depending on your bike) are securely tightened. Finally, don’t forget to bring your pump and tire repair kit or patch kit on the ride with you in case of emergencies.
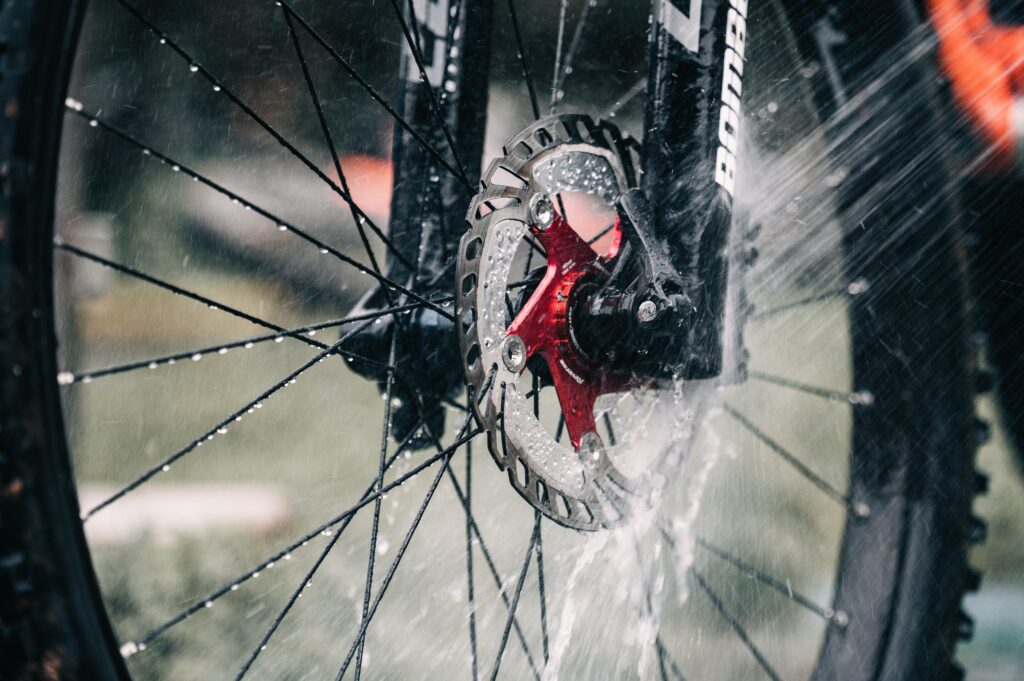
Brake Check
Your bike’s manufacturer can tell you how often you need to replace your brake pads and rotors, but it is also important to use your own judgment and look for excessive wear. In addition to a visual check, be sure to spin the tires and apply the brake mechanisms.
Here, you want to make sure they move smoothly, don’t get stuck anywhere, and clamp down strong on the tires. If you feel a hitch or resistance, you may need to lubricate the parts. These cables and assemblies need lubrication to function correctly, and that’s ongoing maintenance we’ll discuss in the post-ride section covering how to clean your bike.
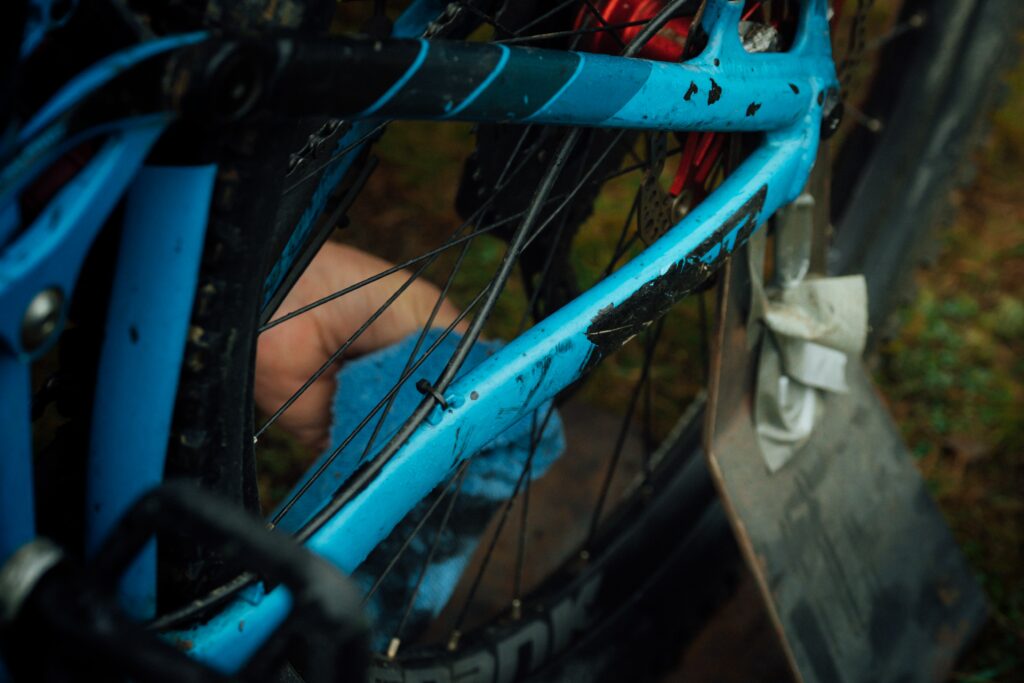
Chain Inspection
Bike chains are one of the most important pieces on the entire bike, and unfortunately, they’re also one of the most fragile. Before every ride, you should turn the pedals slowly and examine every chain link.
Check to make sure the bike chain is not dirty or rusted, that there is no gunk or other impediment, and that the chain moves smoothly. Also, check the gears and the drivetrain, making sure the bike shifts without a hitch.
The Nuts and Bolts of Bike Maintenance Basics
The last thing to do pre-ride is to ensure that the bike’s many nuts and bolts are tight and secure. Especially with mountain biking, it is normal for these to loosen over time as you maneuver the bike over obstacles and force different stressors on it.
With hex keys and a Torx wrench, a decent bike tool will allow you to tighten all these pieces and make sure your bike is ready for the next adventure. This multi-tool is a great piece to bring with you on the ride, too, in case something loosens mid-ride. Loosening parts are all potential sources of problems that you do not want to learn about while on the trail, so invest a few minutes pre-ride in this important bike inspection.
How to Clean Your Bike Post-Ride
After every ride, it pays to give your bike a quick wash. Especially if you have been hitting trails on a mountain biking tour, you don’t want to leave your bike dirty. Over time, dirt and grime accumulate and impact the smooth functioning of the bike’s fragile mechanisms. It causes rust and leads pieces to break earlier than they would otherwise.
Rinse and Dry
So, one of the most critical bike maintenance basics is also the easiest. Using good old soap and water (or bike wash cleaner), carefully wipe down the bike frame, handlebars, seat post, and brake mechanisms. You want to be gentle with these sensitive pieces, so don’t use a pressure washer.
It’s also harmful to get soap on the brake pads themselves. Instead, use rubbing alcohol or rotor cleaner to degrease the rotors and brake pads. As noted above, you do not want to leave the bike to air dry as that can cause rusting, so use clean rags to get the bike nice and dry.
Degreasing
For the chain and drivetrain, you want to really get in there and clean out any debris and grease. Especially for mountain bikes, these parts can get very dirty quickly, and you will find debris stuck in hard-to-reach areas. Cleaning out these parts is essential bike maintenance for preventing your bike from wearing out too rapidly and also ensuring future rides will be smooth and safe.
You can clean the drivetrain with a rag and degreaser if it is not too dirty, or use a toothbrush to scrub off built-up grime. A bike chain cleaner is a good investment for thoroughly cleaning your chain without making a mess. Be sure to go through a couple of full rotations of the chain and shift gears a couple of times to make sure no dirt or grease remains. You can then use a clean rag to wipe away any leftover muck and clean the degreaser from the bike.
Lubrication
Once your bike is clean and dry, it is time to apply lubrication. You should lubricate your bike after cleanings, anytime it starts to squeak, and after wet rides to prevent rust. Keeping all these parts well lubricated will ensure a smooth and safe ride and keep the bike from unnecessary wear and tear. Depending on how frequently you ride, you might end up doing this weekly or more, but it is an essential step of bike maintenance and well worth the effort.
Lubricate the drivetrain, chain, brake cables, and assemblies. When you lubricate your bike, you really only need a few drops for each component. Give the lubrication a few minutes to soak in and work it around by turning the pedals and moving the mechanisms. Then, be sure to use a clean rag to wipe away the excess. After it has soaked in, wipe down the parts gently, so it is not dripping with lubricant. Overlubricating your bike can actually hurt it, as dirt and debris are attracted to and accumulate in the excess lubrication.
Storage
Now that we’ve covered how to clean your bike, you’re ready to store your bike until the next ride. You might not have considered it, but there are actually better and worse ways to store a bike. First, don’t store a bike outdoors where it will be exposed to the elements. This will increase rust and corrosion, not to mention the fading of the paint job and increased risk of theft!
Regarding positioning, storing a bike by hanging it with hooks or a wall mount is the best way to keep your bike in peak condition. If you are storing your bike upright, be sure to put rugs under the wheels and make sure to keep the tires inflated. Otherwise, you could find the tires have bulged or cracked over long periods of disuse.
Extra Notes for Electric Bike Maintenance Basics
On top of everything we’ve covered, e-bikes have some extra maintenance steps. Once you understand how electric bikes work, these extra maintenance requirements make sense since there are additional parts to consider. Specifically, we’re concerned about the e-bike’s battery and motor.
E-Bike Battery Maintenance
Just like any battery, good maintenance procedures help extend the battery’s lifespan and optimize its capacity. First, top off your electric bike’s battery after every ride. It’s not good for batteries to sit empty for extended periods. However, it is equally bad for a battery to sit fully charged for too long as it puts excessive stress on the battery’s components.
Therefore, if you don’t plan to ride for a while, put your electric bike’s battery in storage, so to speak, by unplugging the battery and hooking it up to a charge tender. Battery tenders allow batteries to naturally discharge and then recharge in a cycle. This keeps the battery in optimal condition no matter how long you leave it.
E-Bike Component Maintenance
The other main consideration with e-bikes is the extra wear and tear on the drivetrains and chains. Because of this, it is important to clean, dry, and relubricate your electric bike more frequently than you would a non-electric model.
When cleaning, be sure to avoid using high-pressure water to rinse off your e-bike. While the batteries and electrical components are sealed and waterproofed against rain, pressurized water can prove too much and cause damage.
Final Thoughts
With a little investment in time spent cleaning and lubricating your bike, you can rest assured that it will last longer and give you a smooth, safe ride. If you struggle with any of these bike maintenance basics or feel like your bike is still not riding right, be sure to bring it to a bike repair shop for more expert repair. Also, if you are thinking about switching to an e-bike, check out e-bike guided tours in the Colorado Springs area. Finally, don’t forget that our bike rentals in Colorado Springs and mountain bike tours in CO Springs are both fantastic avenues to ride a clean and perfectly maintained bike. Happy riding!


