Nestled at the base of the majestic Rocky Mountains, Colorado Springs offers a plethora of family-friendly adventures. Whether you’re looking for outdoor escapades, cultural attractions, or creative activities, this charming city has it all. Join us as we explore an array of activities that promise fun and unforgettable memories for everyone in the family.

Exploring the Great Outdoors: Parks and Trails
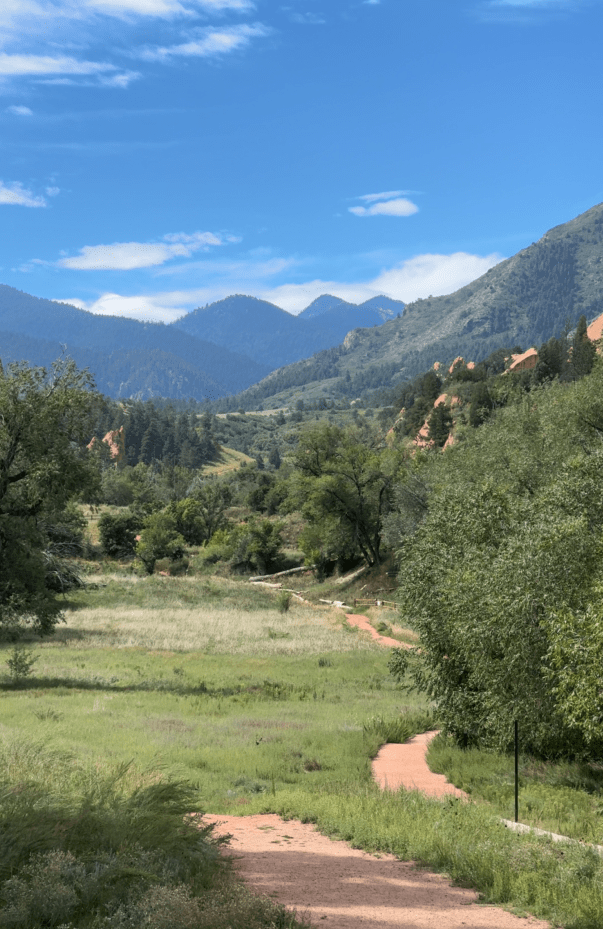
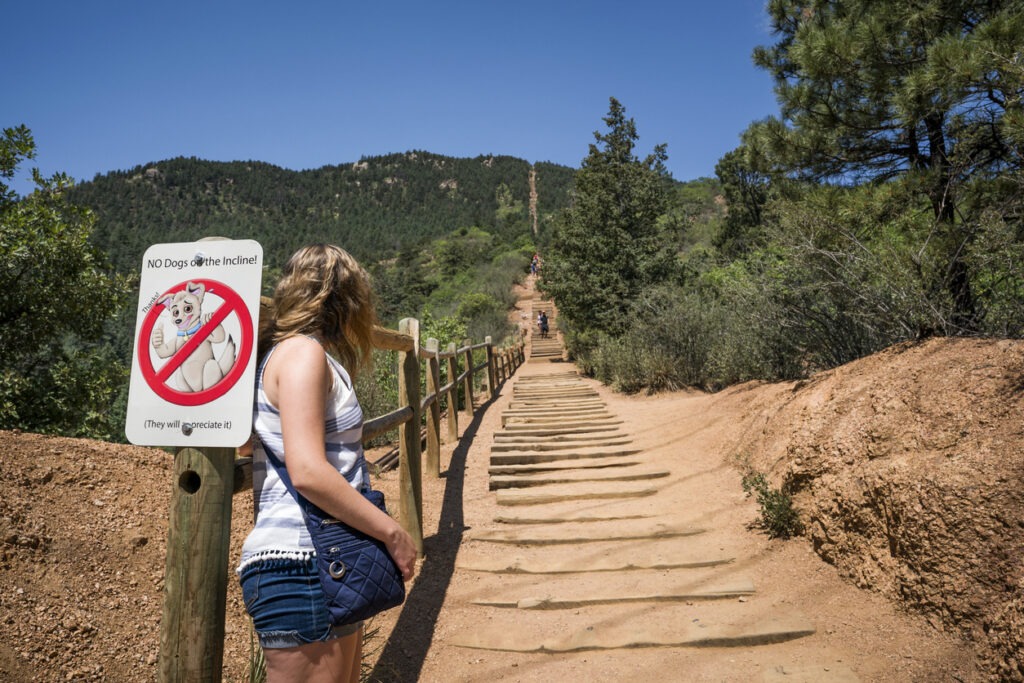
Colorado Springs is renowned for its breathtaking natural landscapes, offering numerous parks and trails perfect for families. From hiking in the Garden of the Gods to picnicking in Palmer Park, the city provides a delightful outdoor playground for children and adults alike. Garden of the Gods, a registered National Natural Landmark, presents jaw-dropping rock formations and a myriad of hiking trails suitable for all skills. Engage in a self-guided tour or join a family-friendly group hike, where kids can learn about the park’s geologic wonders. Alternatively, explore the Palmer Park, a hidden gem with vistas offering views of Pikes Peak and sections perfect for an adventurous day out. Pack your liked snacks, complete with a traditional picnic basket, and drive past Old Colorado City to set up against the scenic backdrop before delving into the park’s numerous trails.
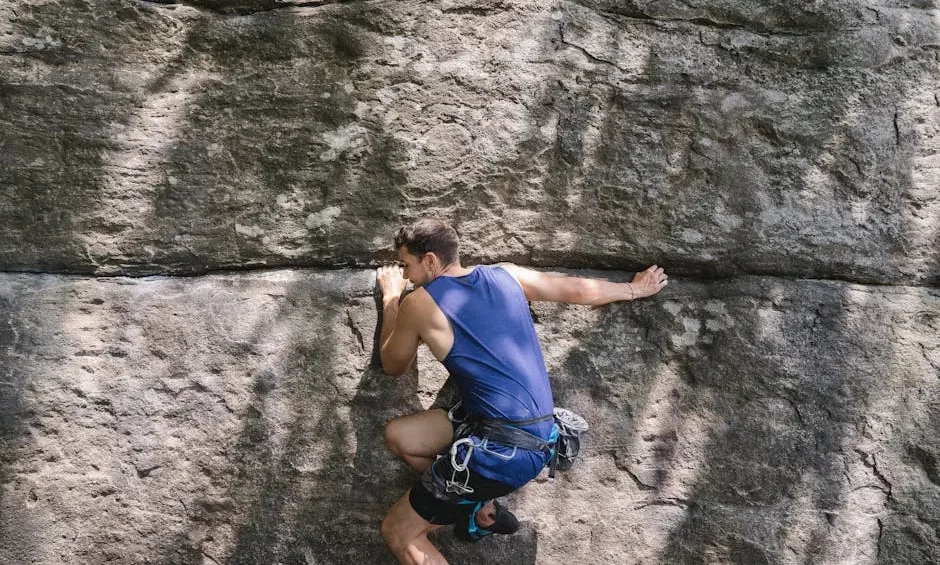
No visit to Colorado Springs would be complete without exploring Red Rock Canyon Open Space. Known for its sprawling red rock formations, this area invites families to traverse its inviting trails or take part in some beginner rock climbing. The trails lead you across varying terrains, offering a chance to immerse in the city’s natural beauty. Biking trails are also available, providing paths for both novice and experienced riders. For an exploration-infused educational outing, hit the interpretive trails that tell the stories of Colorado’s rich geological past. Dress comfortably and prepare for a fun-packed day under the blue Colorado sky.
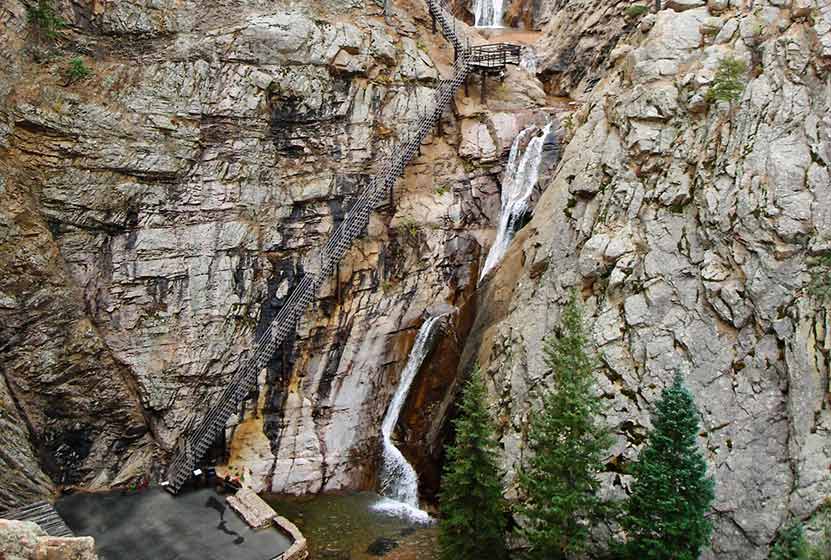
For a more laid-back experience, enjoy leisurely walks at North Cheyenne Cañon Park. This natural paradise offers families a serene escape with its whispers of rustling trees and chirping birds. Meander along the creek-side paths or ascend toward Silver Cascade Falls for a gentle yet picturesque hike. Dotted with picnic spots and scenic outlooks, North Cheyenne Cañon is ideal for nature lovers of all ages. Engage in a scavenger hunt along the trails to discover local flora and fauna, turning a simple walk into an adventure brimming with discoveries.
Discovering Cultural Gems: Museums and Landmarks
For families interested in cultural and educational experiences, Colorado Springs boasts a variety of museums and landmarks. The Cheyenne Mountain Zoo offers an up-close encounter with animals, while the Colorado Springs Pioneers Museum provides a glimpse into the area’s rich history. The zoo, perched on a scenic hill, allows you to traverse immersive habitats, feeding animals like giraffes and learning through interactive exhibits. Weekend animal demonstrations add an engaging element to your visit. Meanwhile, the Pioneers Museum, housed in an opulent historic building, boasts exhibits narrating the dynamic past of this fascinating region. From Native American artifacts to displays detailing the late 19th century gold rush, the museum is an educational playground for curious minds.
Expand your cultural horizons by visiting Peterson Air & Space Museum. This remarkable location provides a fascinating journey through the history of aviation and space exploration. Families can marvel at the vintage aircraft stationed around the museum grounds, with nearby interactive exhibits focusing on space missions and satellite technology. It’s an optimal environment for students eager to grasp the intricacies of flight and adventure beyond our atmosphere. Such institutions offer families substantial informative fun wrapped neatly within the allure of history and science.
Let’s not forget the captivating Manitou Cliff Dwellings, a treasure revealing the historical architecture and dwelling practices of the Ancestral Puebloans. This interactive exhibit allows you to explore ancient structures while gaining insights into the lifestyles of the Indigenous people who resided in the region long ago. Children can wander through the stone maze of rooms, while adults might appreciate the on-site museums showcasing relics from the past. It’s a rare opportunity to touch the past, a tangible window into a captivating history.
Indoor Fun and Entertainment
On days when the weather doesn’t cooperate, Colorado Springs still has plenty to offer indoors. Family-friendly activities such as bowling, indoor climbing, and interactive science centers ensure nonstop fun regardless of the season. Head over to the exciting Great Wolf Lodge, an indoor water park featuring waves of excitement from water slides to pools and mini-golf. The themed suites add to the joy, making it an overnight adventure to remember. Alternatively, spend a fun-filled afternoon exploring the numerous exhibits at Space Foundation Discovery Center, where kids and adults alike can engage with hands-on exploration of our universe, through simulations, interactive displays, and hands-on exhibits.
For something truly unique, visit The Rabbit Hole—a whimsical restaurant hidden beneath the surface of Colorado Springs. Here, immerse yourself in a wonderland ambiance as you indulge in creatively curated dishes crafted to appeal to all ages. If culinary adventures spice up your passions, book a family session at a nearby cooking class where everyone can learn to make local favorites or experiment with fresh flavors.
Escape reality with a trip to The Airplane Restaurant, where families can dine within the cockpit of a real Boeing KC-97 tanker. This aviation-themed restaurant, brimming with historic aviation memorabilia, provides a rare opportunity to enjoy delicious meals with a unique twist. From burgers to classic American dishes, the menu is just as engaging as the setting, making it a must-visit for plane enthusiasts of all ages. As you savor your meal, kids can explore the cockpit or engage with the various aircraft-related exhibits peppered around the dining area.
Adventures in Creativity: Art and Crafts
Foster your family’s creativity with a visit to local art studios and craft centers. Participate in pottery-making, painting workshops, or community art classes where everyone can express their artistic side and create lasting souvenirs. Pay a visit to Brush Crazy where families can bond over ceramics, painting, or wood crafting sessions. Whether you are creating a keepsake mug or an intricate painting, each visit adds a splash of color to the family canvas of memories.
Art lovers will be thrilled to explore the enticing exhibits in Colorado Springs Fine Arts Center at Colorado College, where rotating artists’ work provides a dynamic backdrop for art appreciation. Consistent workshops and educational programs offer hands-on experiences, inviting participants to dabble in various artistic mediums from clay to printmaking. Kids can let their imaginations soar during child-centered classes that transform afternoons into creative adventures.
Explore the joy of crafting by attending unique workshops at Pikes Peak Library District’s Library 21c. This versatile space offers all sorts of workshops and DIY classes catering to creatives of every age and skill level. From robotics for budding engineers to sewing for future fashionistas, the workshops provide families with rich opportunities for bonding over exploration and learning. Each session not only hones new skills but also inspires a lifelong passion for creativity.
Embark on Your Unforgettable Colorado Springs Journey
Colorado Springs is a treasure trove of adventures waiting to be uncovered by families of all sizes. With its blend of natural beauty, educational experiences, and heart-pumping excitement, your family is bound to find something that everyone will love. Pack your bags and set off on a remarkable Colorado Springs adventure that will be cherished for years to come.