Nestled among the majestic Rocky Mountains, Colorado Springs is a hidden gem for nature enthusiasts and wildlife lovers. This breathtaking region offers unique opportunities to witness a variety of creatures in their natural habitats, providing unforgettable encounters that captivate the heart and soul. In this blog, we’ll explore the secrets of experiencing wildlife in this beautiful area and how you can make the most of your visit.

Understanding the Local Wildlife Habitats
Colorado Springs is home to diverse ecosystems, from lush forests and alpine meadows to arid deserts. Each of these habitats offers unique opportunities for wildlife encounters, allowing visitors to discover a rich tapestry of animal life. Familiarizing yourself with these ecosystems will enhance your ability to spot and appreciate the wildlife that inhabits them. For instance, the Pikes Peak Region is an ecological marvel, teeming with possibilities for observing a variety of species in their natural settings. This region is a mix of ecosystems, including montane forests and subalpine zones, which host an array of wildlife such as elk, mule deer, and black bears. Understanding the specific habitats and behaviors of these creatures will not only heighten your wildlife encounters but also provide a richer appreciation of the delicate balance within these ecosystems.
One of the quintessential experiences in Colorado Springs is witnessing the symbiotic relationships in its ecosystems. In the Mueller State Park, you can explore over 5,000 acres of pristine mountain terrain that serves as a habitat for some of the area’s most fascinating wildlife. Here, you’ll find vast meadows where ungulates like elk graze, offering photographers and nature enthusiasts an ideal setting for capturing wildlife in action. The park’s eco-diversity supports a plethora of bird species, making it a haven for bird watchers looking to spot rare sightings against the stunning backdrop of the Rocky Mountains.
Best Spots for Wildlife Watching
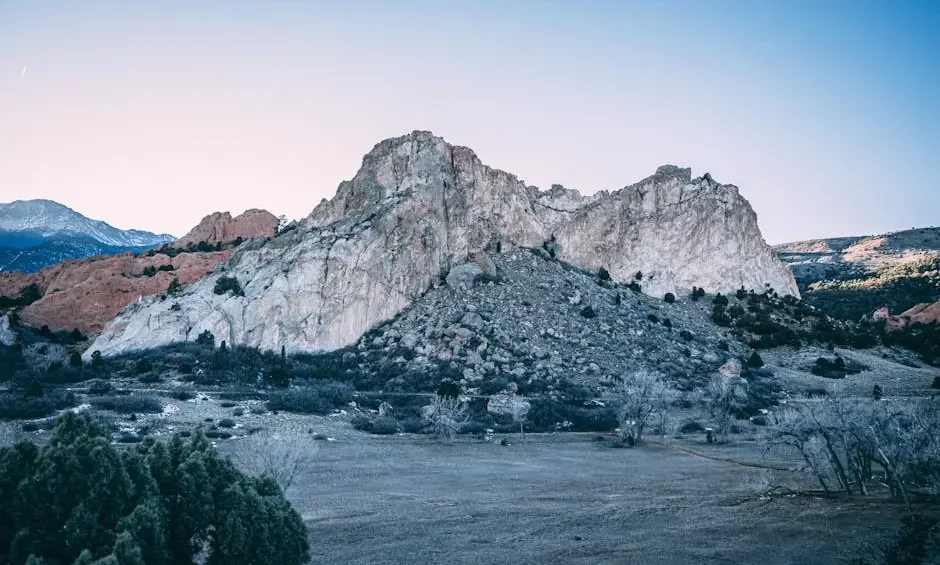
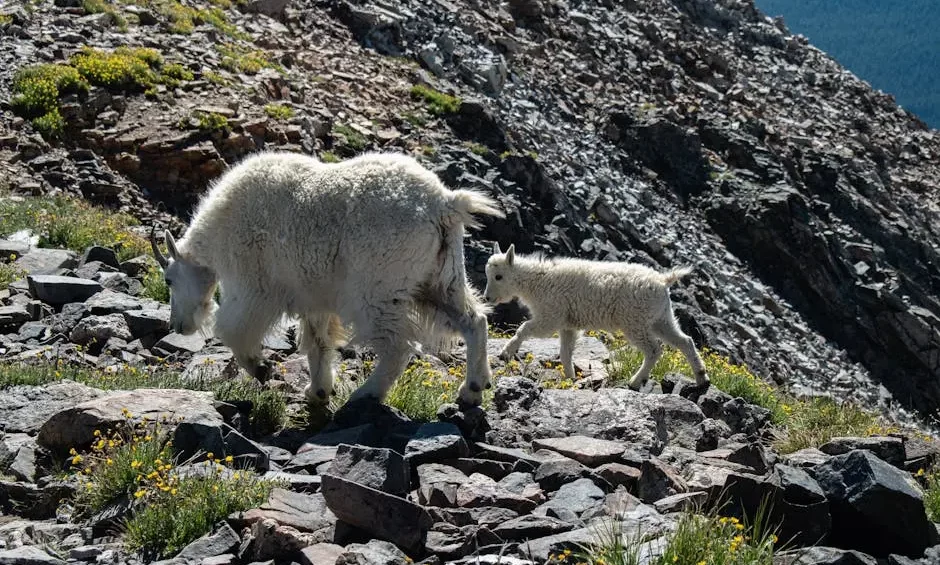
Discover some of the best spots in Colorado Springs for observing wildlife in its natural habitat. The Garden of the Gods offers not only breathtaking red rock formations but also a thriving habitat for creatures such as coyotes, foxes, and over 130 species of birds. Timing your visit at dawn or dusk increases the likelihood of sightings as the wildlife become more active during these cooler, quieter hours. Similarly, the Pikes Peak Highway provides a journey through spectacular landscapes where you can catch glimpses of bighorn sheep grazing or marmots sunbathing on rock outcrops.
For a more natural wildlife experience, consider visiting Cheyenne Mountain State Park, known for its diverse range of wildlife inhabitants. This park is renowned for its mule deer and wild turkeys, often visible along the trails, making it a favorite spot for wildlife photographers and nature enthusiasts alike. Another excellent location is the expansive Bear Creek Park, a part of the Pikes Peak Birding Trail, which offers a unique opportunity to observe native bird species in a natural setting. These areas are carefully preserved to maintain their ecological integrity while providing accessible opportunities for wildlife observation.
Tips for Safe and Respectful Wildlife Interactions
Engaging with wildlife requires not only enthusiasm but also a sense of responsibility. When venturing into these natural habitats, it’s crucial to maintain a safe distance from all wildlife. This not only ensures your safety but also minimizes stress and disruption to the animals. As a general rule, using binoculars or zoom lenses offers the best views without encroaching on the animal’s space, allowing you to observe their natural behaviors without interference.
It’s also vital to stay on designated trails and follow any posted guidelines. This helps protect fragile habitats and prevent any unintended disturbances. If you encounter wildlife unexpectedly, remain calm and allow the animal to move along without feeling threatened. Educating yourself on the types of wildlife and their typical behaviors before your visit can greatly enhance safety and promote a more enriching and respectful interaction with the animals and their environment.
Moreover, never feed the wildlife. It can alter their natural behavior and diet, often leading to unwanted dependency on human sources, which can be detrimental to their health. Understanding these interaction rules protects both you and the precious natural environment you’re exploring, ensuring that these wildlife encounters remain sustainable for generations to come.
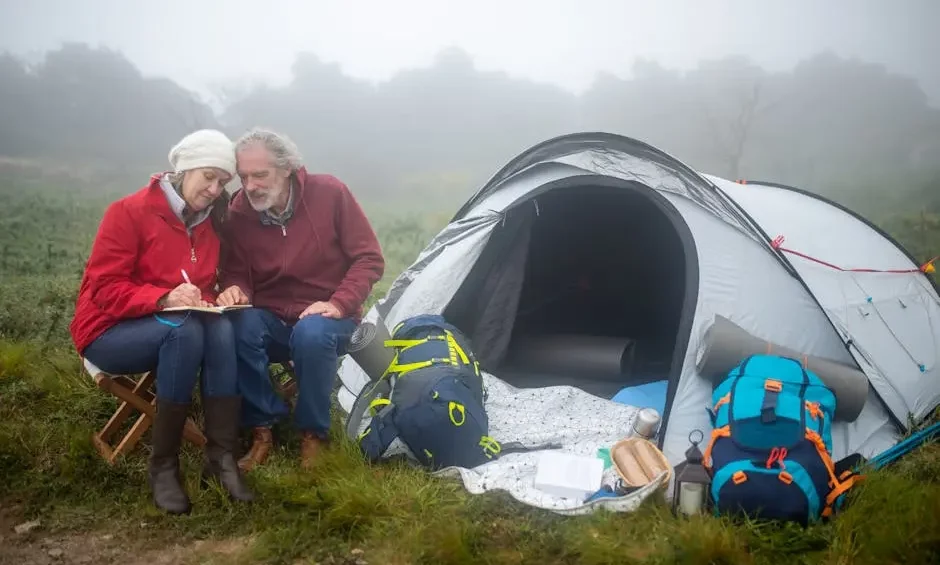
Gear and Preparation for Your Wildlife Adventure
Proper preparation is key to a successful wildlife adventure in Colorado Springs. Start by ensuring you have the right equipment: a good pair of binoculars for observing wildlife at a distance and a quality camera with a zoom lens to capture those incredible moments. Lightweight, breathable clothing suited to Colorado’s variable weather is essential, as temperatures can fluctuate significantly throughout the day, especially in higher altitudes.
In addition to technology, a basic understanding of the terrain and climate should influence your packing list. Carrying a map and compass or a GPS device is recommended, as some areas may have limited cell reception. Bringing along a field guide to local wildlife can also enhance your experience, offering insights into the species you may encounter and their behaviors.
Particularly during summer months, sunscreen and insect repellent can provide additional comfort, protecting you from the sun’s rays and pesky bugs while you explore. Above all, pack plenty of water and snacks to keep your energy levels steady during long hours of exploration.
Seasonal Wildlife Activities and Events
Colorado Springs offers a myriad of seasonal wildlife activities that can enhance your visit. In spring, as the snow starts to melt, the area comes alive with a burst of wildflowers and active wildlife. This time of year is perfect for participating in guided bird-watching tours along the Pikes Peak Birding Trail. These trails are known for attracting migratory birds, providing bird enthusiasts with spectacular viewing opportunities.
Summer festivals such as the Rock Ledge Ranch Historic Site offer events where you can learn about historical efforts in conservation and wildlife preservation. As autumn approaches, the changing foliage creates a stunning backdrop for spotting deer and elk during their rutting season. Engaging in these seasonal activities is not only educational but also facilitates a deeper connection with the rhythms of the natural world around you.
Embrace the Wild: Your Journey Awaits
Colorado Springs is truly a haven for those seeking an intimate encounter with nature. By following these guidelines, respecting the environment, and embracing the unexpected, you’re sure to have an enriching experience that will deepen your appreciation for wildlife and its delicate ecosystems. So pack your gear, set your itinerary, and embark on an adventure filled with unforgettable wildlife encounters in the heart of Colorado Springs.