How to Plan a Bike Tour Route 

Are you hoping to get back in the saddle this summer season? There are so many great places near Colorado Springs for road cycling and mountain biking alike. If you are thinking about taking a bikepacking trip but are not sure where to start, we’ve got you covered. We’ll go over how to plan a bike route, choose the right trip for your skill level, and use an online cycle route planner. 

Choosing a Bike Tour Length

The first thing to figure out is the distance you want to ride or the time frame available. If you have a weekend free or a whole week set aside, that timeline will determine approximately how many miles your planned bike route will be. Starting from the other option, if you know you want to get to a particular location or complete a route, you can work backward to figure out how many days it will take. 

Beginner bikepackers should plan for 30-40 miles per day unless you know you can do more. Keep in mind that the gear you pack will slow you down, so that day ride of 80 miles may not be a fair estimate. If you have some time before your trip, you can prepare physically with our guide on how to train for a bike tour. In addition to your fitness level, you need to consider the terrain where you will be riding. Long uphill stretches or overall elevation gain will also decrease your daily mileage, so don’t forget to cut yourself a little slack for these factors.
Picking a Bike Tour Location

Once you have a sense of how much time your bikepacking trip will take, you can start to look into different locations. Maybe there is an area you’ve always wanted to explore or a park that looks particularly beautiful this time of year. Wherever you are thinking about going, you will need to do a little research to confirm if it is a feasible bike route. 

First, look at the weather in that area. No one wants to spend a week biking in the rain. Make sure the forecast is generally clear wherever you are thinking of going. Next, check road or trail conditions. You don’t want to show up ready to go and realize the roads are slippery and dangerous. If it’s still early in the spring, you will certainly need to make sure trails aren’t still covered in snow. Finally, make sure there aren’t any road or campsite closures. If all the campsites in the area are closed for the season, you’ll have a hard time finding somewhere to camp overnight.

Designing a Bike Route

Once you have a general idea of where you want to bike and how long your bike route can be, it’s time to plan a route. You can create your own route, choose a pre-planned route, or a mixture of the two. 

First things first: One of the most overlooked factors is the start and finish. If your trip doesn’t end at the same place it started, you will need to get a ride back to your car! Make sure not to forget this logistical consideration. See if there are shuttles in the park or ask a friend for a lift. If not, you will know to design your bike route in a loop.

On the other hand, if you want to bike a pre-planned route, you can find a number of great resources online that have bikepacking routes other people have done with ratings and travel tips. If you want to plan your own route, you can consult guidebooks and use an online cycle route planner. You can look up trails with the Forest Service Interactive Visitor Map to find campsites along the way. Using a cycle route planner, identify campgrounds for each night of your bikepacking trip spaced out the mileage you want to accomplish each day. Make sure to account for elevation gain and check to see if there are any permit requirements.

Once your route is all laid out, be sure to download it onto your phone or GPS. Many bikepackers use a GPS device to track their progress and mileage. Pre-loading a route is another helpful feature that can give you peace of mind on your journey. With turn-by-turn directions, you’ll know you’re on the right path and never worry about getting to your destination.
Packing for a Bike Tour

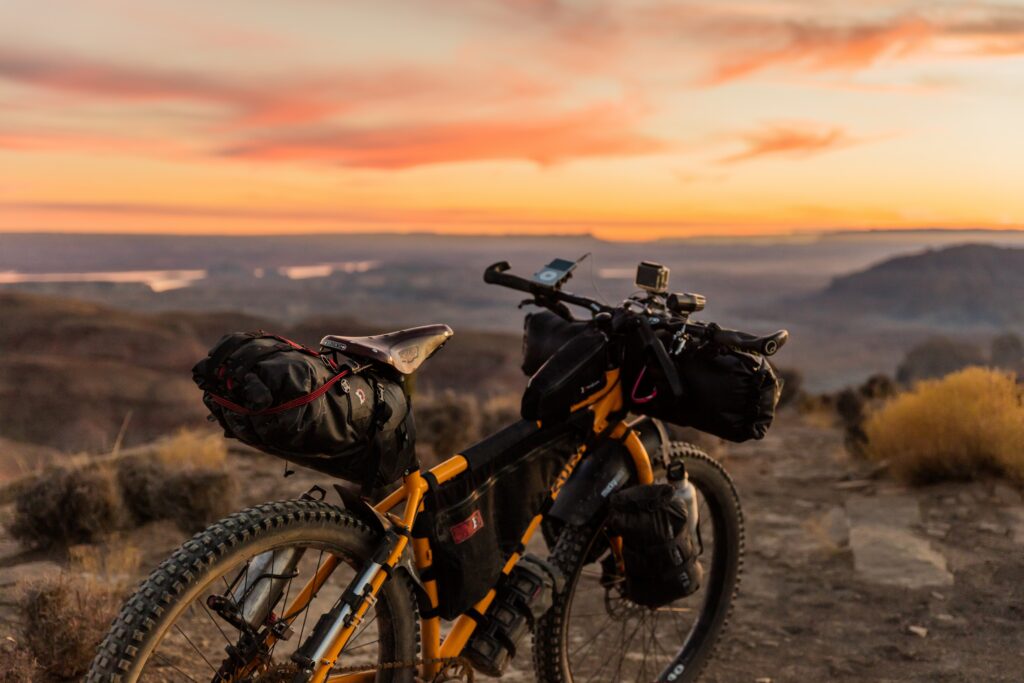
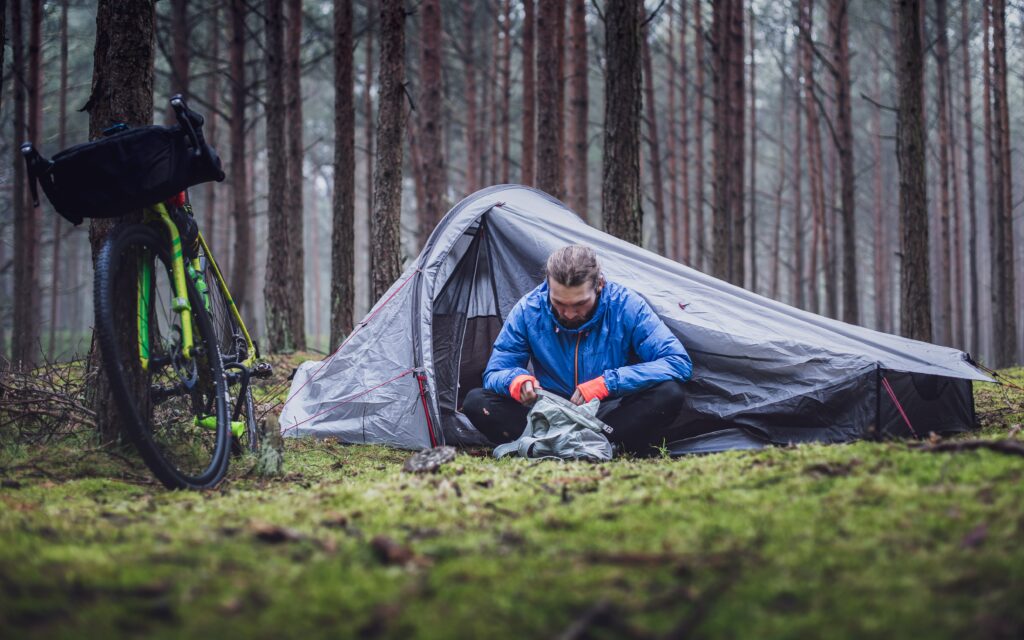
If you have experience packing for a camping trip, you will mostly be good to go. The only additional gear to consider is bike-related. You will want to figure out what to include in your bike repair kit and make sure to balance necessity with weight. Your bike gear should also include lights, your helmet, and the bike packs to store everything. 

Other necessary gear includes your shelter, sleeping bag and pad, clothing, hygiene products, and a first aid kit. One of the ten essentials not to be overlooked is sun protection. You will be on the road all day biking, so be sure to bring a hat that fits under your helmet, sunscreen, and sunglasses.

In order to keep your weight down, note all of the places on your route where you can get fresh water. Most campgrounds will have a water pump, but you might need a second stopping point mid-day. Be sure to bring a water purification system in case you can’t find potable water on your trip.

Finally, when planning the proper amount of food, remember that you will be working hard. You will need a few extra calories than you consume on a normal day in order to have the energy for the trip. Find power bars and other snacks that you can eat one-handed on the bike so you have ways to fuel up without slowing down.

Final Thoughts

Once you have your bike route planned out and your bags packed, the last thing to do is make sure your bike is ready. Complete the essential steps of a pre-ride bike inspection, and you’re good to good. After all the hard work you did planning, you will be well prepared to enjoy an awesome bikepacking tour. Be safe and have fun!

What to Include in Your Bike Repair Kit

As we enter the warmer months, you are surely excited to get back in the saddle and hit the trails. Beginner cyclists and mountain bikers need to be aware that you will need more than just a helmet and water bottle. There are a few biking tools you should carry with you at all times. A simple bike repair kit can keep you from a serious inconvenience on the trail. We’ll go over the essential bike maintenance tools so you can assemble a basic bike repair kit for your trip.

Essentials for a Bike Repair Kit

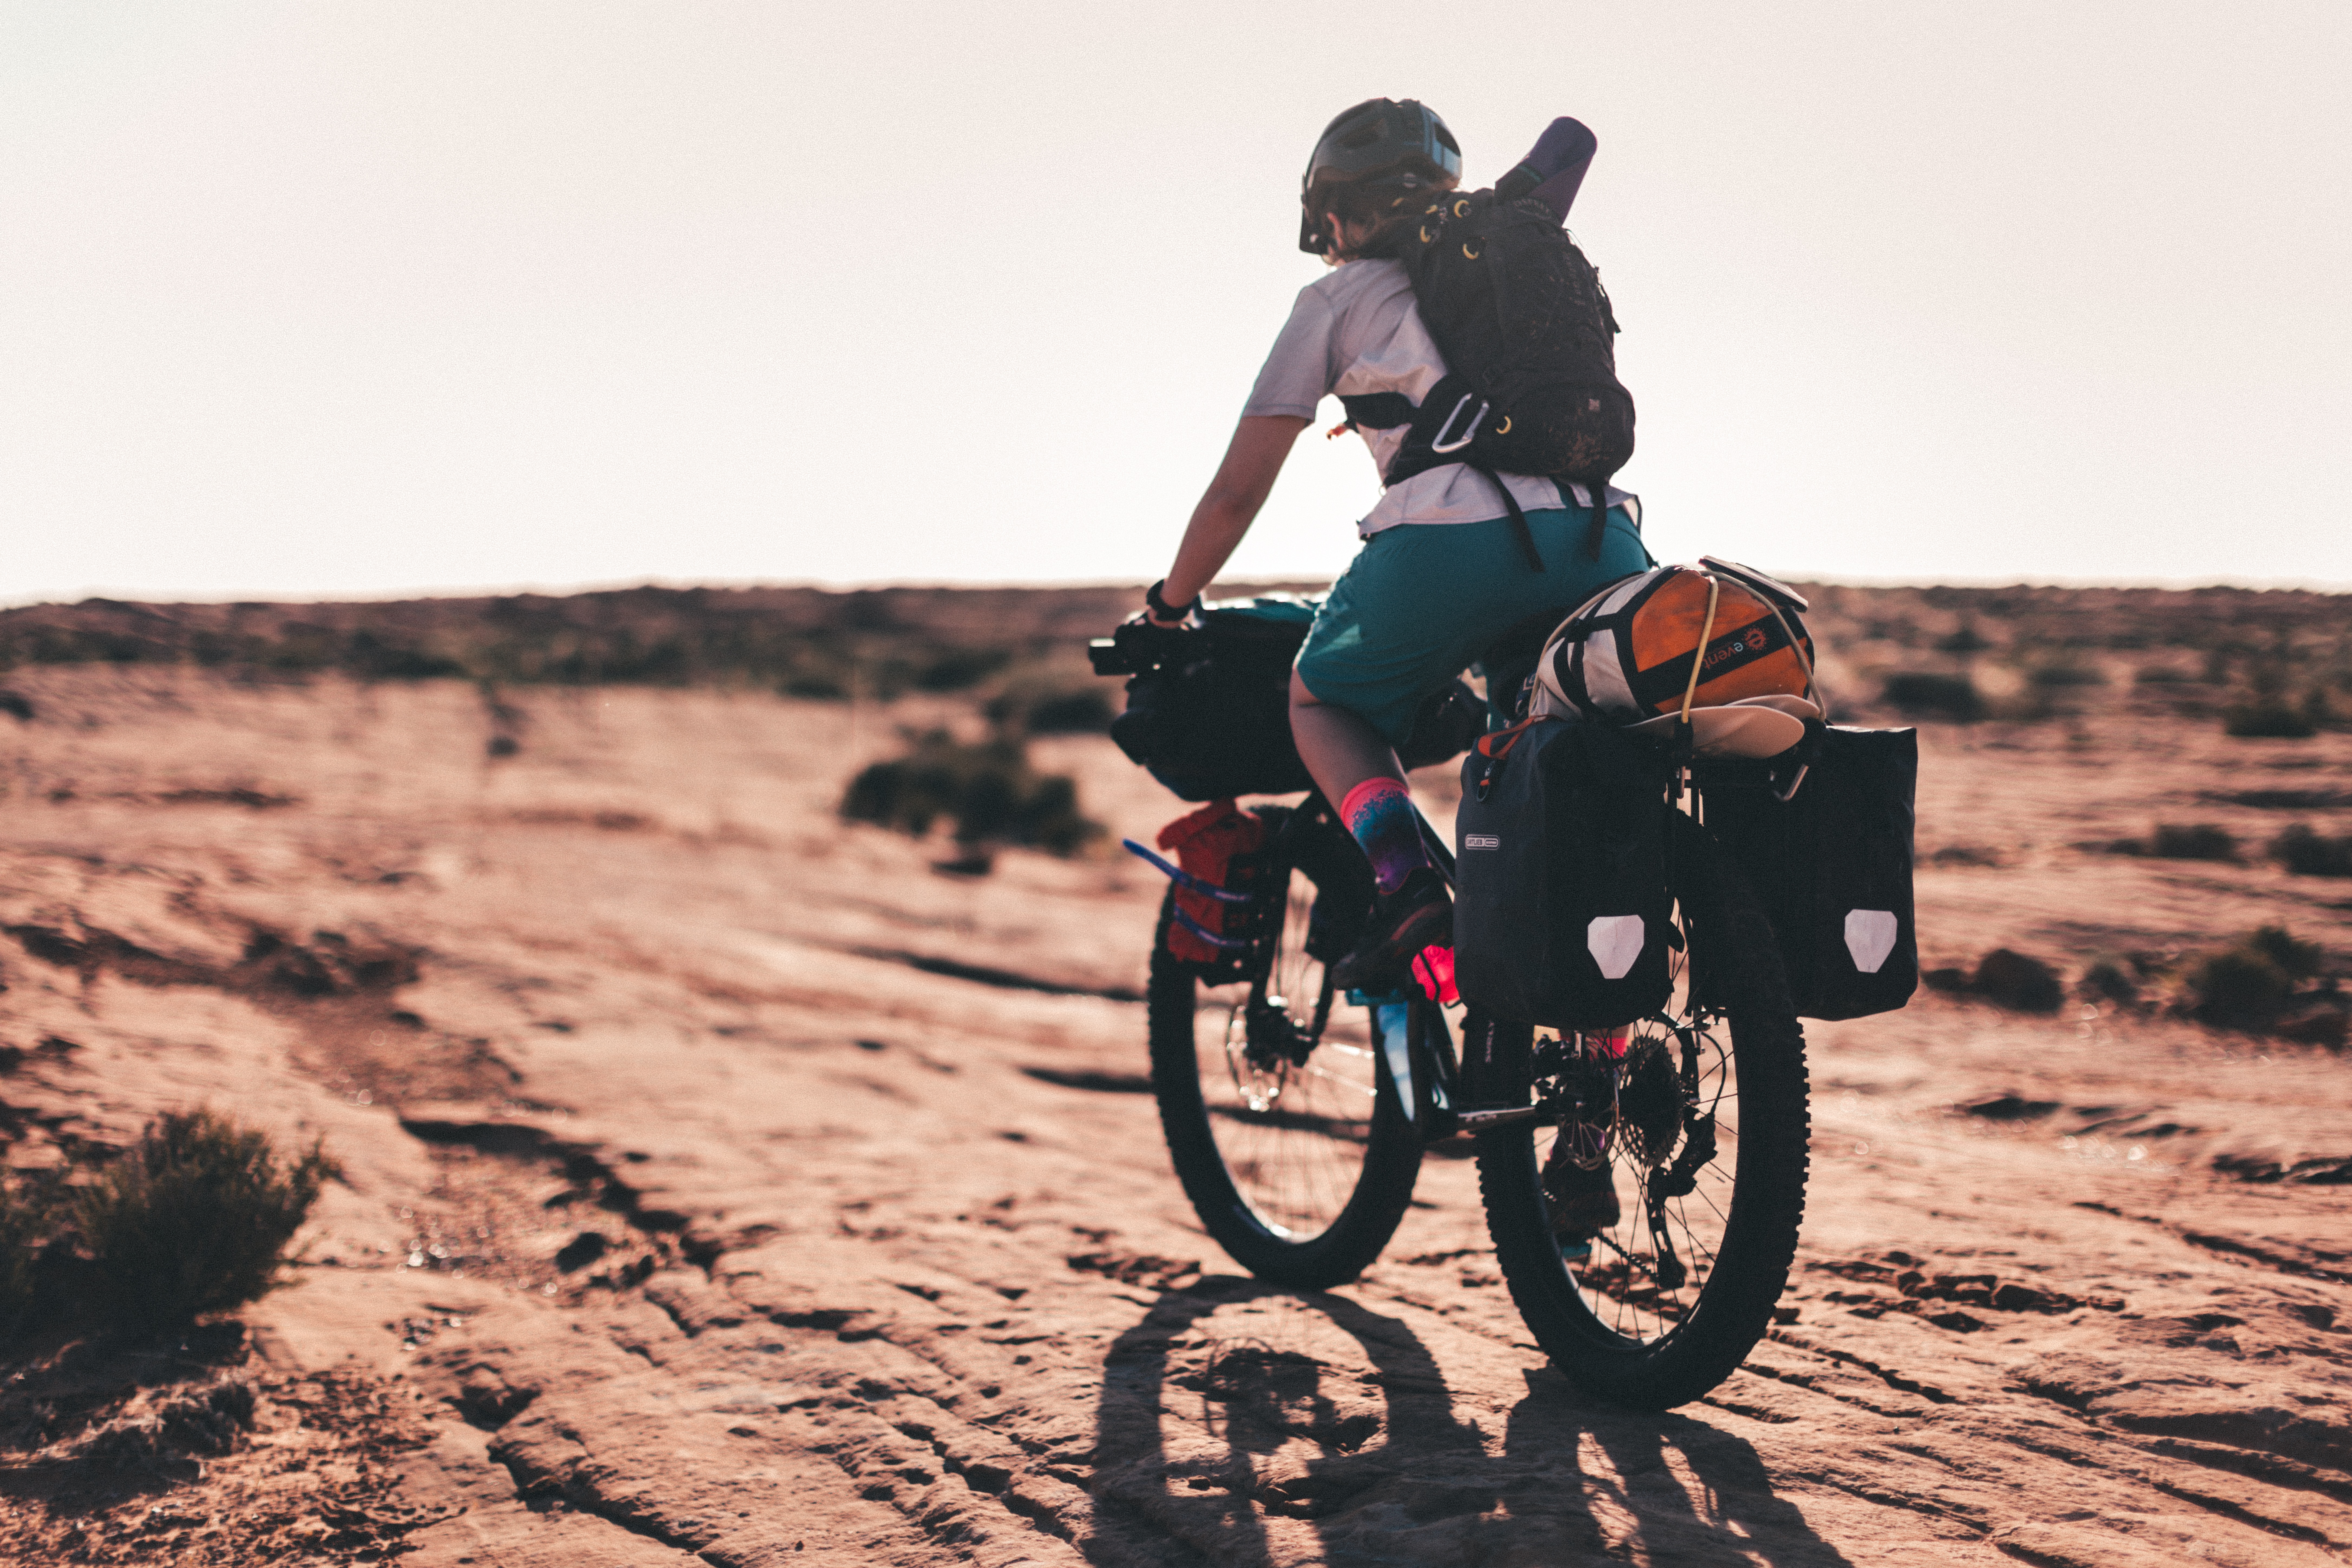
If you think about all the emergency biking maintenance you may have to do mid-ride, you can quickly pull together a list of essential biking tools. For any adjustments to the bike or to tighten a loose part, you could need an Allen wrench, a Torx wrench, or a screwdriver. For an issue with your bike chain, you could consider bringing lubricant or even a chain tool for a multi-day biking trip. The biggest problem you might face mid-ride is a flat tire. A good bike tire repair kit will certainly include a pump and might also include a spare tube, tire levers, or a patch kit.

The Beauty of a Bike Multi-Tool

The first thing to do is examine your bike (or owner’s manual) and get a sense of all its nuts and bolts, literally. One common issue mid-ride could be that you need to make a quick comfort adjustment to the seat or handlebars. If you are on a mountain biking trail, another big concern will be that you may find that some screws loosen from all the jostling the bike experiences on the course. To address these problems, you will likely find that your bike requires a couple of sizes of hex keys (also called Allen wrenches), a Torx wrench, and maybe a screwdriver.

A great way to get all of these tools in one is with a bike multi-tool. There are a ton of options on the market that will give you the tools you need in a compact and lightweight device. Most multi-tools come with 2-8mm hex wrenches, for example, but double-check what you need before you buy one. Also, keep in mind that not all multi-tools are the same. There are many price points for these because some will be more comfortable to use than others and some will be more durable. If you are a serious rider and want something that will last, consider a fully metal device with a comprehensive set of bike tools.


The Basics of Bike Tires

Getting a flat tire on a ride is such an inconvenience. It would be even worse, though, if you failed to bring a tire repair kit and needed to walk your bike out and hitch a ride home. The best way to avoid a flat tire is to inspect your tires before you head out and select a tire pressure appropriate for your ride. This is the first step of a pre-ride bike inspection and arguably the most important. 

Your bike’s tires will have a recommended range of air pressures (around 30-70 PSI for mountain bikes and 80-130 PSI for road bikes), and you can choose anything within the recommended range. If you don’t yet know your personal preference, inflate your tires to something in the middle. Less-inflated tires are great for off-road mountain biking because they can absorb more shock and get more grip on wet ground. More fully inflated tires will have less resistance and allow you to go faster, which will be better for road cyclists. 

How to Handle Mid-Ride Bike Tire Repairs

Every time you rest on a ride to get water, you should inspect your tires and see if they need a little air. In order to refill your tires, then, a pump is an absolute must for any bike repair kit. If you do get a flat, there are a few other bike tools you will want to have. A simple bike tire patch kit is an economical and lightweight option for addressing a small tire puncture mid-ride. However, patching a tire does take more time than a full replacement (waiting for glue to dry, etc.), so many riders opt to replace the tube mid-ride and patch the old tube later. 

Especially if you are on a longer mileage ride or multi-day trip, you will need to carry a spare tube and tire levers in order to fully replace a tire. This is also necessary for a larger hole, a hole near the valve stem or base, or a full blowout. While you hope this won’t happen to you, it is always possible, especially when off-road mountain biking, and better to be prepared.

Bike Chain Maintenance Tools

While a bicyclist on a simple day trip will probably not carry bike chain tools, it may be wise for a multi-day bike tour. At the very least, chain lubricant and a lubricating tool are great options for keeping your chain running smoothly. When you finish every ride, be sure to get the muck out of your bike’s chain to preserve it and prevent issues in the future. Learning how to clean your bike and take care of the chain are great skills for every bicyclist to have. If you do need to repair the chain, it will require a chain breaker or splitter, spare chain links, and a chain tool.

When to Bring Which Bike Tools

Depending on your gear, these items could be small and lightweight or add up to be a bit bulky. You might not want to bring all this gear on every ride, and it can be okay to go without some bike maintenance tools sometimes. Which of these items you bring will depend on a number of factors, including your planned mileage, whether you will be on- or off-road, and your bike’s particular needs. 

For a short day ride that is on-road only, a basic bike repair kit can be as simple as a tire pump, a tire patch kit, and a multi-tool. Before you leave, you should make sure your chain runs smoothly, check your tires for deformities, and test the brake pads. You should also be sure to check the weather and any fees or regulations if you are headed on a bike ride in a state or national park

If you are headed onto a mountain biking trail, a spare tube and tire repair kit are highly recommended as the chances of tire damage are much greater. A multi-day trip will require more gear so you don’t have to end the trip early due to a chain problem or worn-down brake pads. Finally, consider a guided mountain biking tour for professional instruction as you start your journey into bike ownership and maintenance. Happy riding!